The second week consisted of the team filming the footage, creating the HDR, building the assets, creating the shaders, making the textures, initial renders, and finalizing the 3D Light rig. We had to do troubleshooting for a lot of things, specially filming the footage. We ended up changing our title and tagline so it would match out filming location.
Updated previs!
password: TheMill
- Filming the Footage -
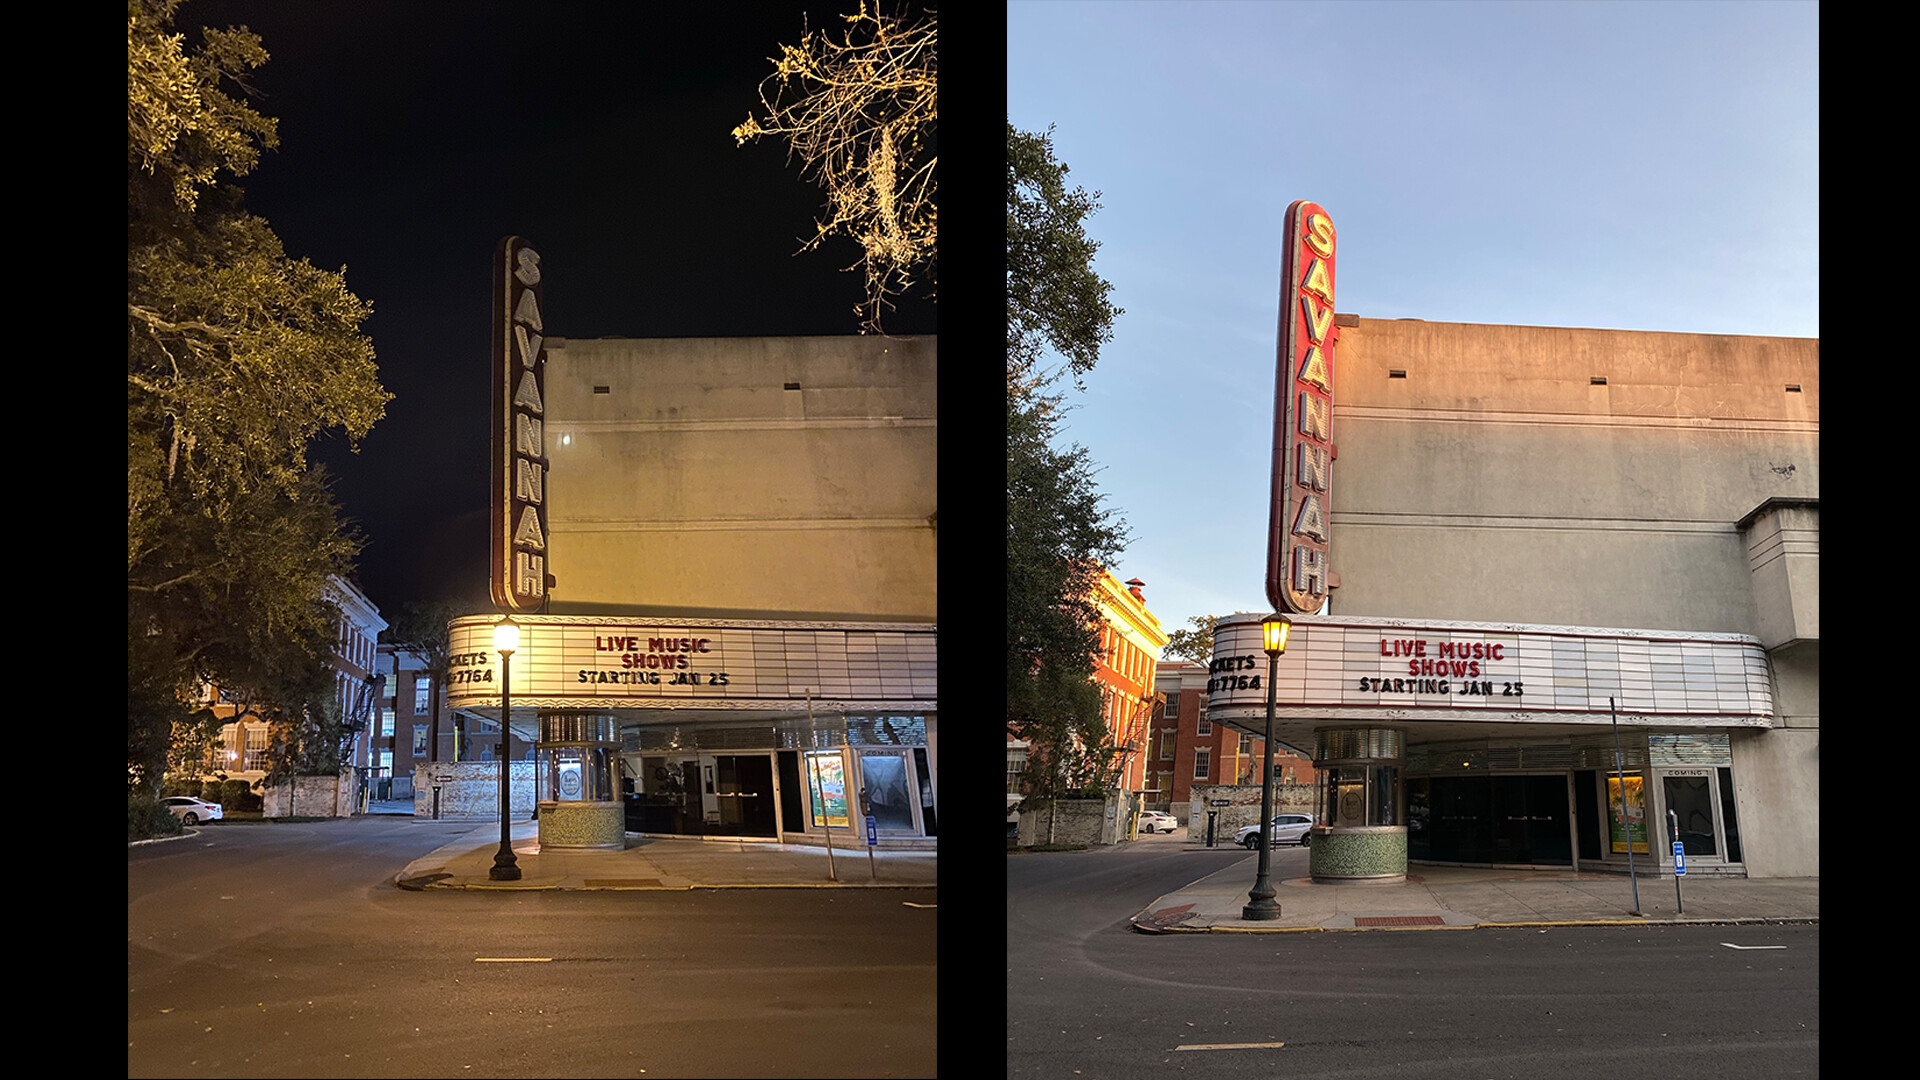
We shoot in the Savannah Theater, and our new title is "Timeless", so the location wouldn't look so old in the city of Savannah.
We had to film 3 times to get it right. The first time, we used a Blackmagic URSA Mini. The footage came out underexposed. We got there around 6am and took a while to set up and test a little, and started to shoot around 8am.
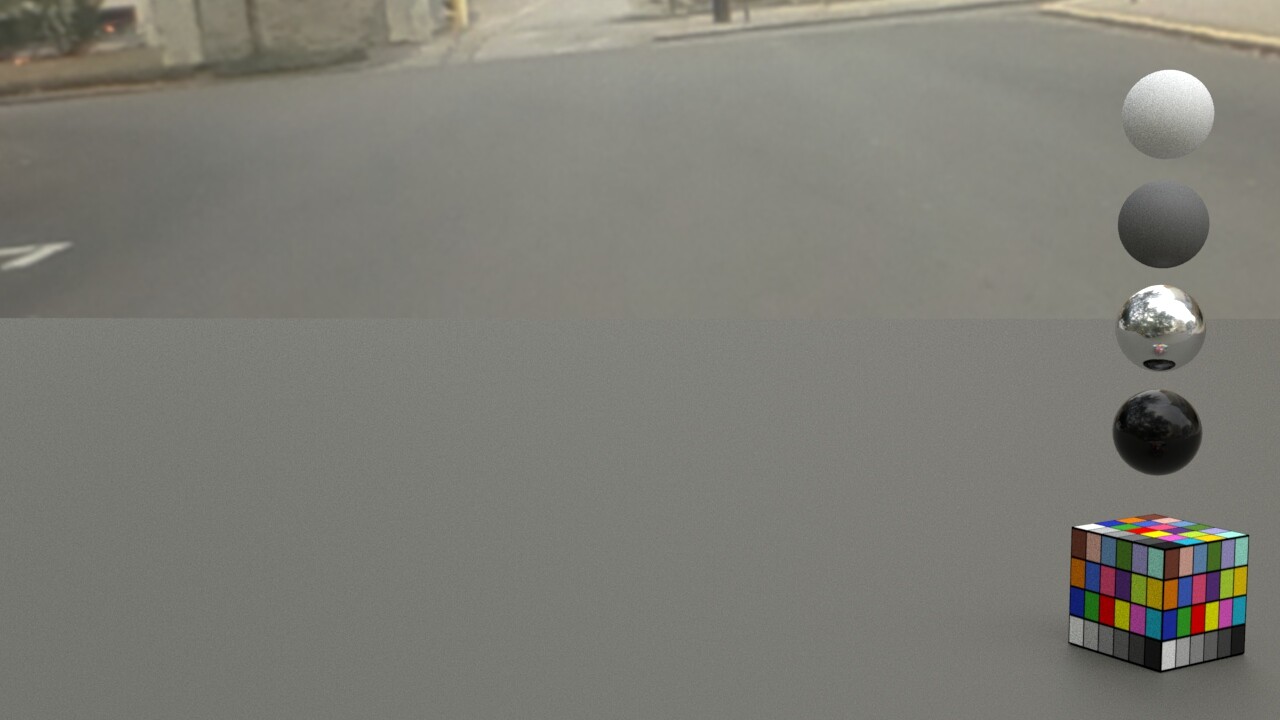
We took a plate for each shot with the Macbeth Color Checker, a cube for perspective, and a grey ball for light reference. The second picture is Liz acting as the portal, for reference.
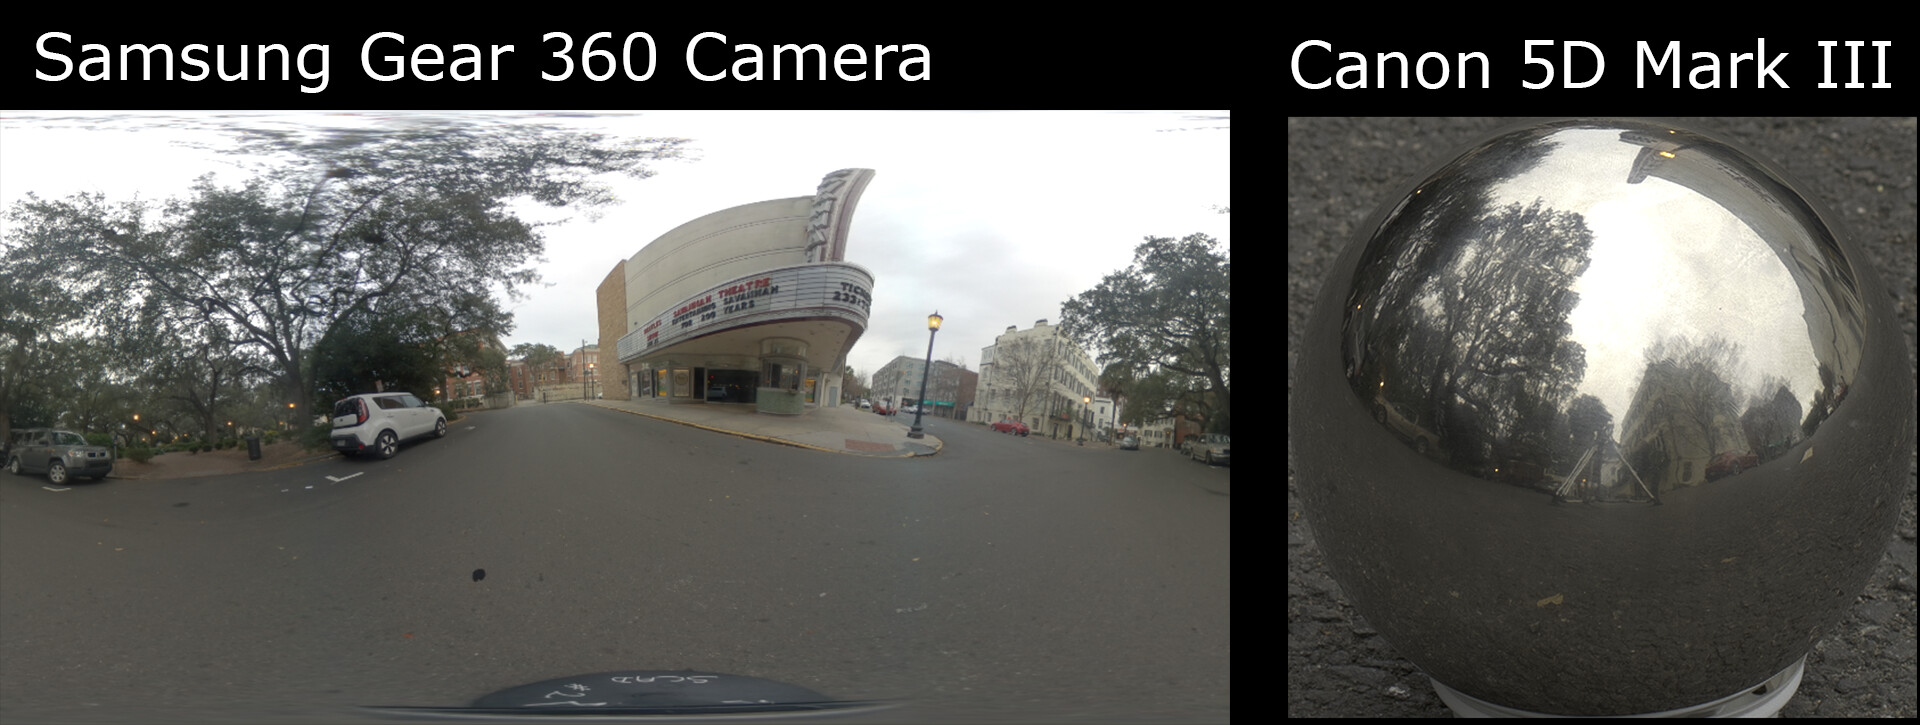
The third try worked out pretty good. We shoot with the Canon 5D Mark III. They shoot an HDR with 7 exposures using a Canon and I did another HDR with 7 exposures using the 360 camera.
This is one of the HDRIs that I took with the 360 camera. We made an HDRI with the pictures from the Canon, but the light information they had was not enough. We ended up using the pictures from the 360 camera, which has way more information.
- Building the Assets -
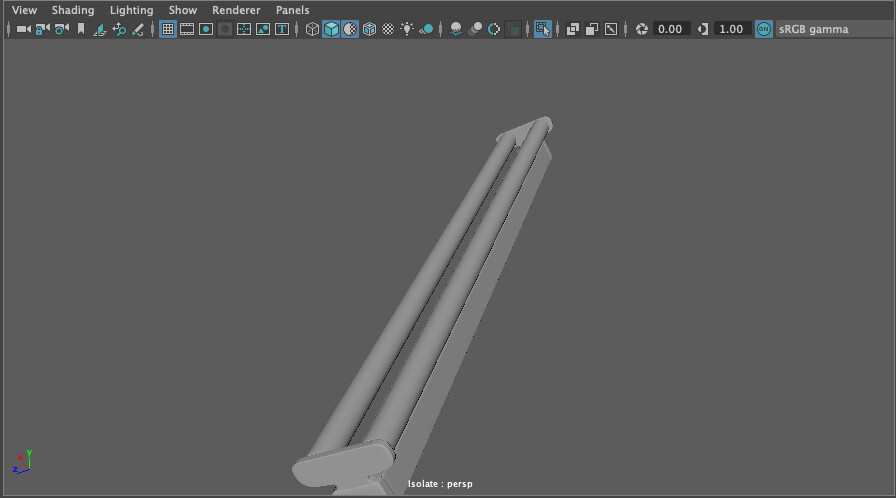
From our three shots, only the first one is full CG. For shot one, I had to model the tunnel. I used this Lexus commercial as big inspiration for the tunnel.
Lights Test Renders
The tunnel is gonna be filled with fluorescent tubes lights that are gonna be reflecting on the car's surface. I created a cylinder for the tube and put on an aiStandardSurface with Emission on. I also modeled the metal cover tops that go on top and bottom of the tube, as well as the plastic structure holding the lights.
Next, I added a quad area light to each of the holes of the structure. This picture was a test of only cylindrical area lights without the tube lights with emission.
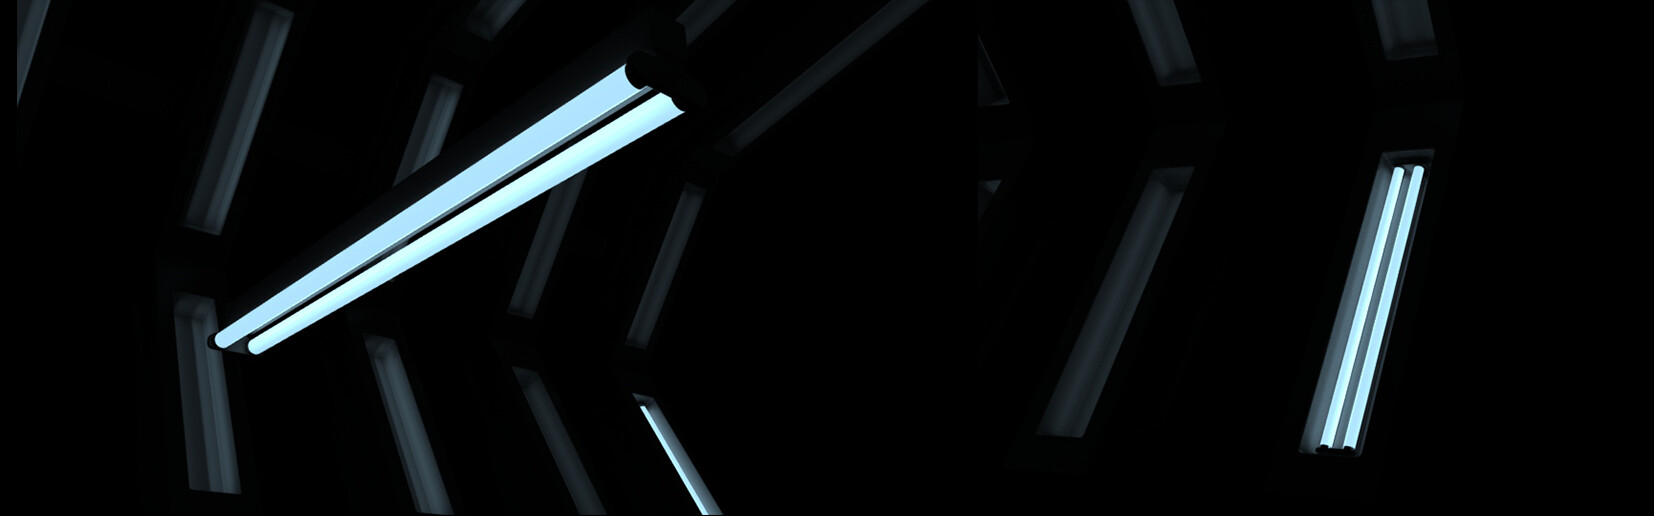
The picture on the left is a lightning test from Yanni Fong. Both pictures only have cylindrical area lights in the holes, as a test I was doing at the time.

These are some test renders for shot 1. The picture on the top left corner has Atmosphere Volume with a spotlight. I like the subtleness from this test. The picture on the top right corner also has Atmosphere Volume, but the same spotlight is positioned closer and higher. I really like the rays I achieved on this one, but I'm not a fan of the bright spot. It's my first time using Volume Shaders, and I'm trying to aim for a rim light. The pictures on the bottom are just tests of only the light tubes with emission and area lights on the holes. Back view and front view. There are a lot of lights on the scene, and I know I need to find a way to optimize the scene. So far, the renders with Atmosphere Volume took almost 50 minutes each, not even HD, and they still have some noise. Plus, it's still looks dark.
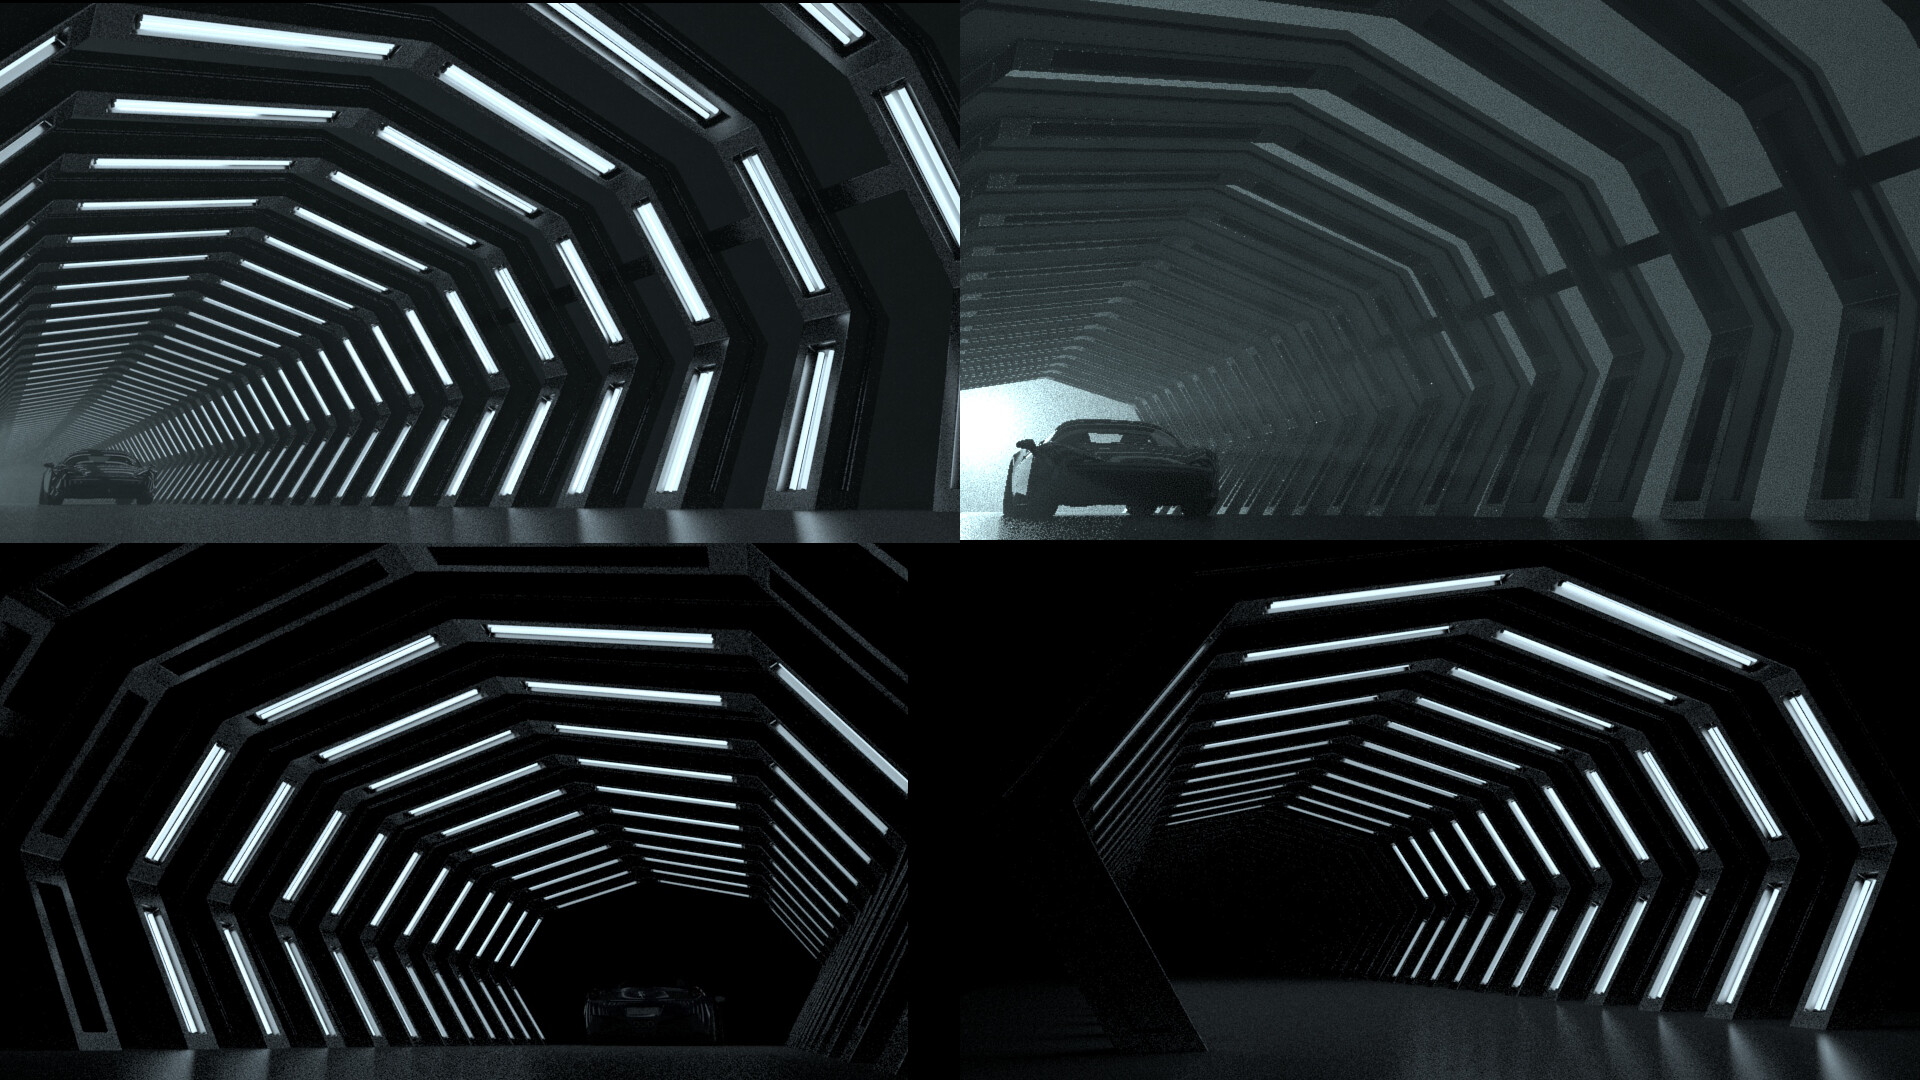
Our original idea is with the lights turning off as the car passes by the tunnel, so that might help to save render time.
- Creating the Shaders -
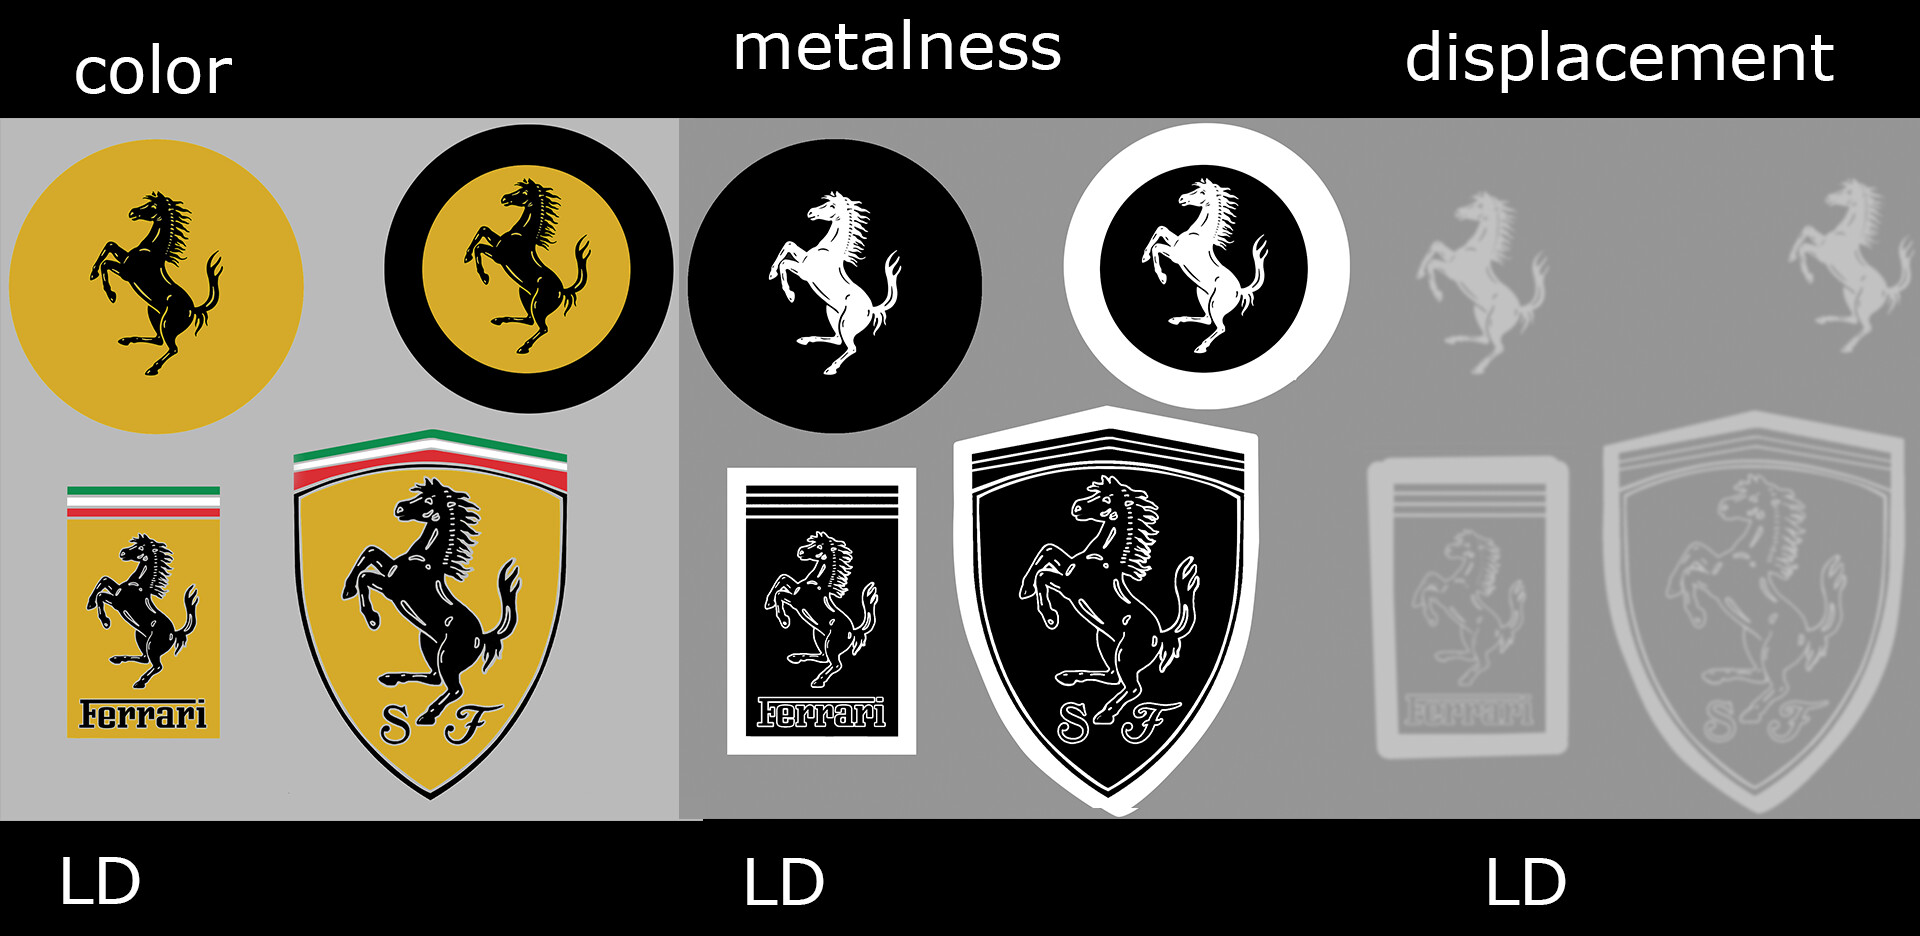
I had to do the emblems, red glass, orange glass, plate, and part of the brakes. Here’s a collage of the shaders that I made:

I created the maps in Photoshop. For the emblems, I made a color map, metallic map, and displacement map.
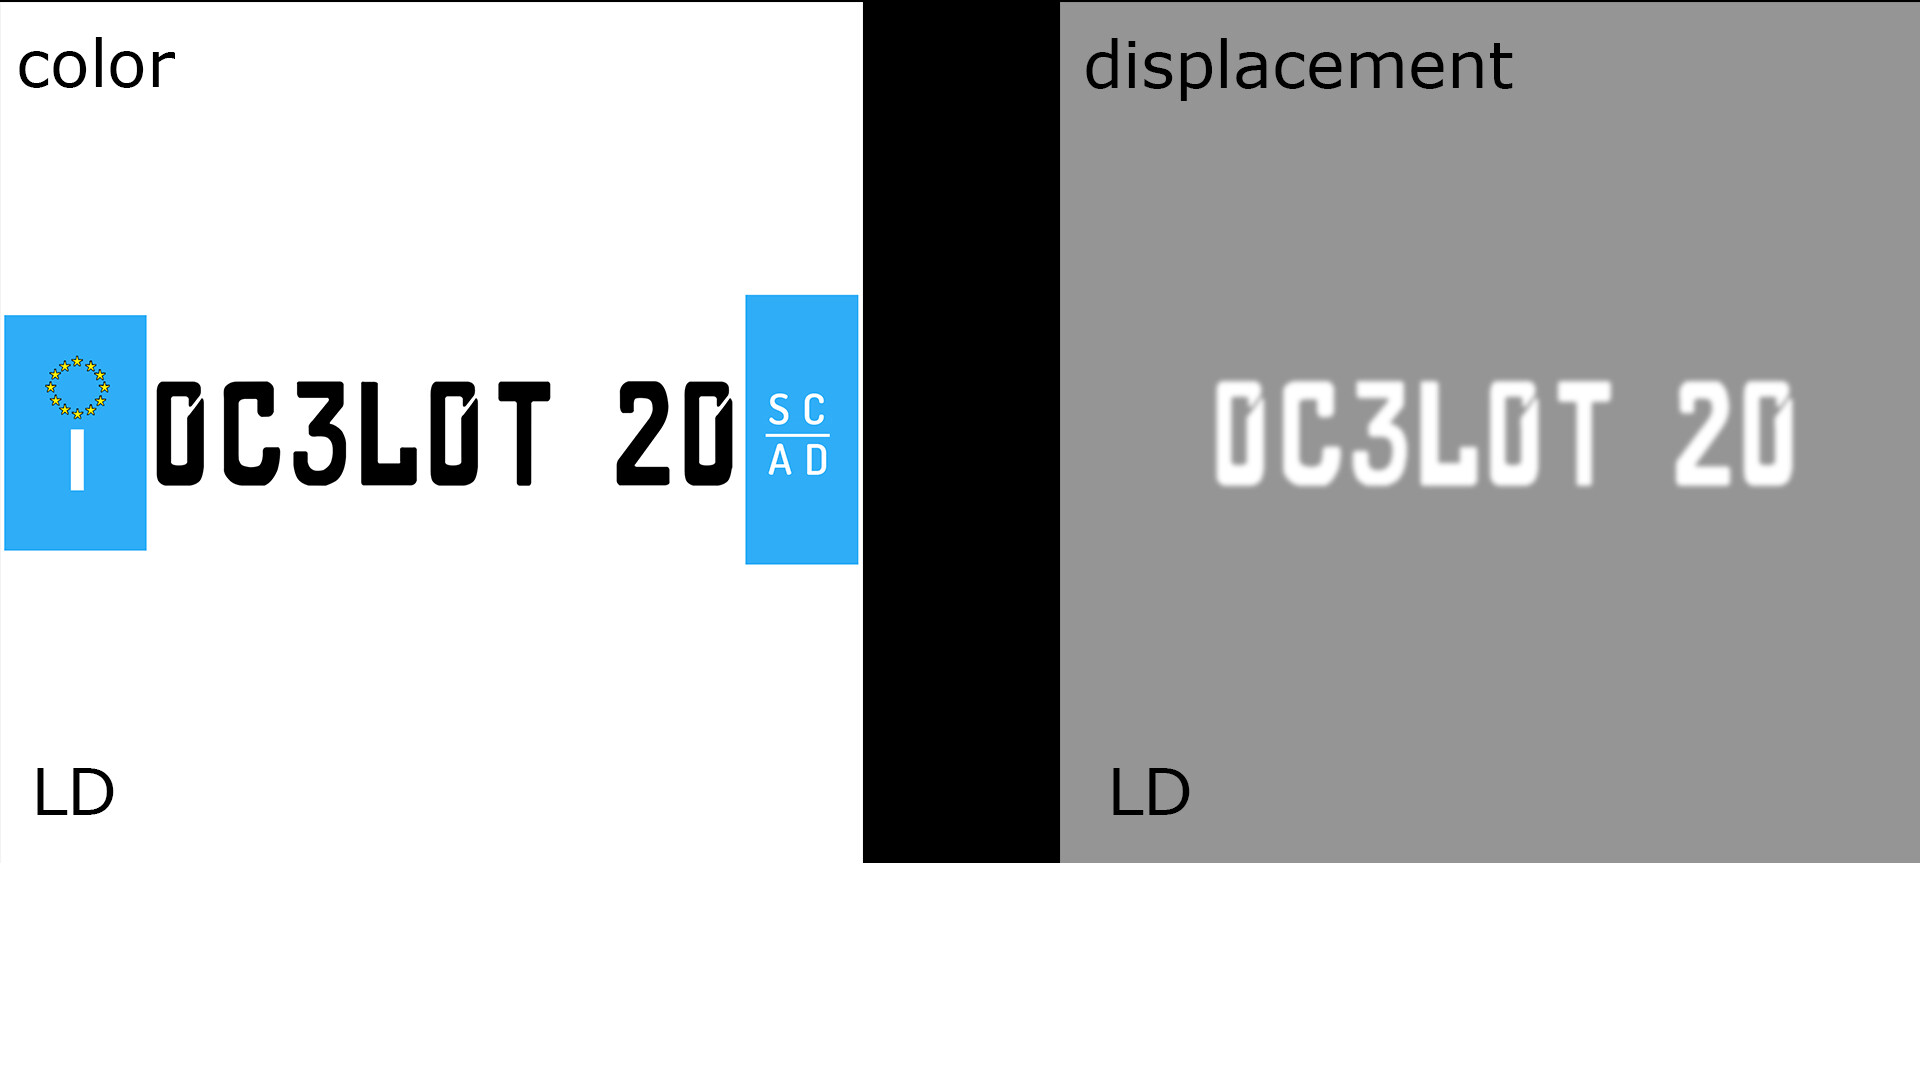
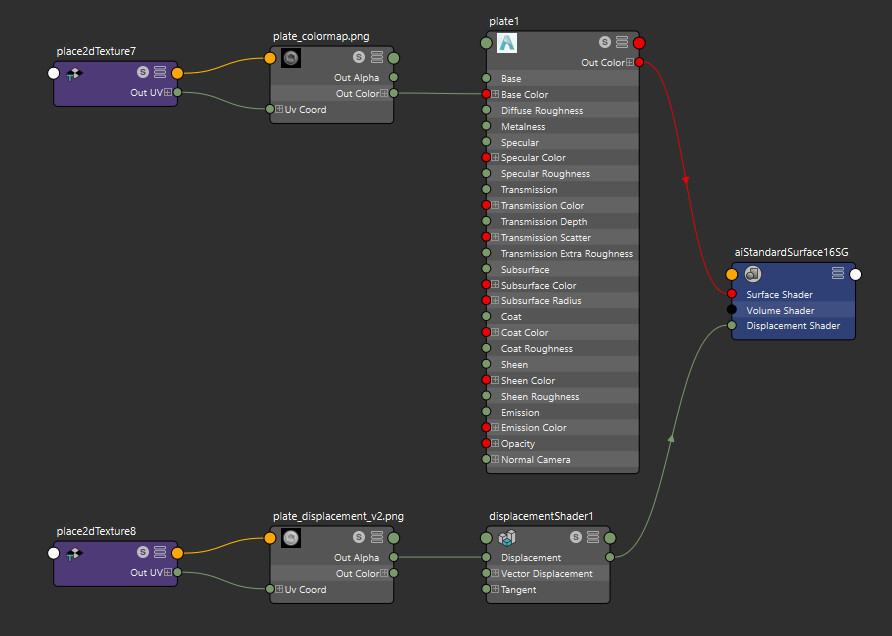
For the license plate, I made a color map and displacement map.
Here’s the compilation of our shaders:
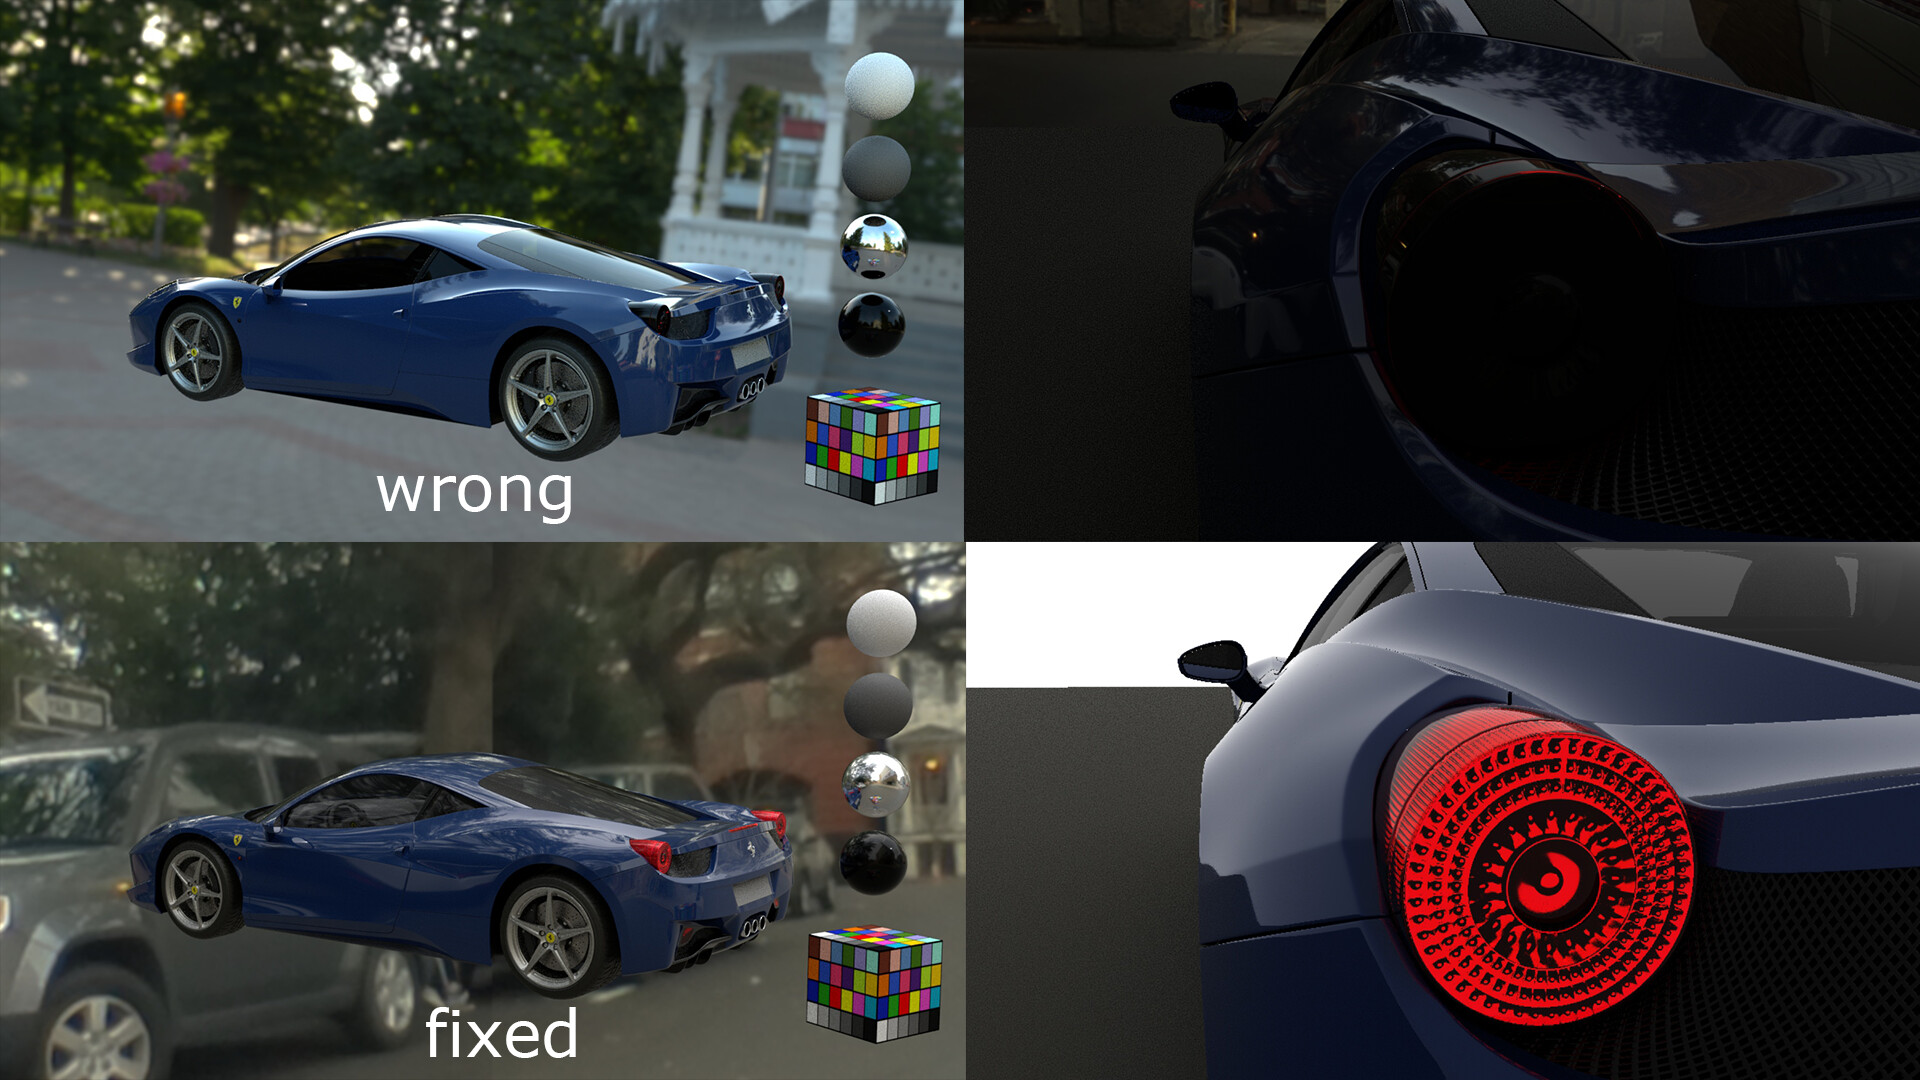
As we were assigning the shades to the parts of the car, we encountered a problem with everything that had transmission (glass basically). I tried fixing the exposure of the sky dome, checking the opaque checkbox of the Arnold tab was off, changing to a dome, and we also tried putting a random HDRI from hdrihaven.com. I even put lights inside simulating the mini light bulbs the back lights have. We solved it by switching to a second version of our HDRI that apparently had better lighting information.
Car Turntable

complete turntable: https://vimeo.com/386332850
password: TheMill
- Making the Textures -

The license plate was one of my favorite things to do! I liked the creativity for this one a lot. I downloaded a car license plate font and looked up examples of European and Italian license plates. That’s how I came up with this final idea:
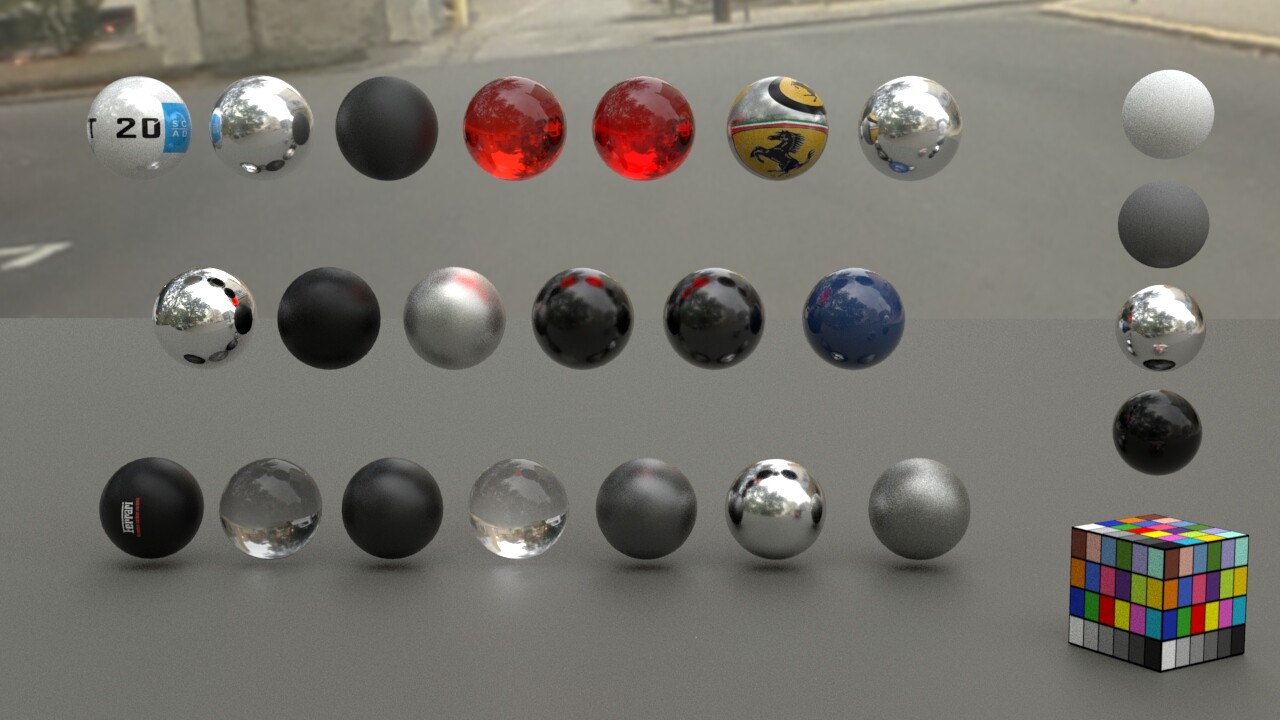
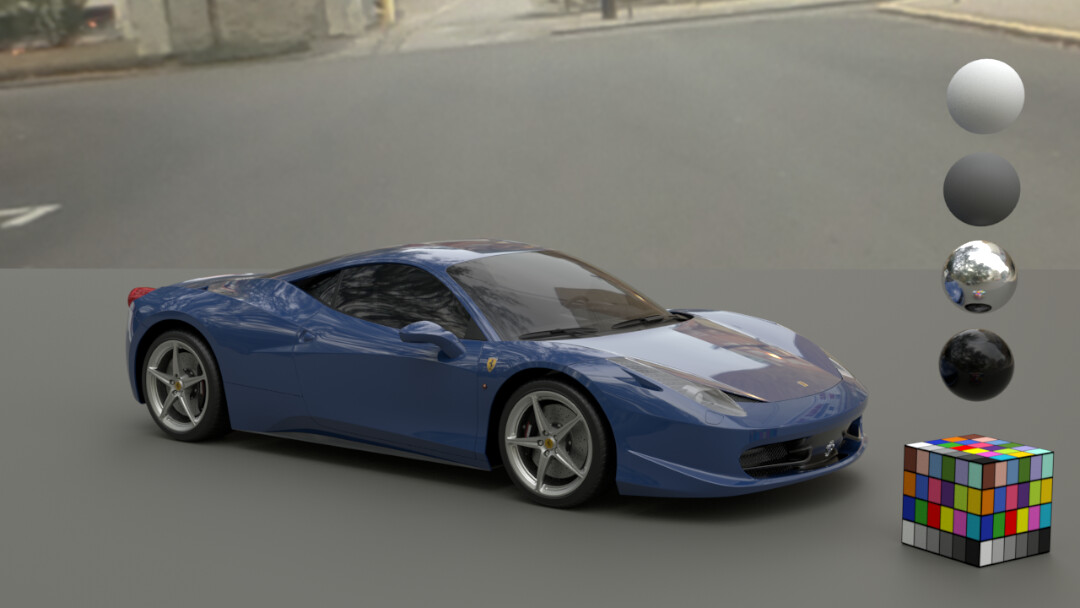
- 3D Light Rig -
For the light rig, we used the HDRI we took with the 360 camera, and created white plastic/white matte, grey clay, chrome, and black plastic sphere materials. We also added the Macbeth Color Checker to ensure proper color balance and exposure.