
- Feedback -
After the feedback from the mentors, I've decided to redesign shot 1. The scene is too busy, too blue, and the structure doesn't shows much functionality. The rows are too close to each other.
My new idea is to create a simple futuristic tunnel, that is not too busy, but that shows some functionality.
We created a new shot, called shot 0. We divided shot 1 in 2 shots, so the story could be understood. Shot 0 is going to be showing the car with the lights all off, Yanni's lightning appears, and the headlights of the car turn on.
Then, shot 1 is the one we previously had, but with a different camera animation. The shockwave will be seen as the car moves towards the camera. Shot 0 will contain the same assets as shot 1, just different FX and camera position.
- References -
I've found references for sci-fi tunnels, light tunnels, and car tunnels:
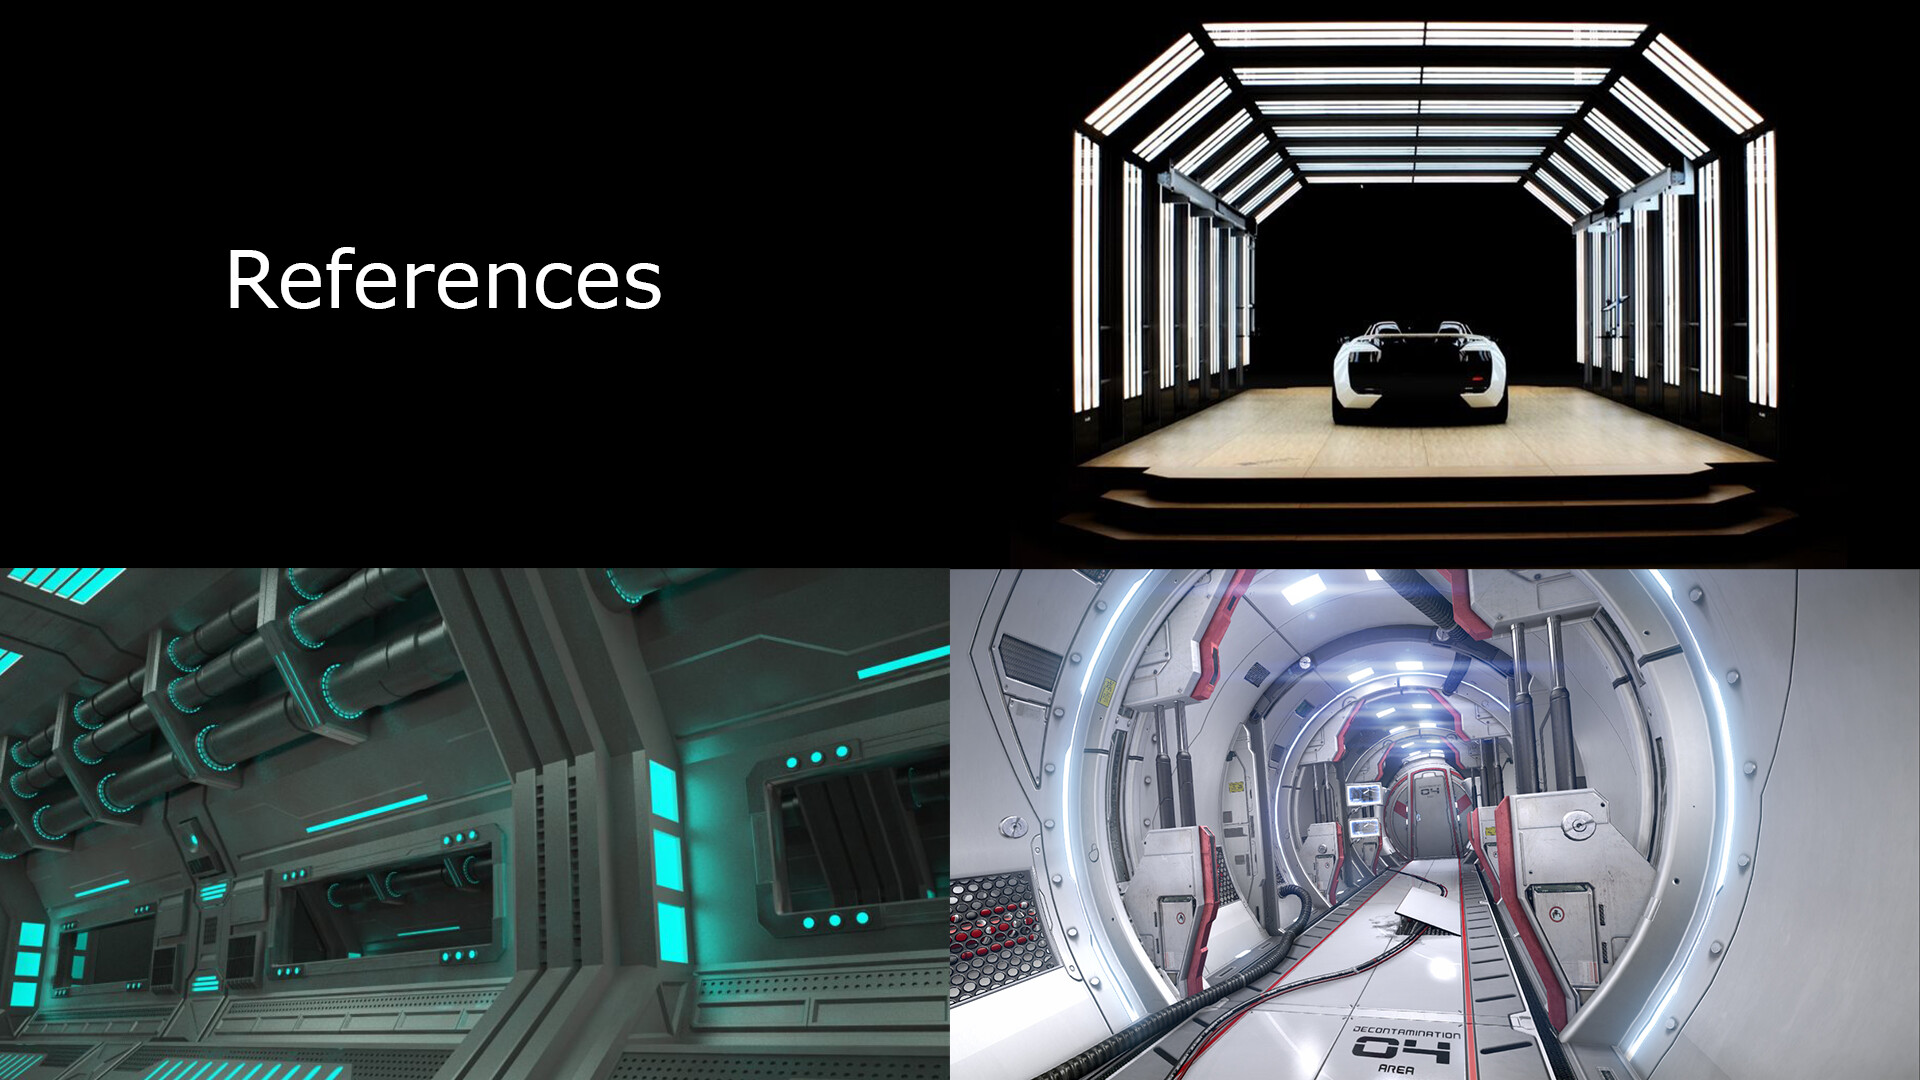
https://www.cgstudio.com/imgd/l/9/5b055fc4a70248163d8b4567/4243-sci-fi-tunnel.jpg
http://level-design.org/wp-content/uploads/2012/08/ScifiTunnel_01.jpg
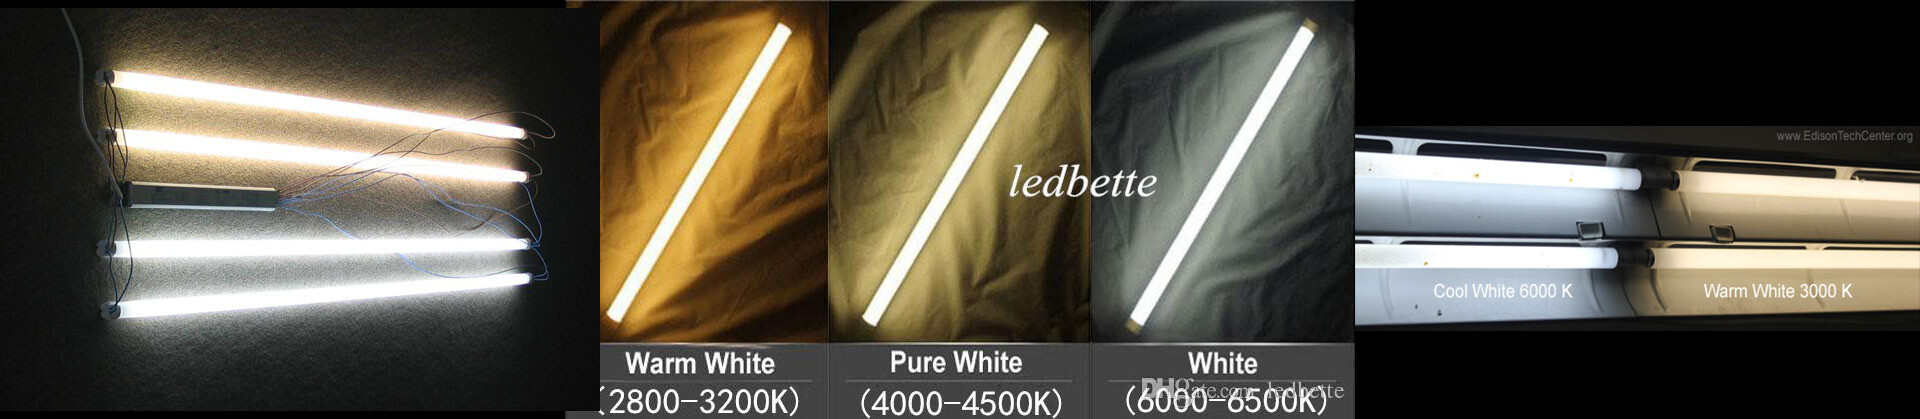
I also looked for warm fluorescent light tubes:
- Preview -

- Tests -
The first thing I tried was using warm lights. I didn't like how they looked. The look they were adding to the scene was more of some underground place, like sewers.
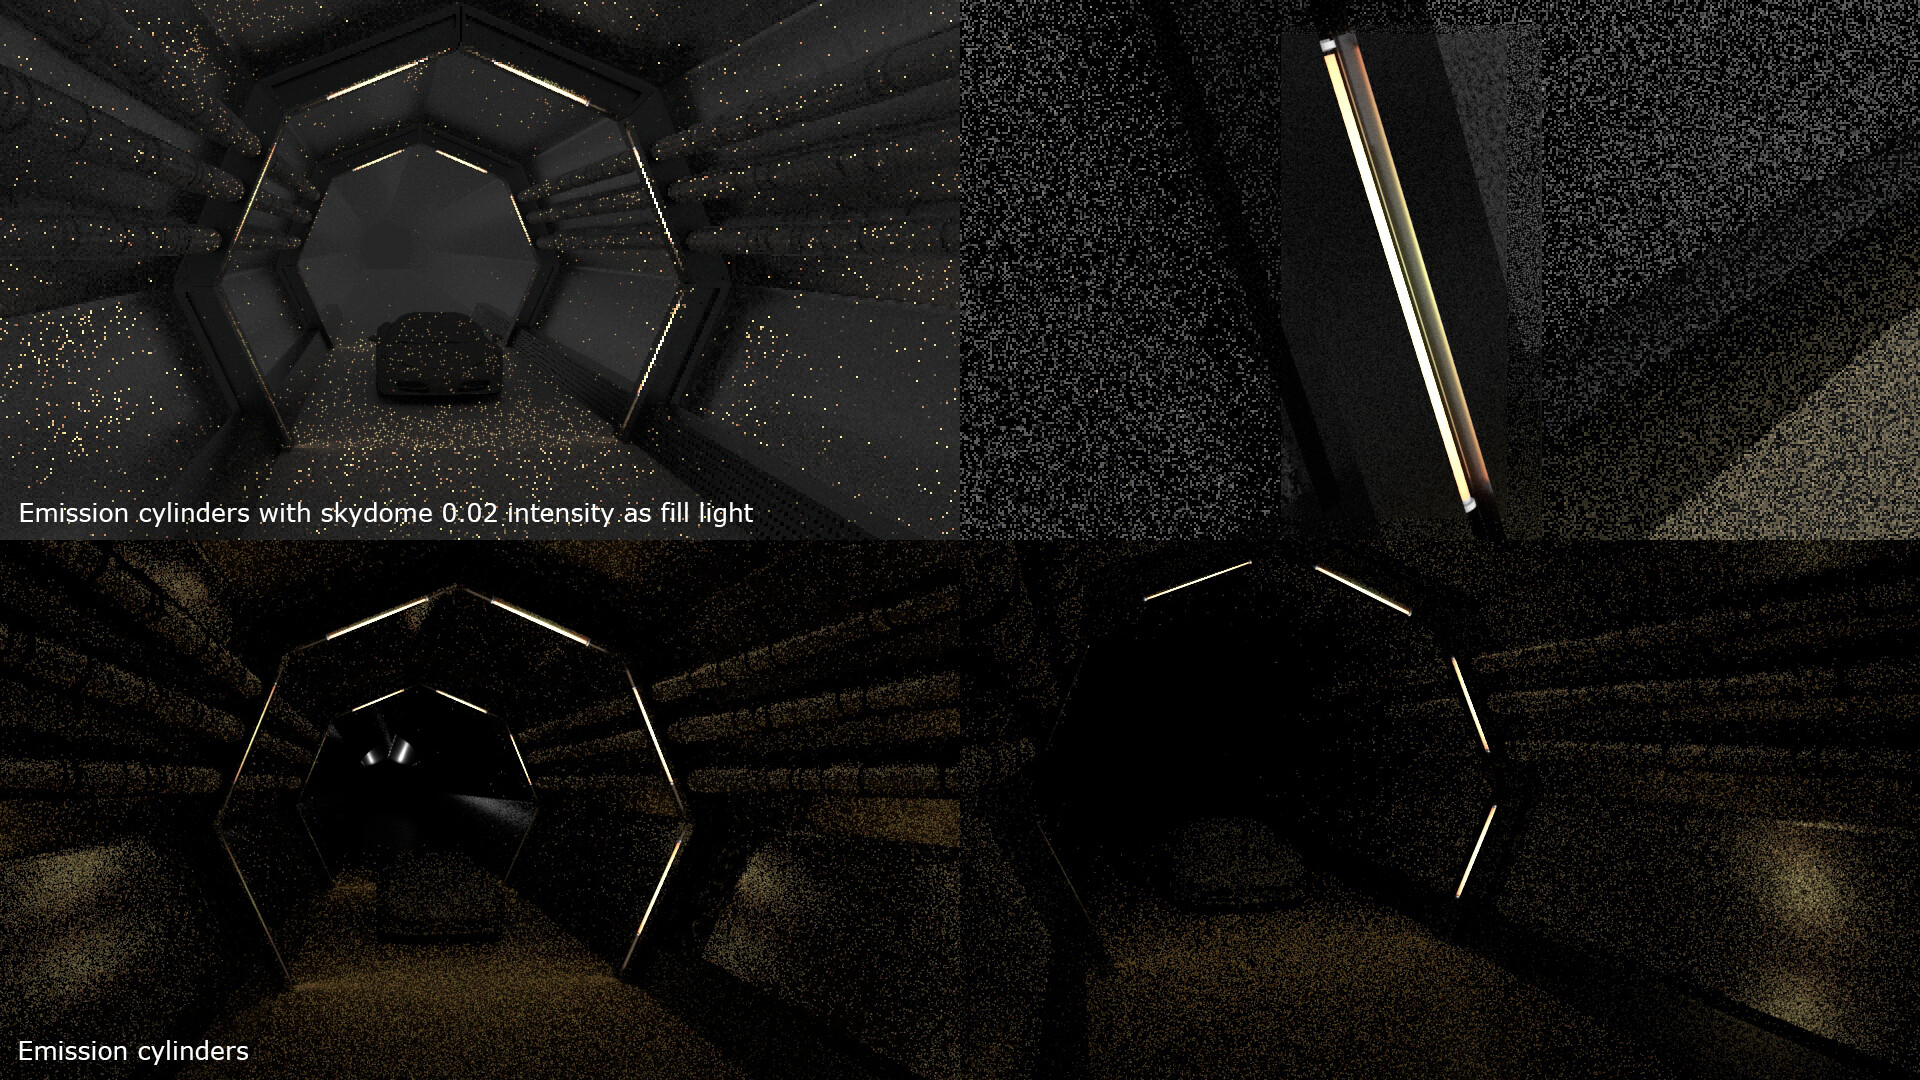
I started to test again with cool lights. The only reason I was trying out with the warm lights was because we wanted toe deep blue car. After I showed my team how the warm lights looked, we agreed to change the color of the car to red or yellow-orange, to keep the blue-ish lights. These are the cool lights tests:

I decided to change my technique of lighting this scene: I kept putting lights where there are supposed to be lights, thinking that was the only light source. Now, I added some area lights in places you can't see, to get more light.

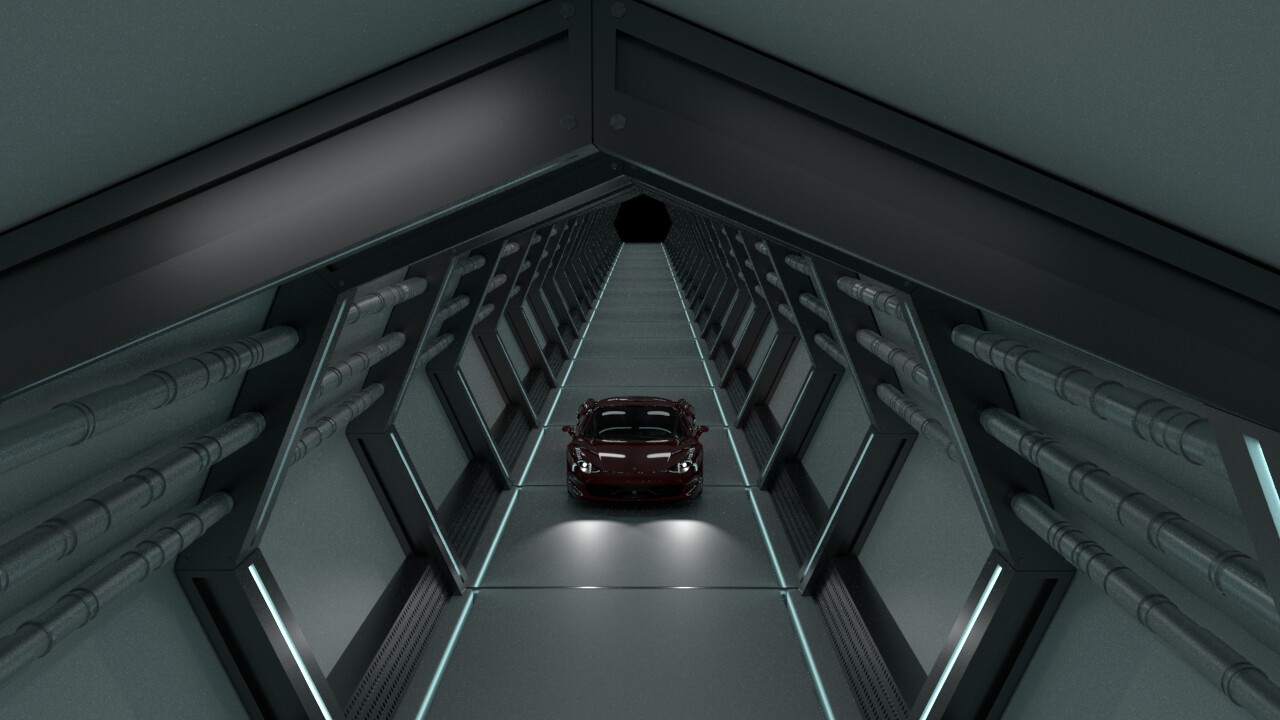
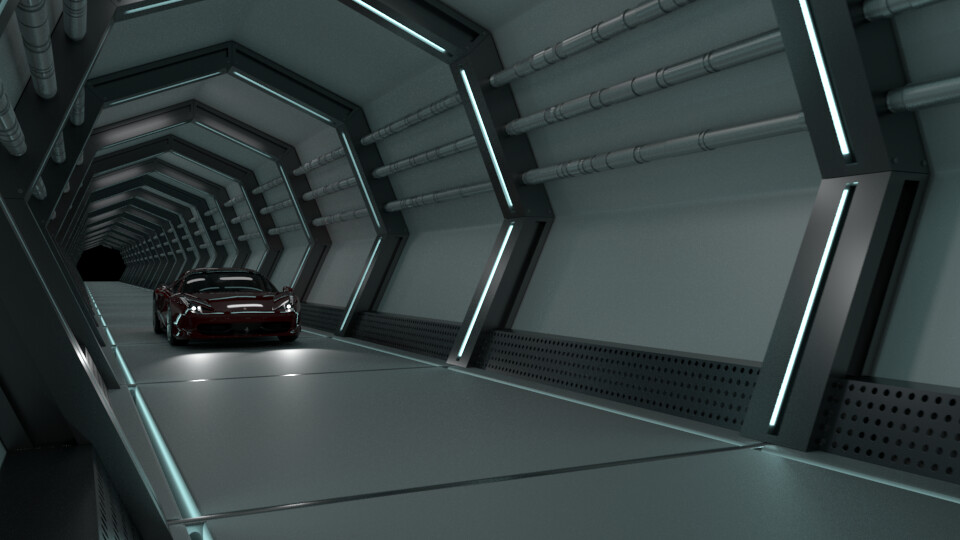
- New Previs -
It's still missing textures, but so far this is how it ended up looking like! I need to add a few things/assets that would break repetitiveness, so the viewer doesn't gets dizzy or lost as the camera moves. I believe I have to render a separate light pass so I can add some glow in Nuke to make it look better.
I was reading about Stand-ins in Arnold Maya, and it said "They allow you to keep your working scene light and workable by deferring the loading of geometry data until render time", from https://docs.arnoldrenderer.com/display/A5AFMUG/Stand-ins#Stand-ins-StandInOverrides. This video helped me understand how to use it:
Working with Stand-Ins instead of multiple duplicates helped me work faster in the scene. Last week, when I was working with hundreds of rows, the scene would lag so much and make my work time slower. Now, I am working with less than 50 rows I think, and using these method really made my work time faster.
Final previs for now:
complete sequence: https://vimeo.com/388869483
password: TheMill
I rendered it in 540 instead on 120x720 because of render time and i just wanted to see how the motion blur would look like.
My desired look is similar to this one:
On the left, I have the rendered version, and on the right, I fixed and added some things in Photoshop. I'm deciding which texture to go for: the walls or the floor, because using both at the same time is too much. I want the red of the car to pop out, and add glow to the lights in post. Right now, I put the textures strong so the viewer can see them, but I want them more subtle.
