
Grandfather Look Dev
References
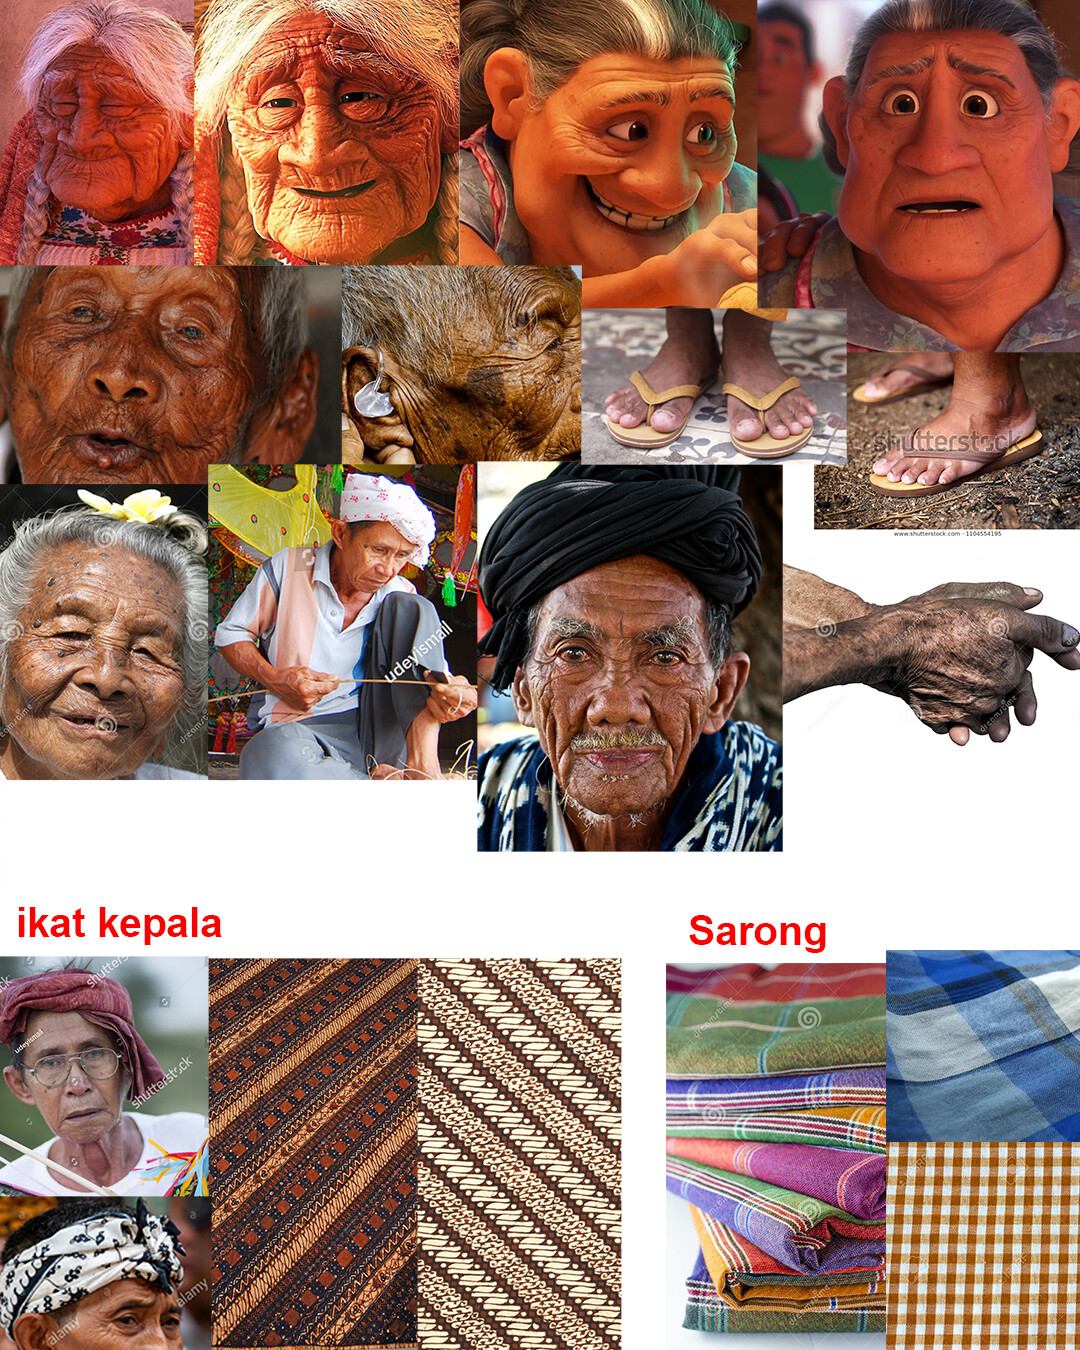
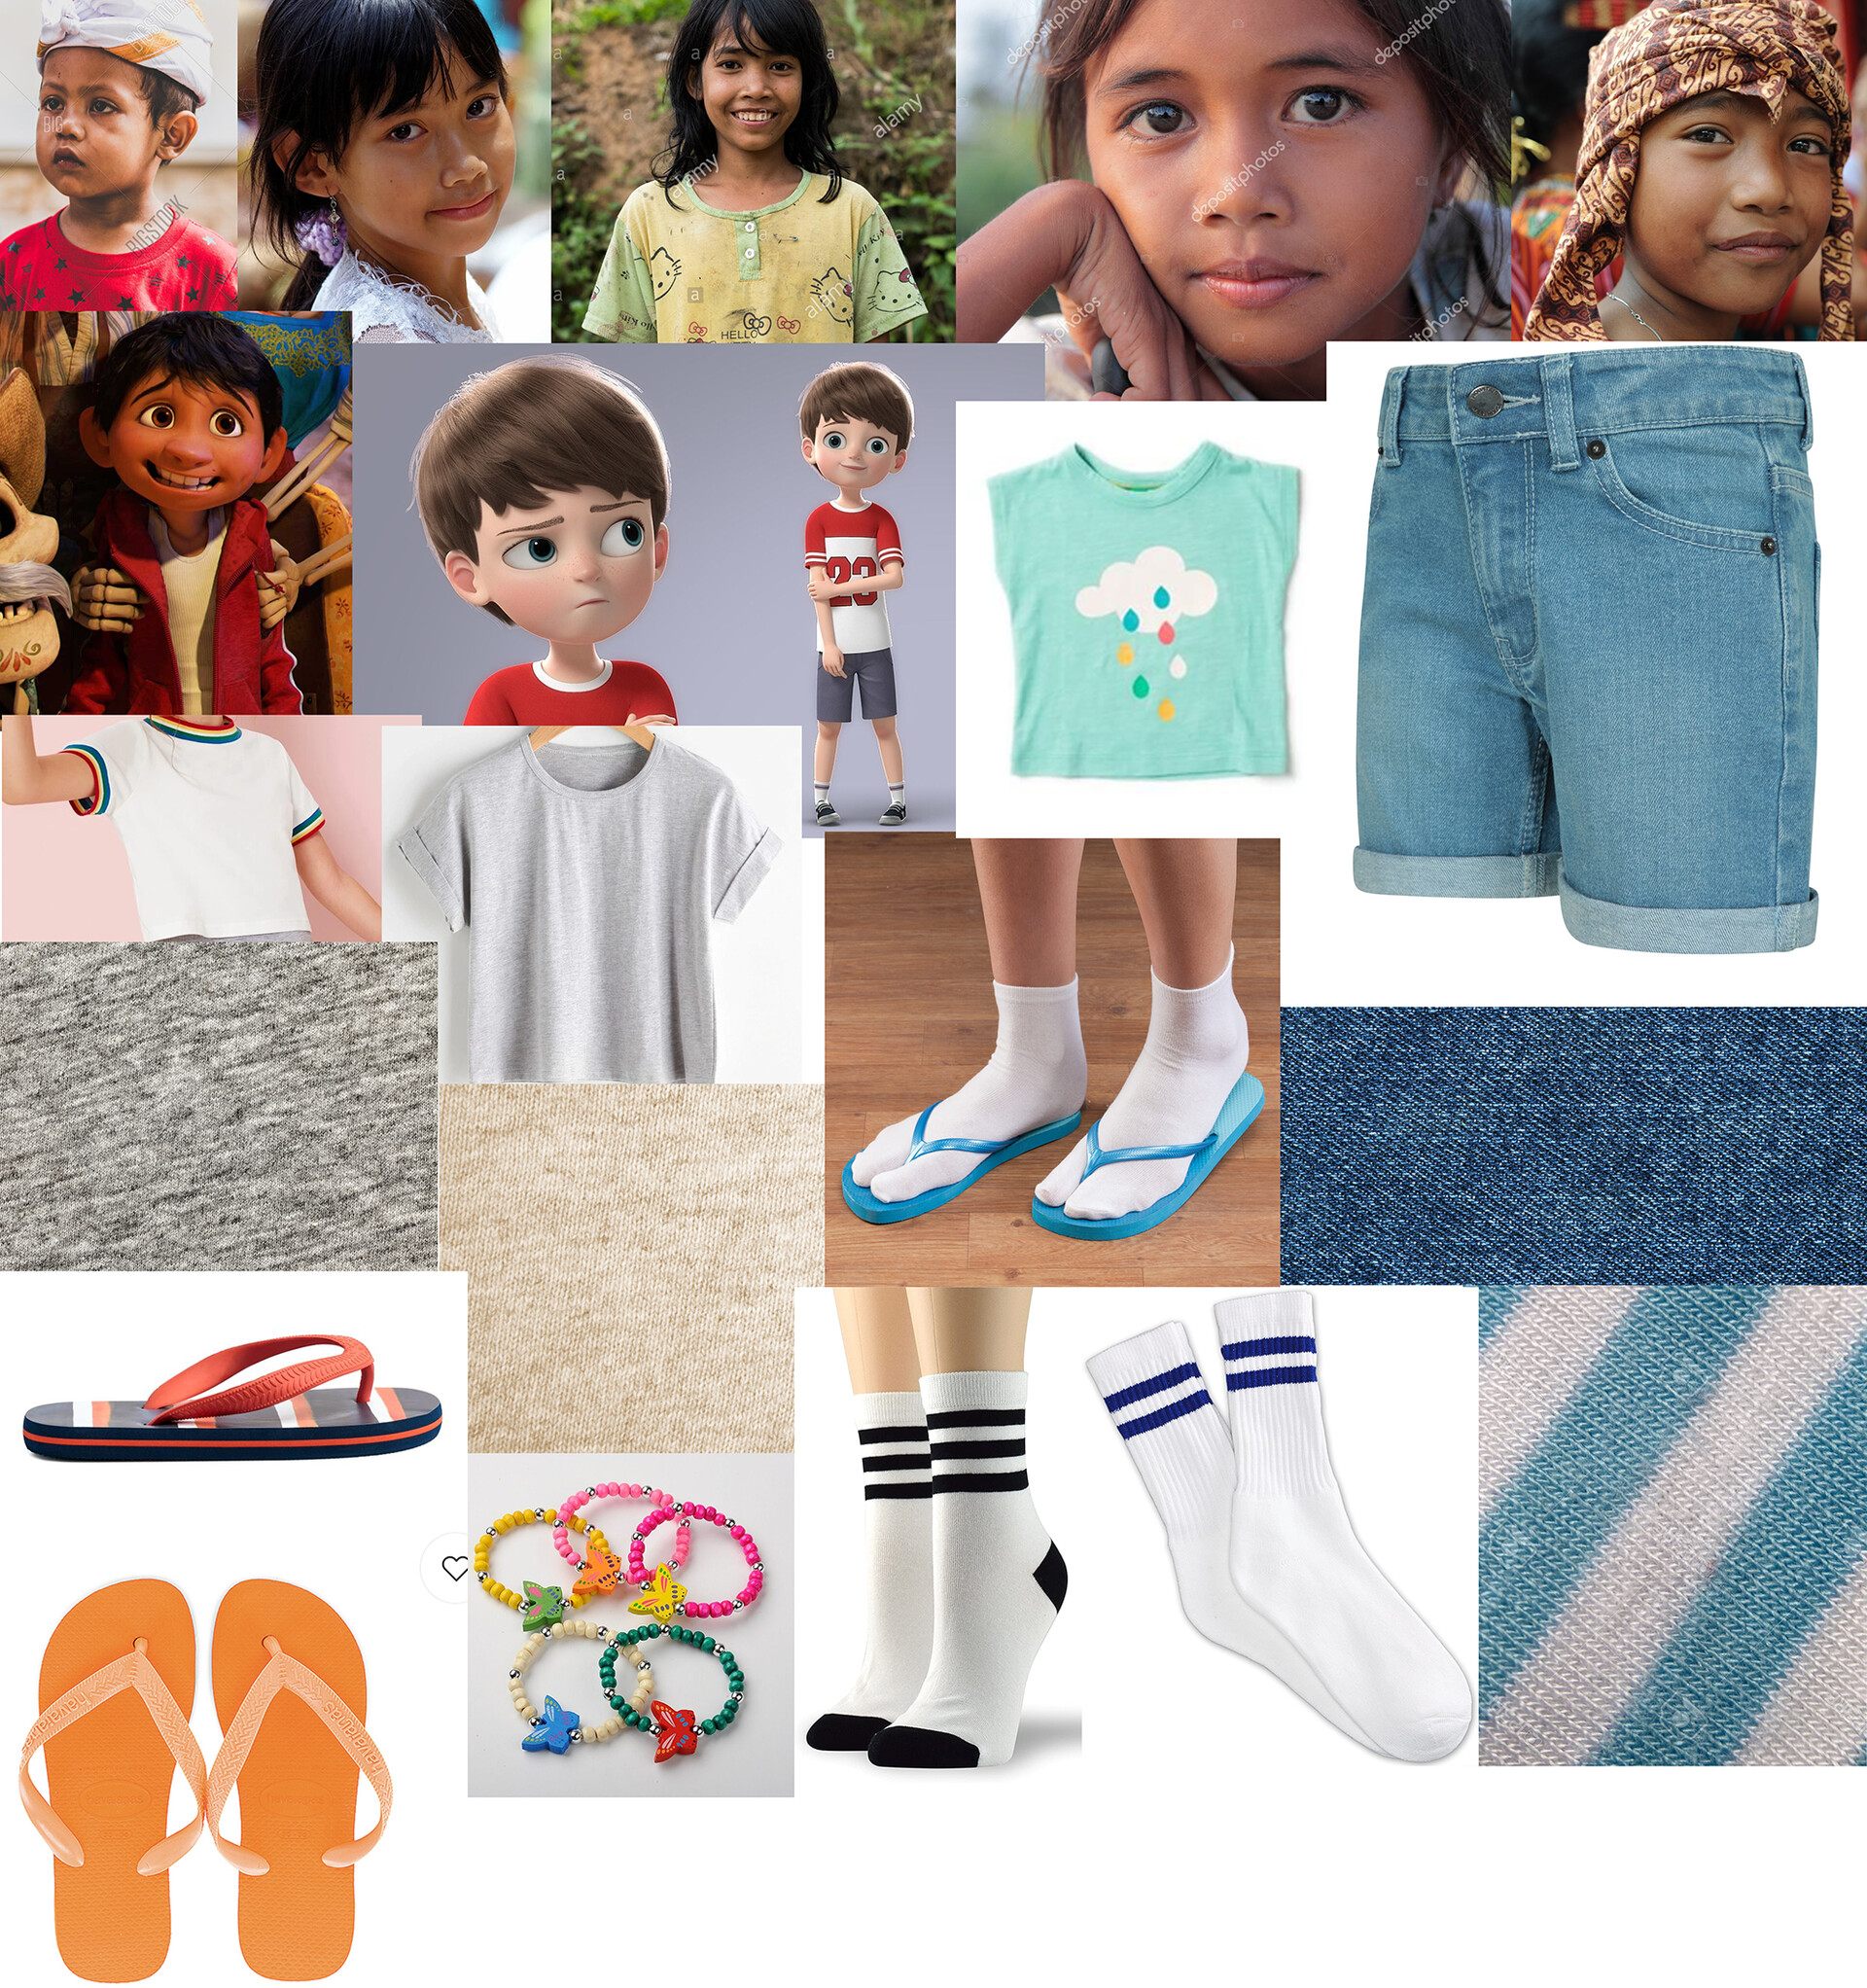
I finally started texturing one of the characters: the grandfather. The references I looked for were Indonesian things like the clothing, skin color, and patterns. Besides Indonesian reference, I looked up images from Pixar's 3D animated film "Coco", since I wanted to have a 3D stylized textured grandparent reference. It is my first time surfacing a character, and this is how my references collage ended up like:
Procedural Base Materials
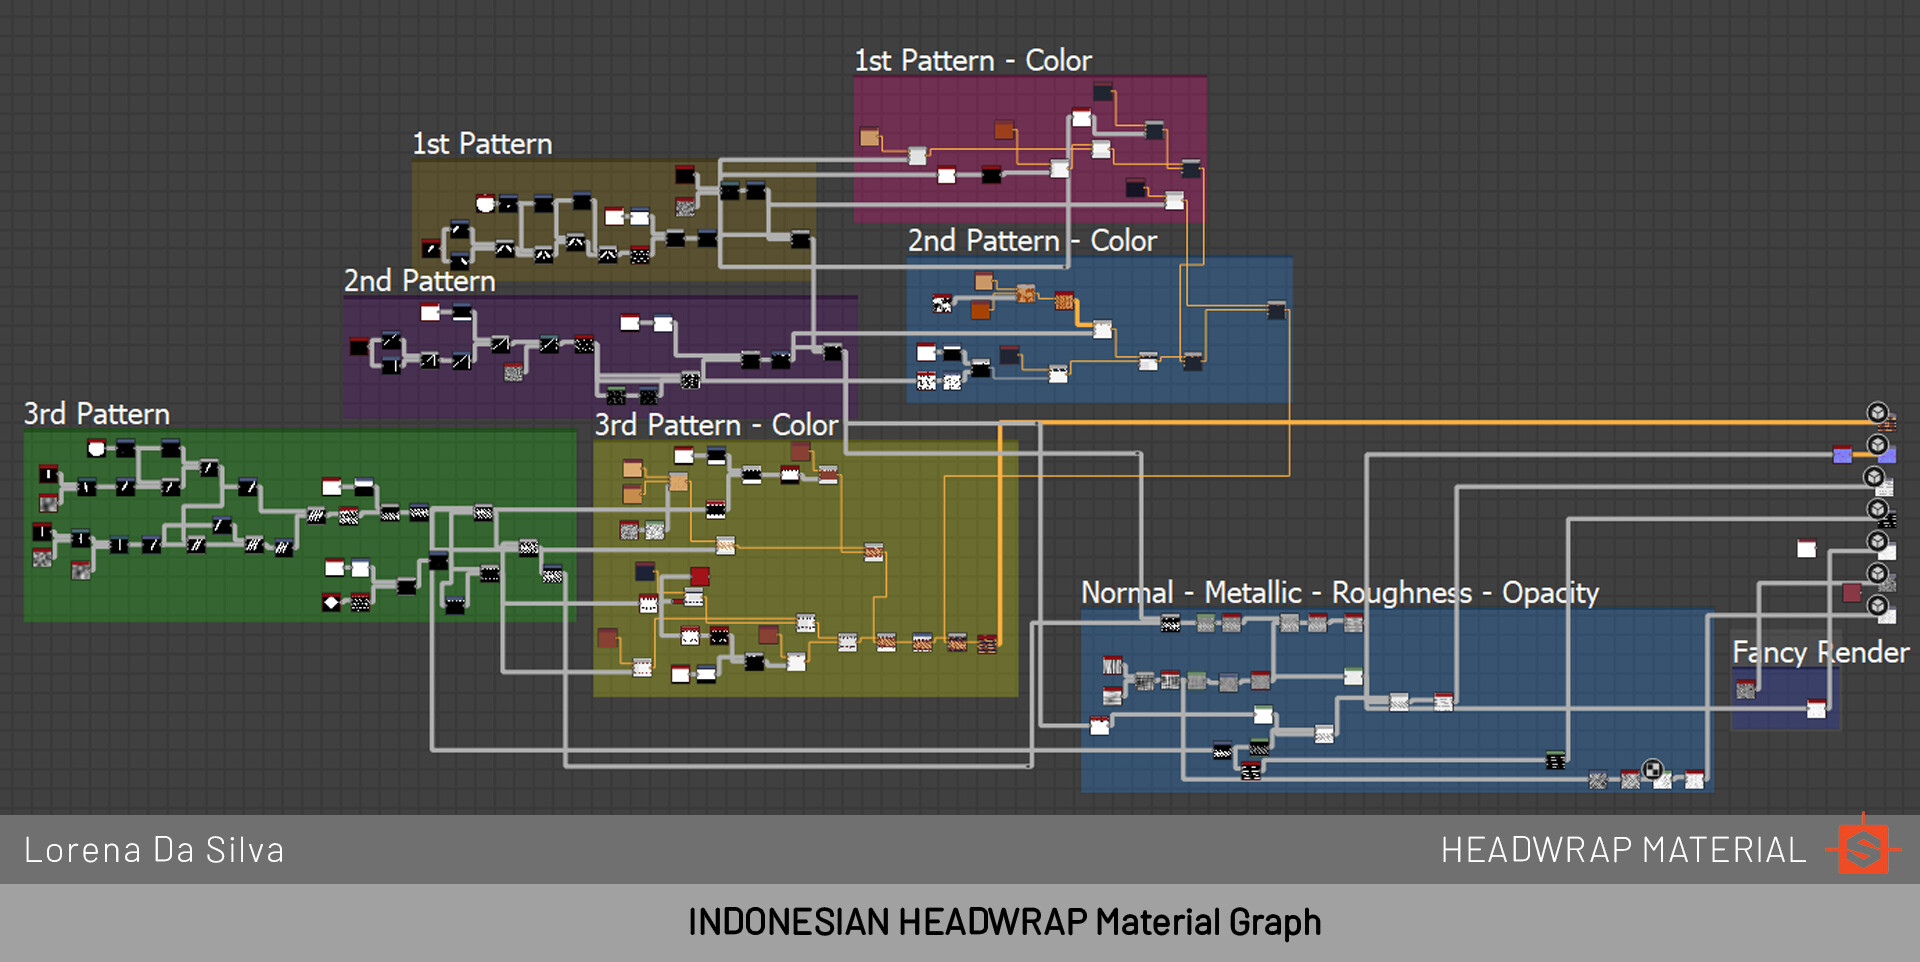
The "ikat kepala" is the headwrap in Indonesia, and I created a base material in Substance Designer, inspired by the two patterns on my references:
For the "sarong", which is the fabric around the hips/legs, I also created a base material in Designer, based on the concept art Alyssa made for us, with parameters so the colors and opacity of the colors could be changed if needed:

 Concept Art by Alyssa
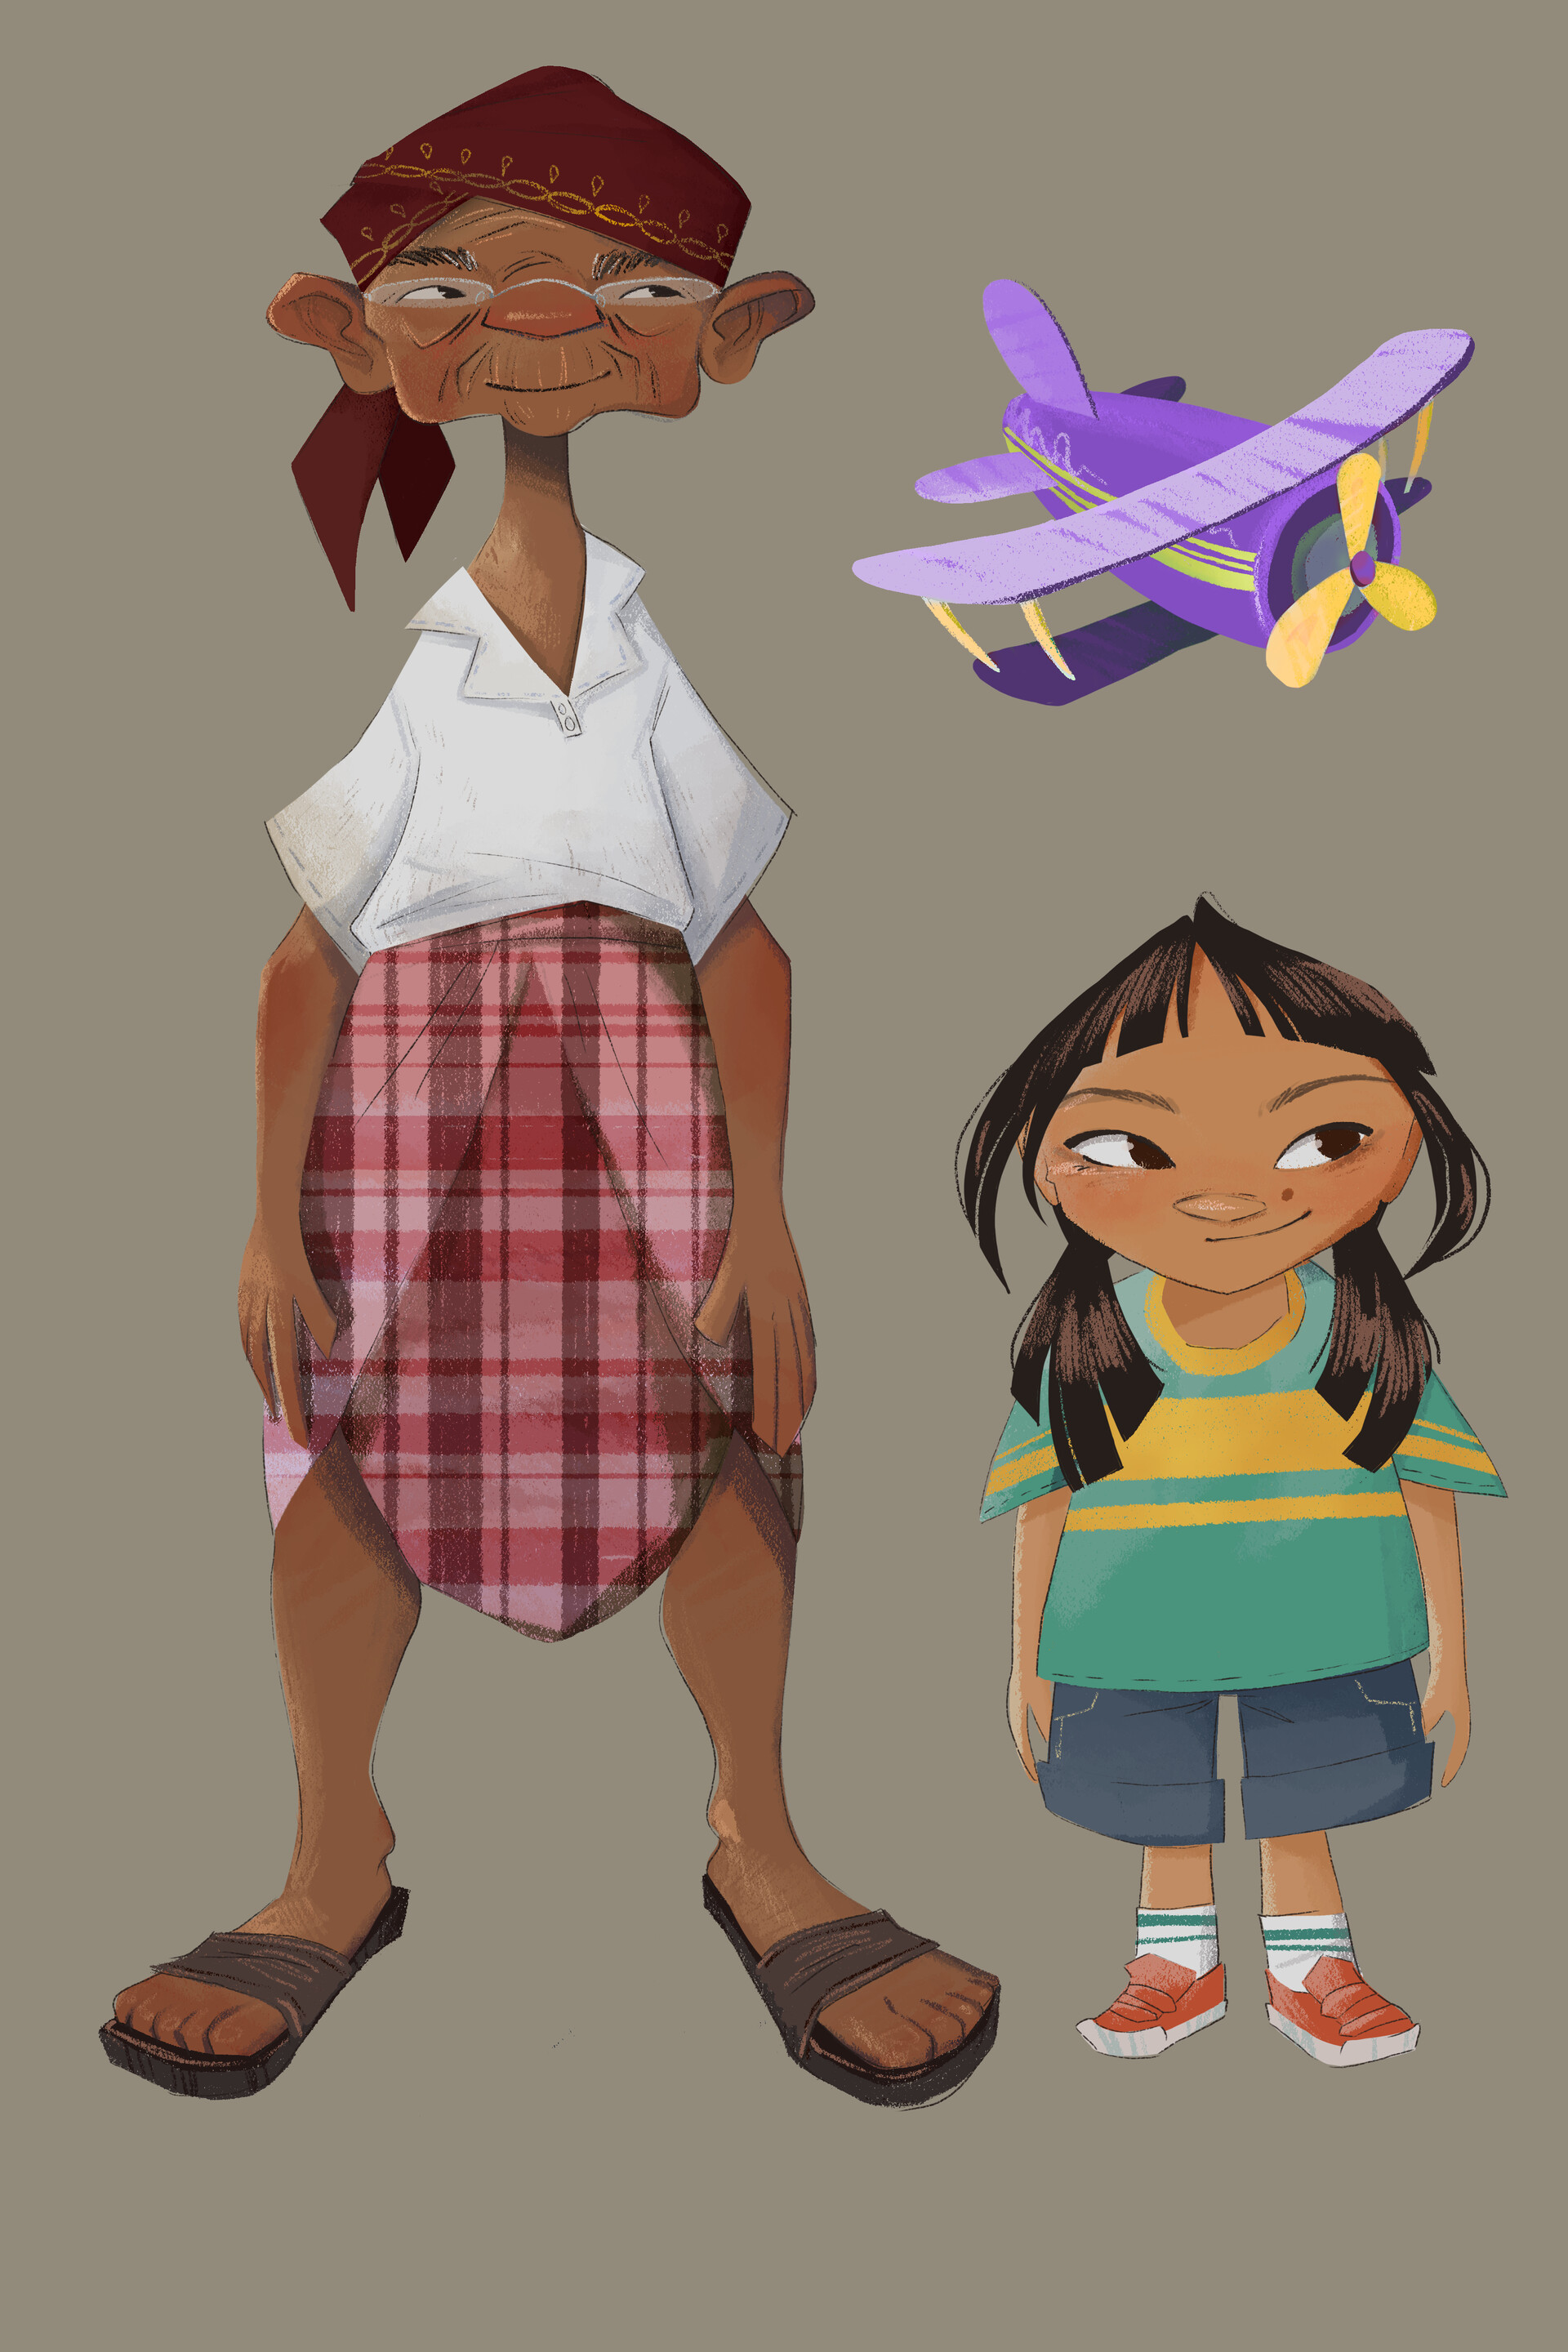
Texturing
After these base materials were created, I moved on to Substance Painter. The first thing I did was bake all my mesh maps, and bake the high poly mesh into the low poly mesh. That's how I got the wrinkle details and the brow bone area as well.
I started with the skin, creating freckles and spots. In some areas, I added a yellow-ish undertone. In other areas, I added red spots, like in the nose, ears, and cheeks. I made sure to have a more oily roughness in the T-Zone of the face as well.
As I was working, I was watching "Character Texturing with Substance: Magdalena Dadela Livestream", and heard important information I will be taking into account when texturing the other character. Since I had already the skin almost done when watching the video, I tried to incorporate some of her ideas into what I already had painted. Most important thing I learned:
Where to look for references:
- scan data websites - non-polarized images
- traditional makeup painting artists
- RBX Imaging - images used by dermatologists that show exactly where redness and brown spots are
One of the things I was overthinking a lot was the Subsurface Scattering map/mask. I kept using my phone's flashlight on my body to understand better which areas have more SSS than others. Even on my teeth and gums lol.
Shading
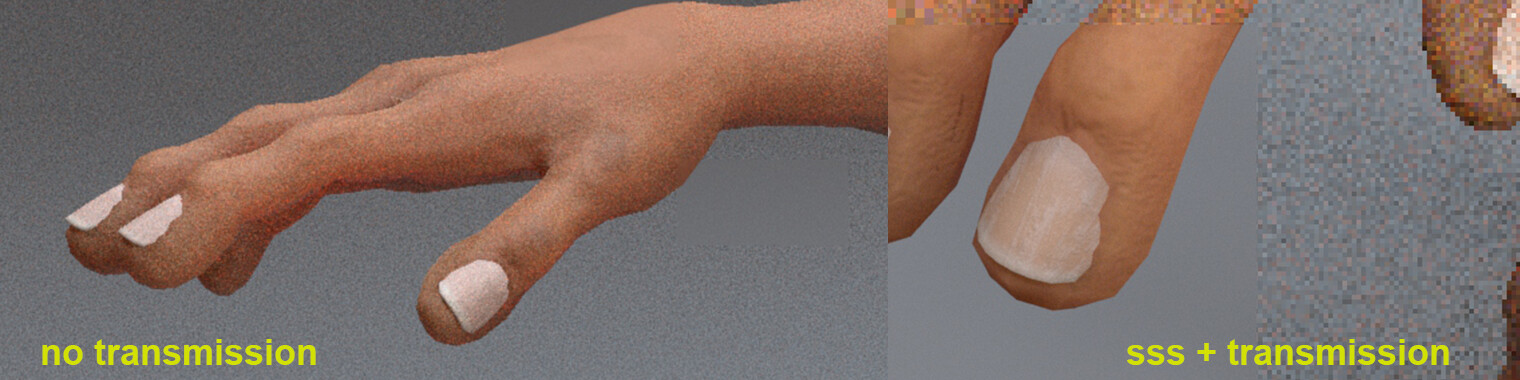
One thing I was struggling with was getting the fingernails to look correct when shading. I realized they not only have subsurface, but also TRANSMISSION! Here's how the transmission with sss makes a difference (this is not the final render) :
Besides using transmission, using a subsurface color map helped achieve more of a fleshy look. Here I have the SSS color map vs the Base Color Map for the fingernails:

Websites I used while shading. I always use the Arnold Documentation <3
https://docs.arnoldrenderer.com/display/A5AFMUG/Sheen
https://docs.arnoldrenderer.com/display/A5AFMUG/Subsurface
https://docs.arnoldrenderer.com/display/A5AF3DSUG/Transmission
https://academy.substance3d.com/courses/Substance-guide-to-Rendering-in-Arnold
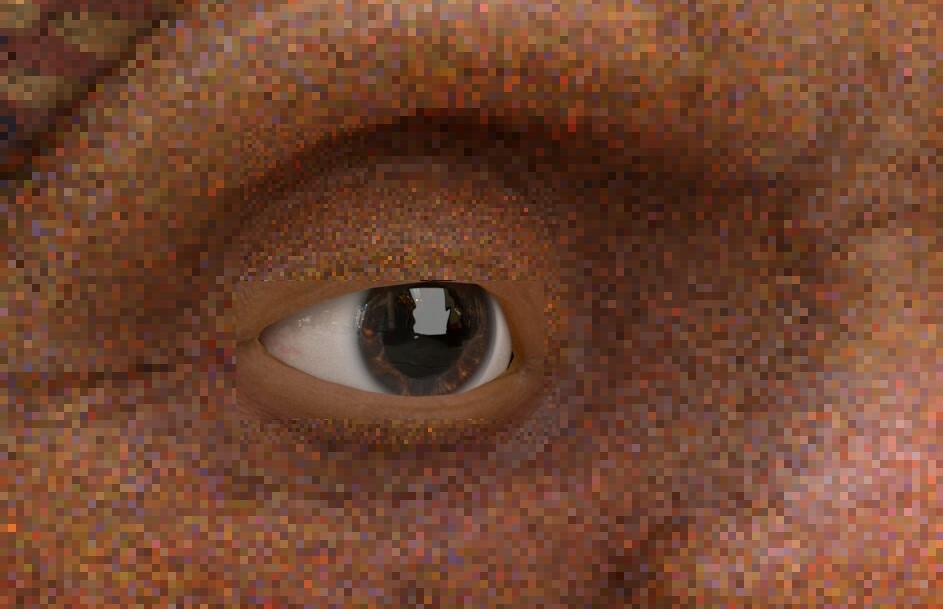
For the eye, I tried to follow some procedural tutorials for Maya, but I kept having issues where the tutorial was either outdated (Maya 2017-2018) or that it was for V-Ray. The tutorials I watched for the procedural eye were: https://www.youtube.com/watch?v=hGSdCFWQ2sE and https://www.youtube.com/watch?v=0ek11QugGEQ&t=1228s . And other small issues like I couldn't connect correctly some of the nodes, so I looked up a free iris + eye textures from https://www.artstation.com/marketplace/library/a8dn/34544/eye-obj-iris-free-textures-all-free and followed the video to understand the eye shader https://www.youtube.com/watch?v=-miSfjrSGEM&t=918s. I ended up tweaking the scale of the image and color, since we needed a dark brown iris:
As I was look deving the grandpa, I also looked at Brian Lesiangi's look dev for the "Godspeed" characters. It helped me understand SSS on an animated character better.
Something that really helped bring realism to the grandpa textures was adding opacity to the shirt, sarong, and headwrap. It brought out the fabric material so much better.
And this is the final product! Well, so far. It could change once we start putting everything together :D
Final product with Christian's Groom:
Girl Look Dev
References
this is how my references collage ended up like:
Texturing
First thing I do when I start my Substance Painter file, I bake my mesh maps. After, I bake the high poly mesh into the low poly mesh. In this case, I only needed to bake the skin/body and the socks. After baking, I saw there was an issue where her leg met the socks. I thought it was not going to be visible when rendering, but it was there definitely.
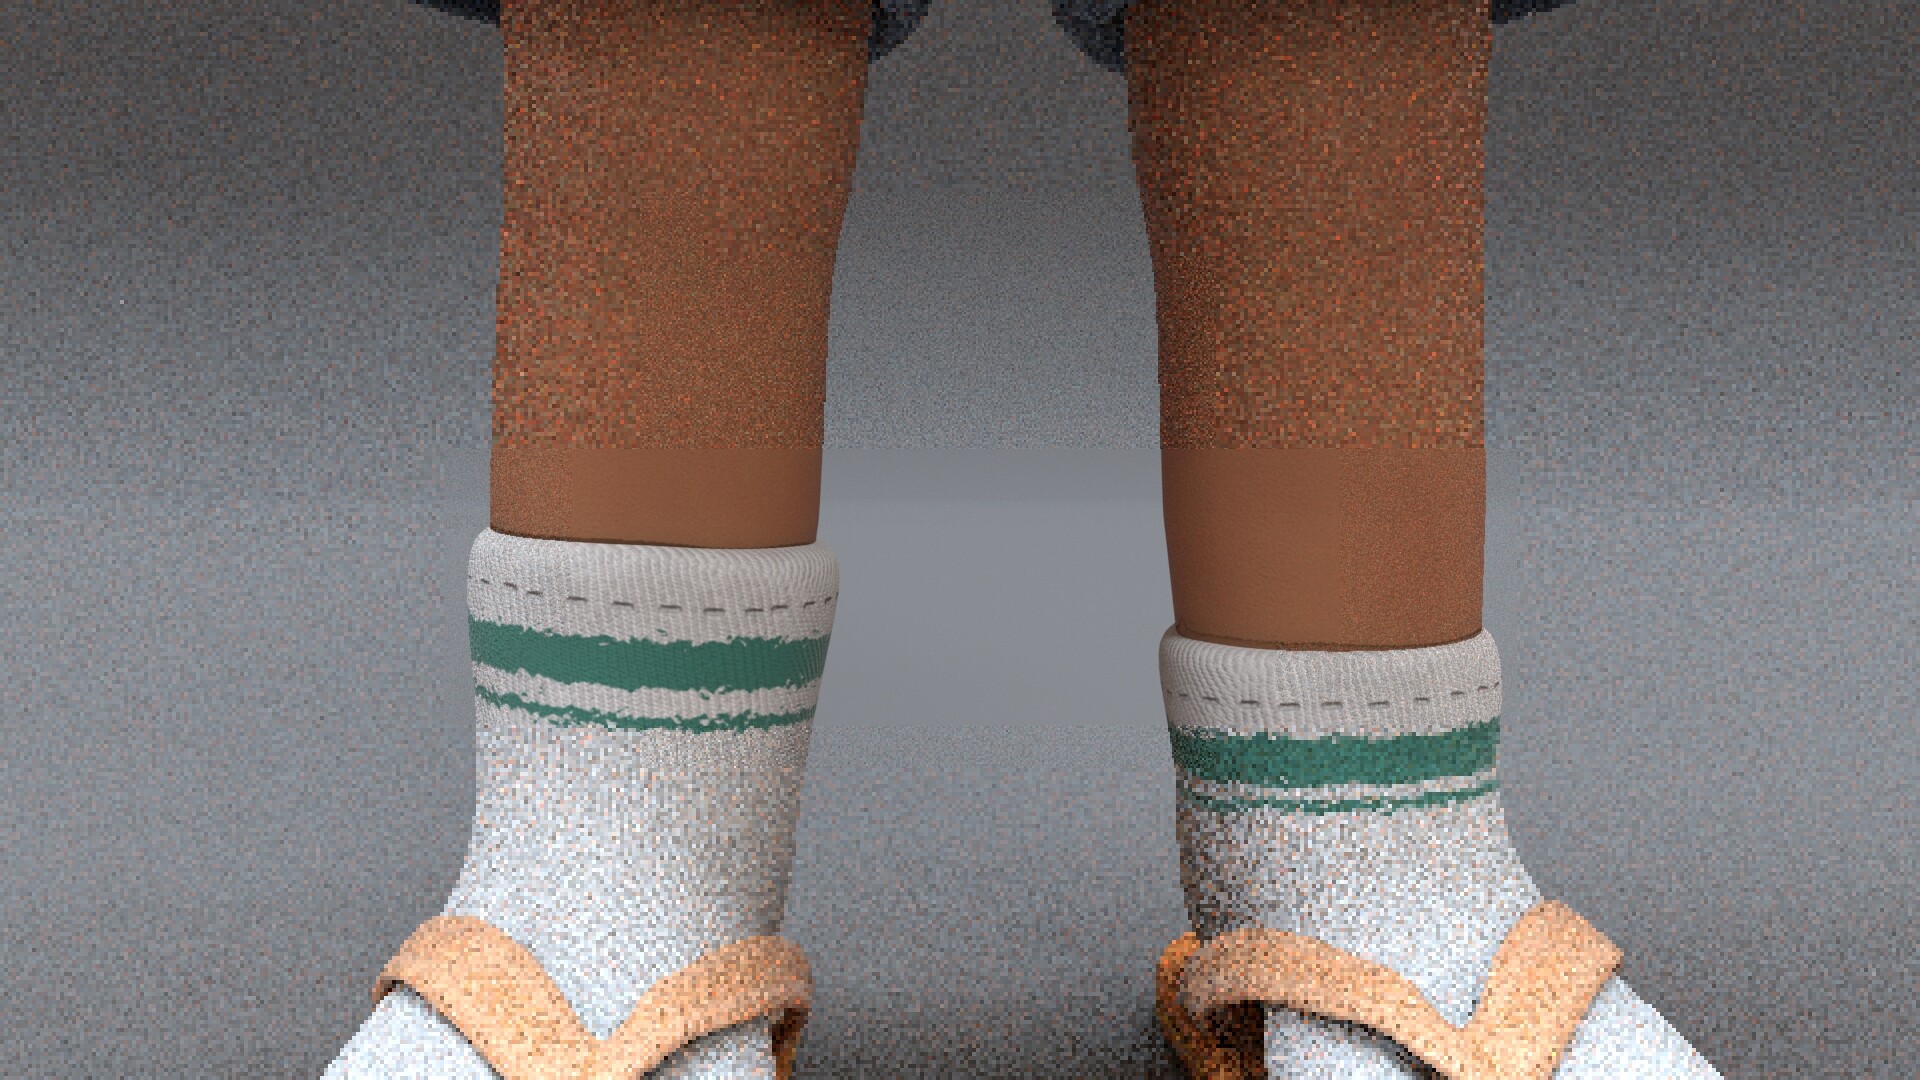

I looked up online if anyone had had a similar issue to mine, and I found out sometimes, people have to tweak the normal map, by painting on Substance Painter or Photoshop. https://forum.substance3d.com/index.php?topic=27049.0 For my purposes, I ended up using the Clone Stamp Tool on Photoshop, since that area I wanted to clone looked pretty much the same nearby.
Shading
For shading, I used the same approach I used for the grandfather.
This is how she looked like with her hair placeholder lol:
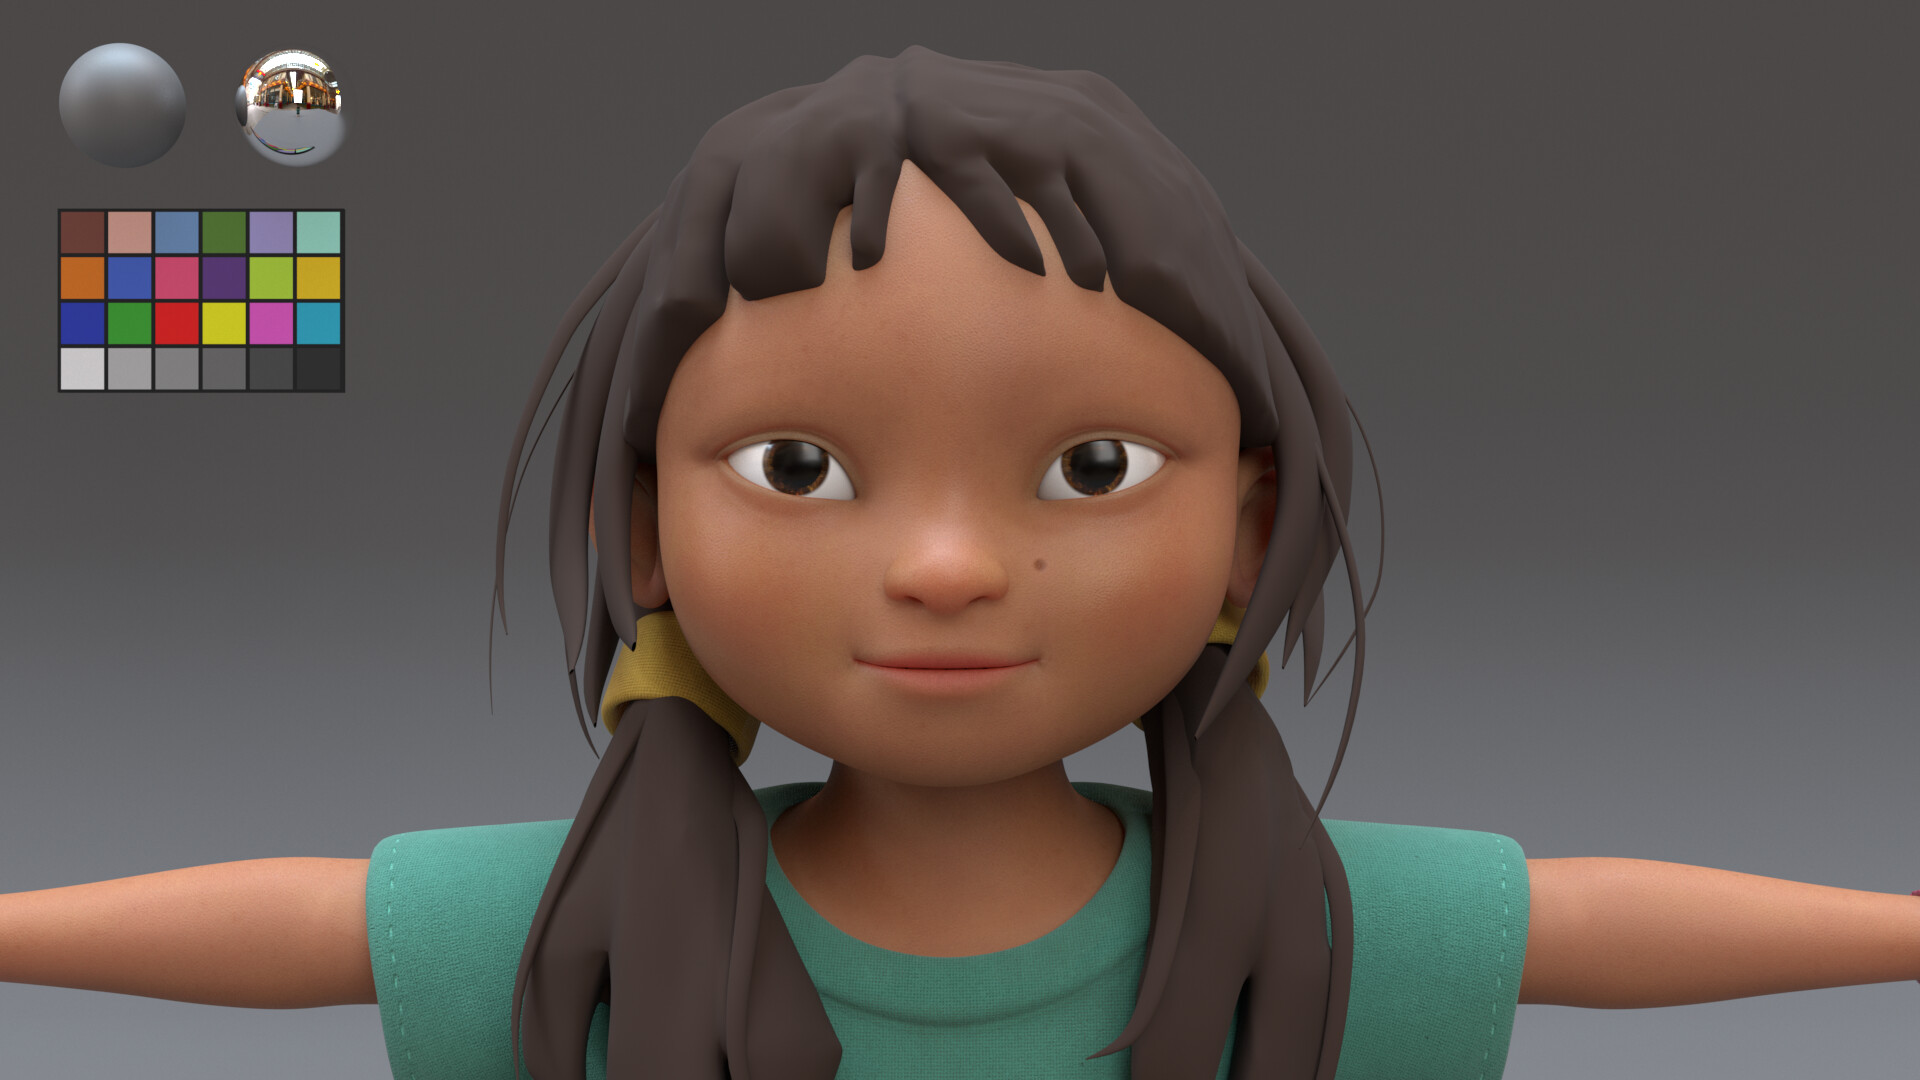
Final lookdev! With Groom by Christian Rodriguez