
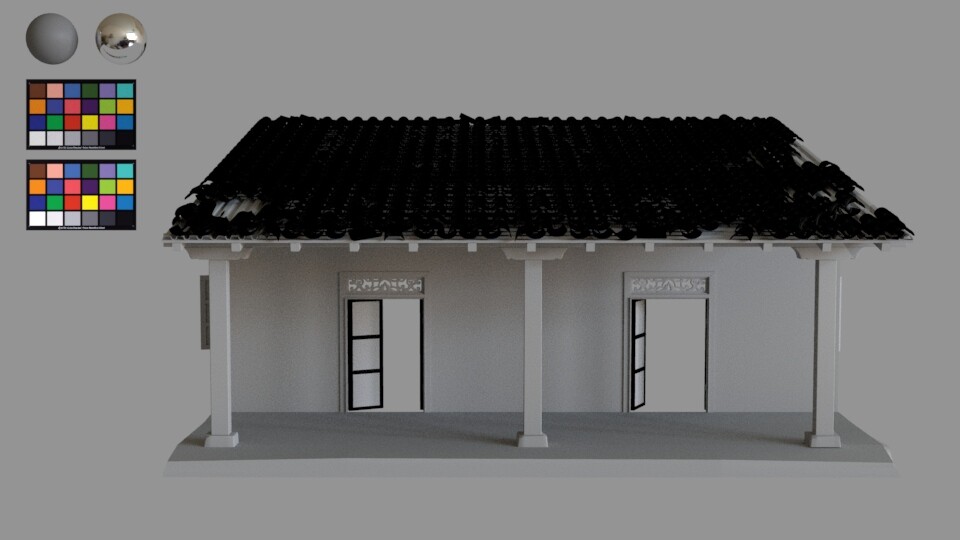
Lookdev Light Rig
I have previously built a light rig, but I realized it could have been built better. I watched a little bit of these videos as references:
- Look Development Setup for VFX by Raycast https://youtu.be/VgkF3AsRAYo
- Lookdev kit 1 - Workflow https://youtu.be/vPHhVrxxThU by Dušan Ković (he has a free lookdev kit on his artstation). I didn't use his light rig, but I followed some of his guidelines for mine.
 Light rig explorations
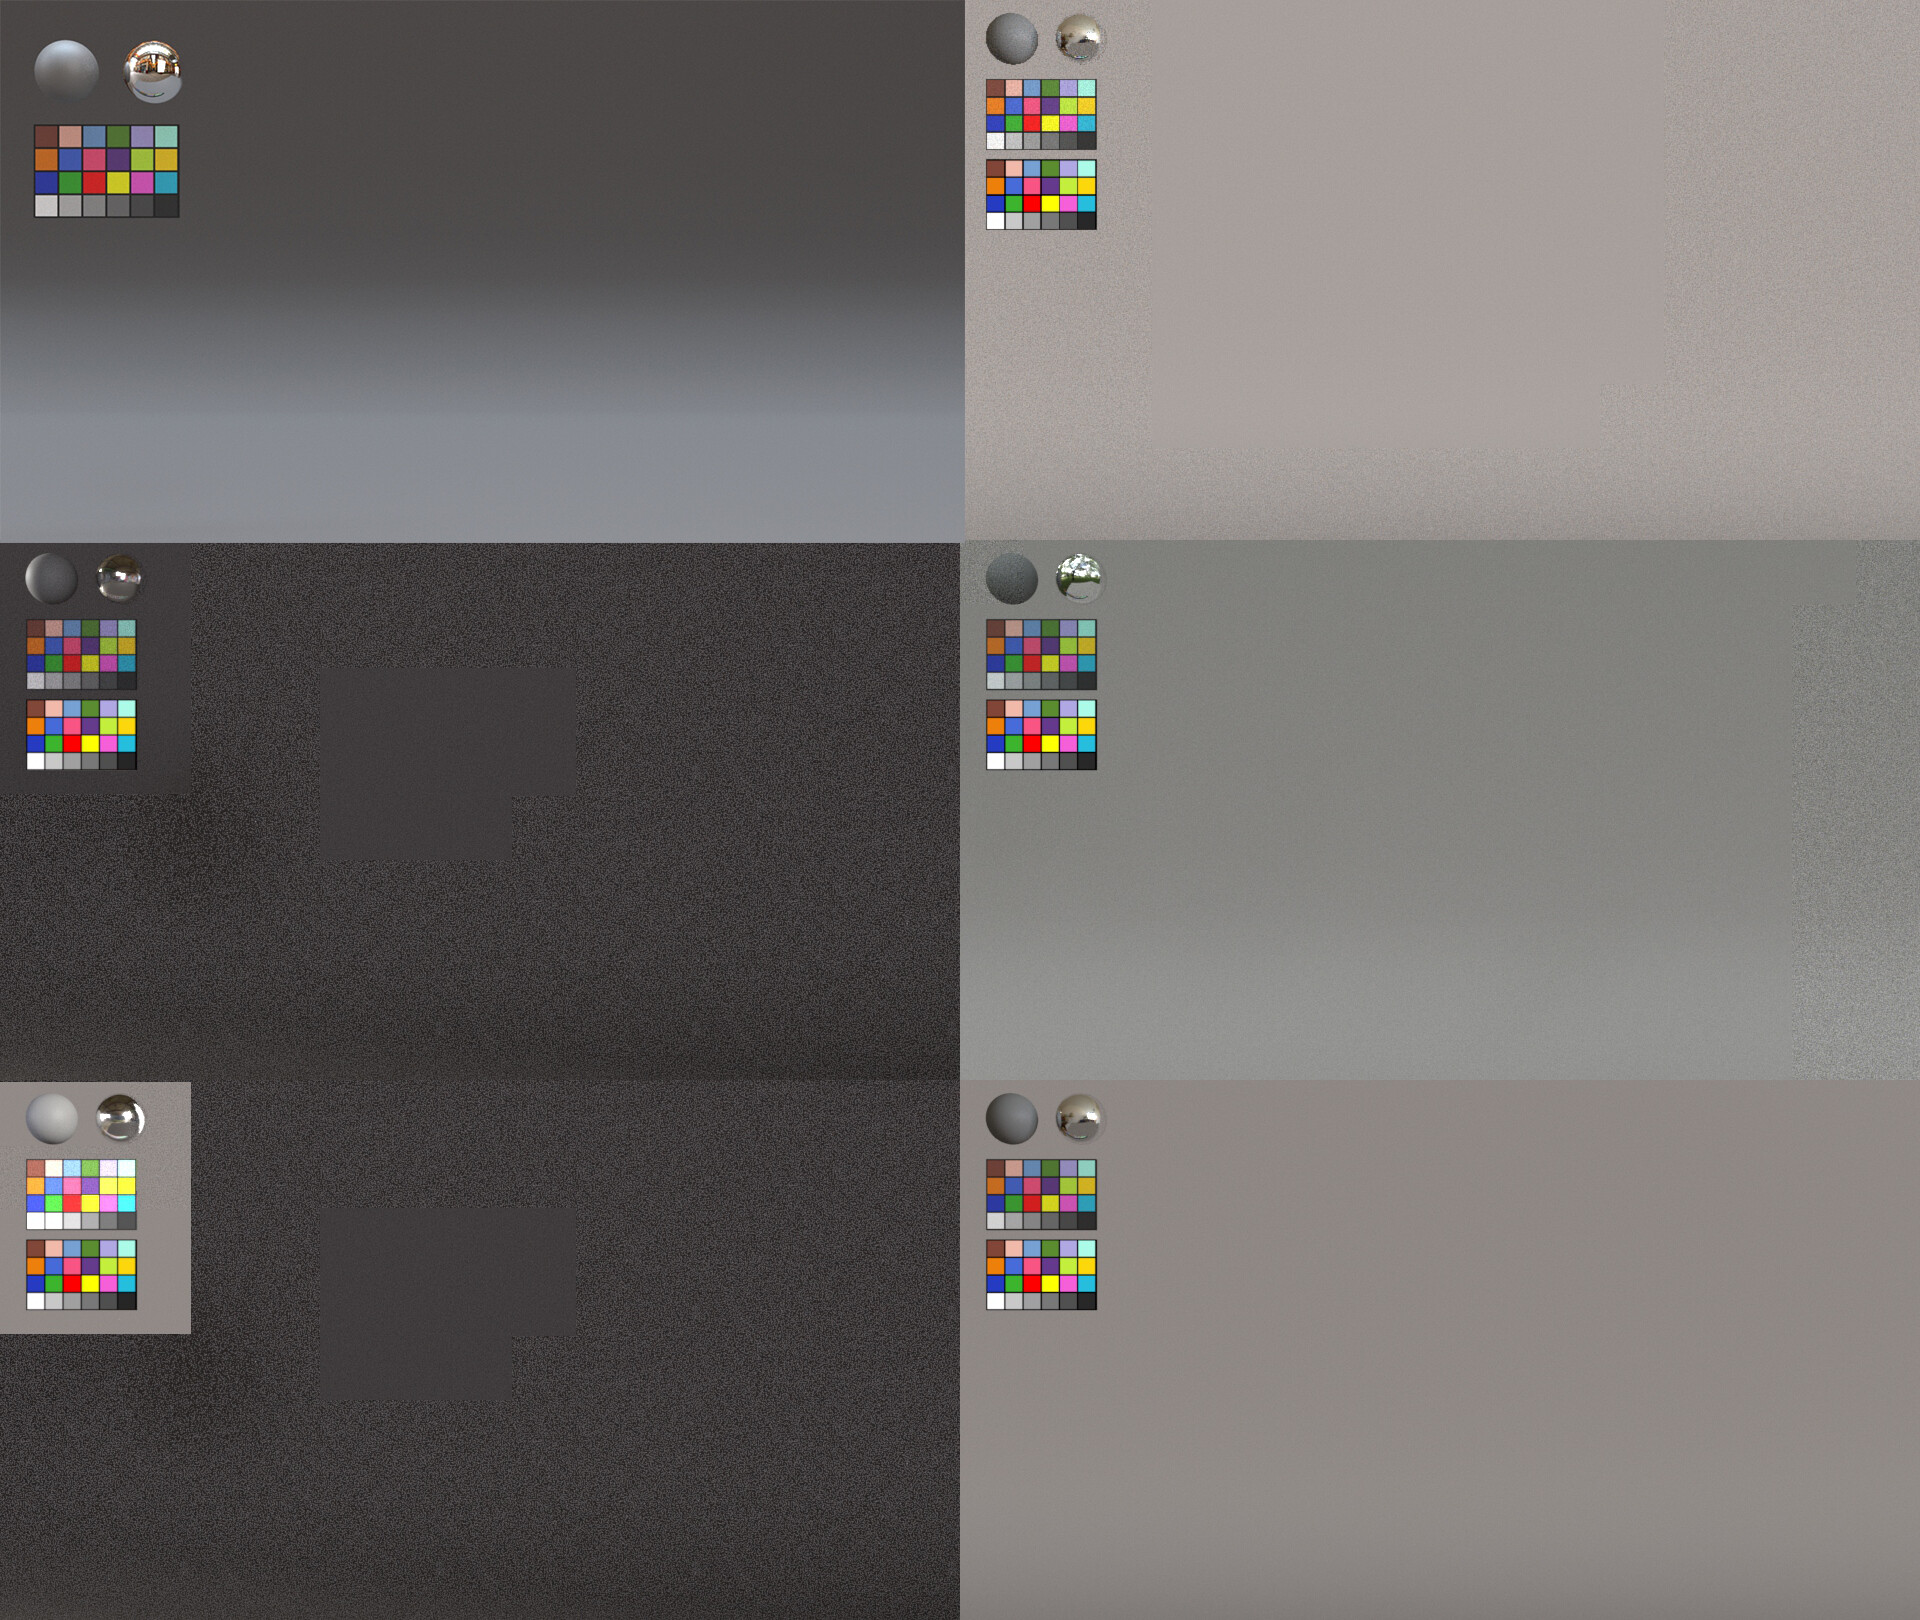 Light rig explorations
Final light rig:
Background: backdrop with surface shader (ignore the black geo)
Background: backdrop with aiShadowMatte
Beginnings of Lighting
After hearing Amanda Jayapurna's talk on lighting environments, I decided to start a base lighting before my textures. I followed her steps:
- Gather reference (real life and concept at, avoid CG reference)
- Pick the right HDRI, paying attention to it's shadow
- Nail down the time of the day
- Light your gray box model to get the mood
References (first two top images are concept art/lighting keys done by Zachary St. Amand):

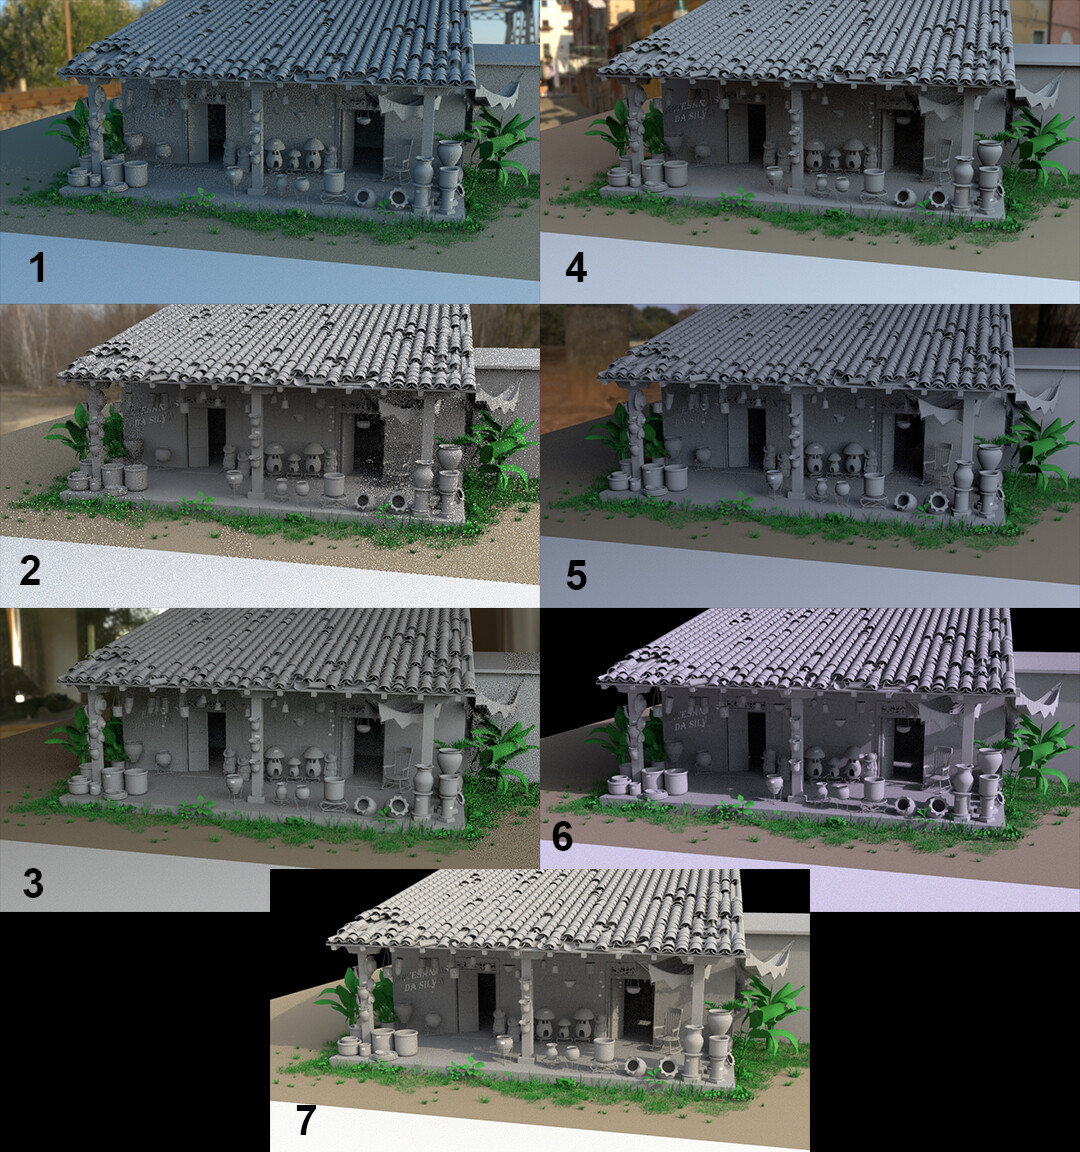
I downloaded multiple HDRI's until I found one that I liked, number 7. The HDRIs I download are from https://hdrihaven.com/ :
After I got my base lighting, I set a spotlight as my keylight in the direction of the sun, and added an extra light by the window, so the "sun" really gets inside there. I added area lights on the floor, facing up, to add more bounce lighting to fake it a little bit. I also added an area light from the ceiling, so it is not so dark. This is so far the rough lighting at the moment:

I went back and fixed my lighting, since it was looking like winter/cold, following Chris Brejon's tips on lighting on his CG cinematography.
Lighting and Lookdev using "Broad Strokes" technique:
As I was lighting, I was using the "broad strokes" technique, where I add base colors and specular to the environment/set and props, to make sure the colors work all together and that they work as well with the lighting, as well as the specular information. Here are some progress shots of my process of lighting and developing the look.
I went back to fix my lighting a bit. In Photoshop I added some adjustment layers and tried to change the exposure, and other settings to be able to visualize a bit more how I want this to look like. The bottom is the original render, and the top is the photoshop adjusted. It might be a little bright, but it's closer to what I want:

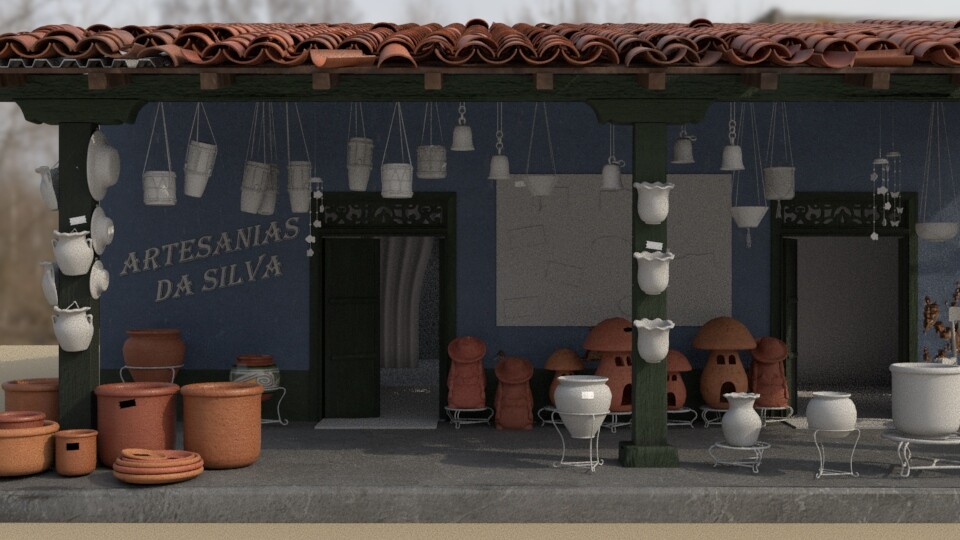
 new lighting + finished textures + in progress textures + unshaded
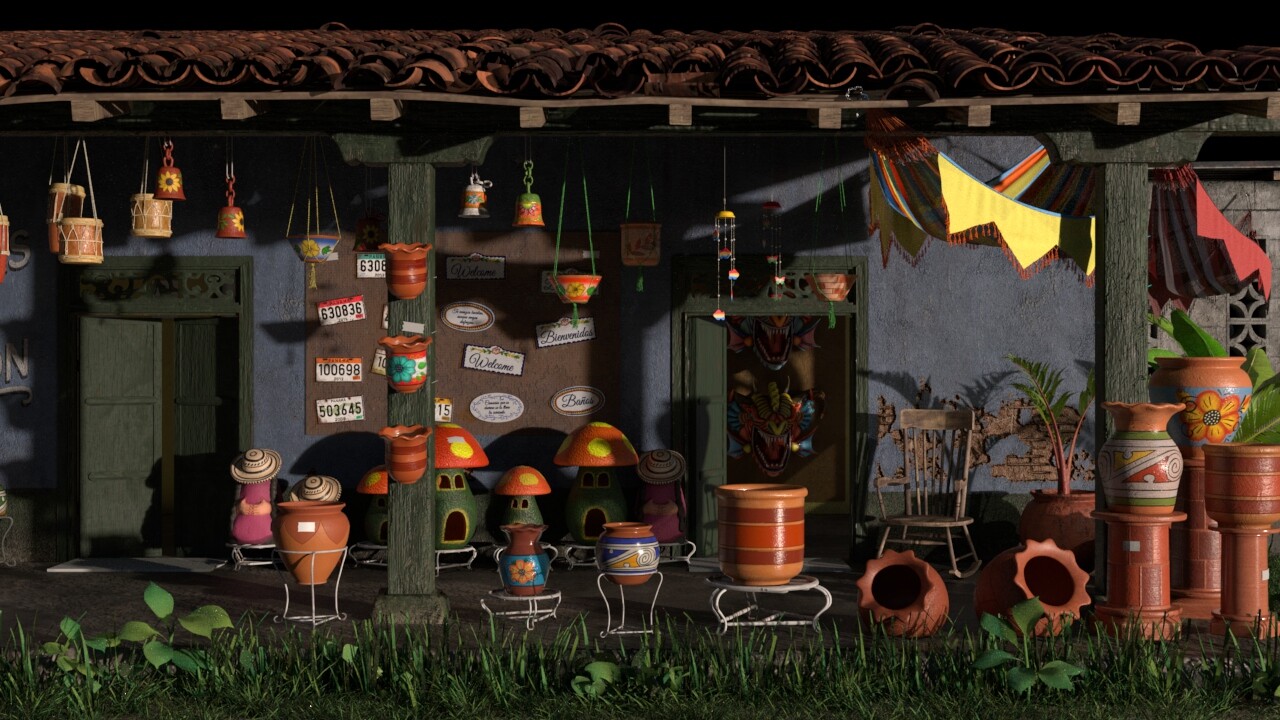
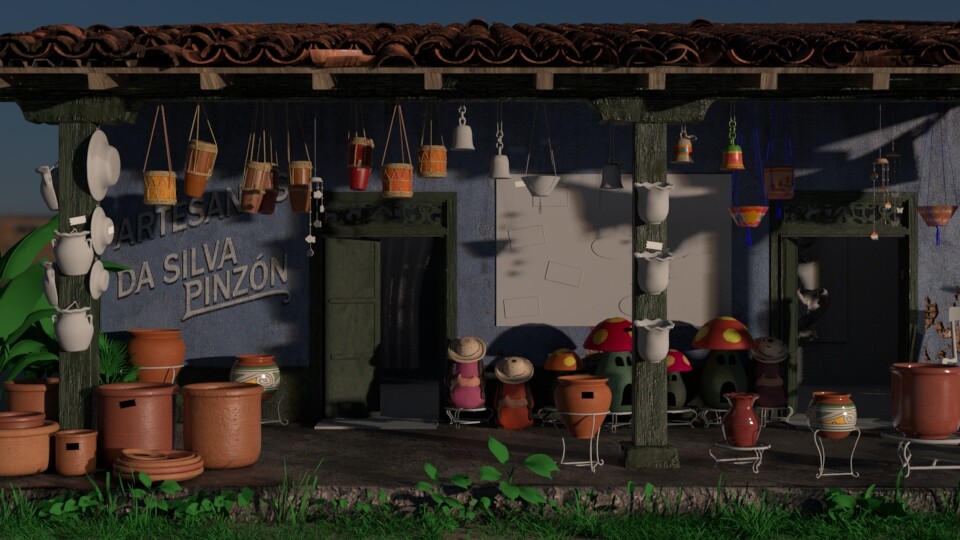
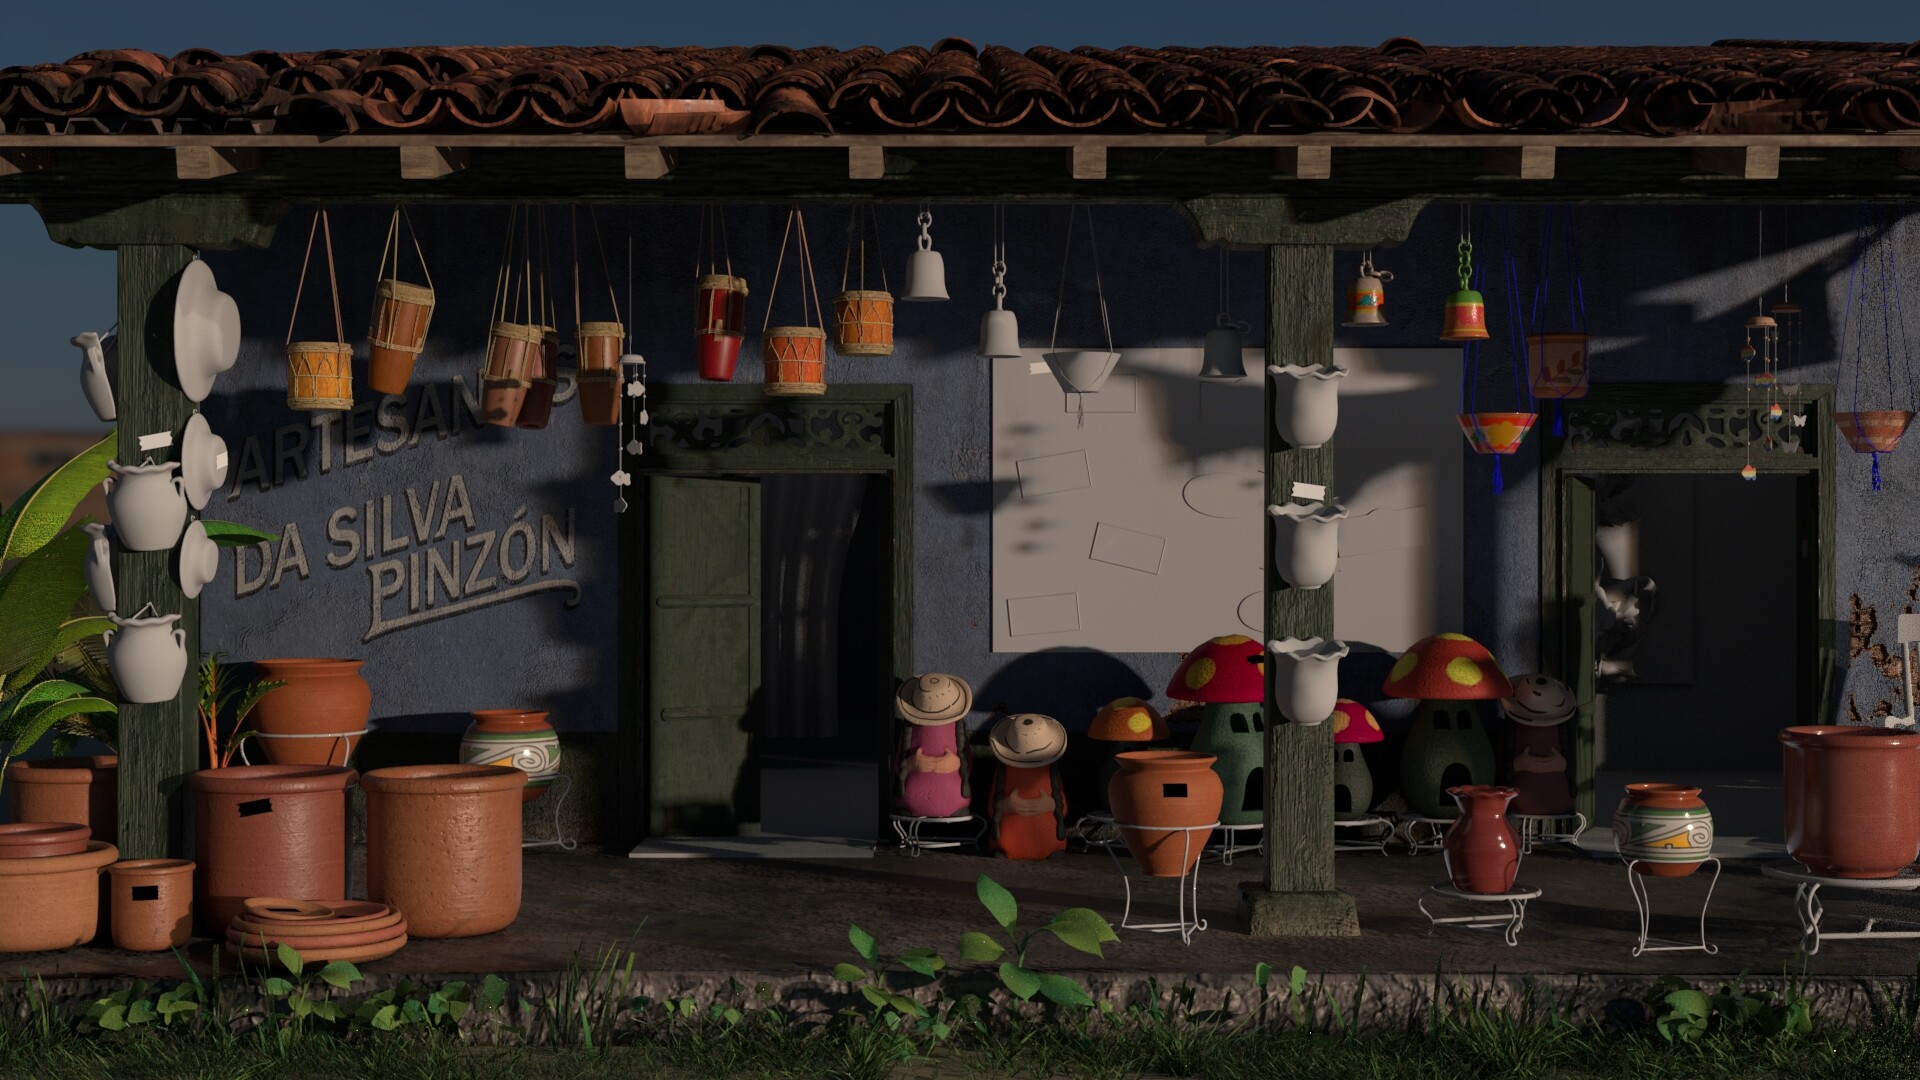
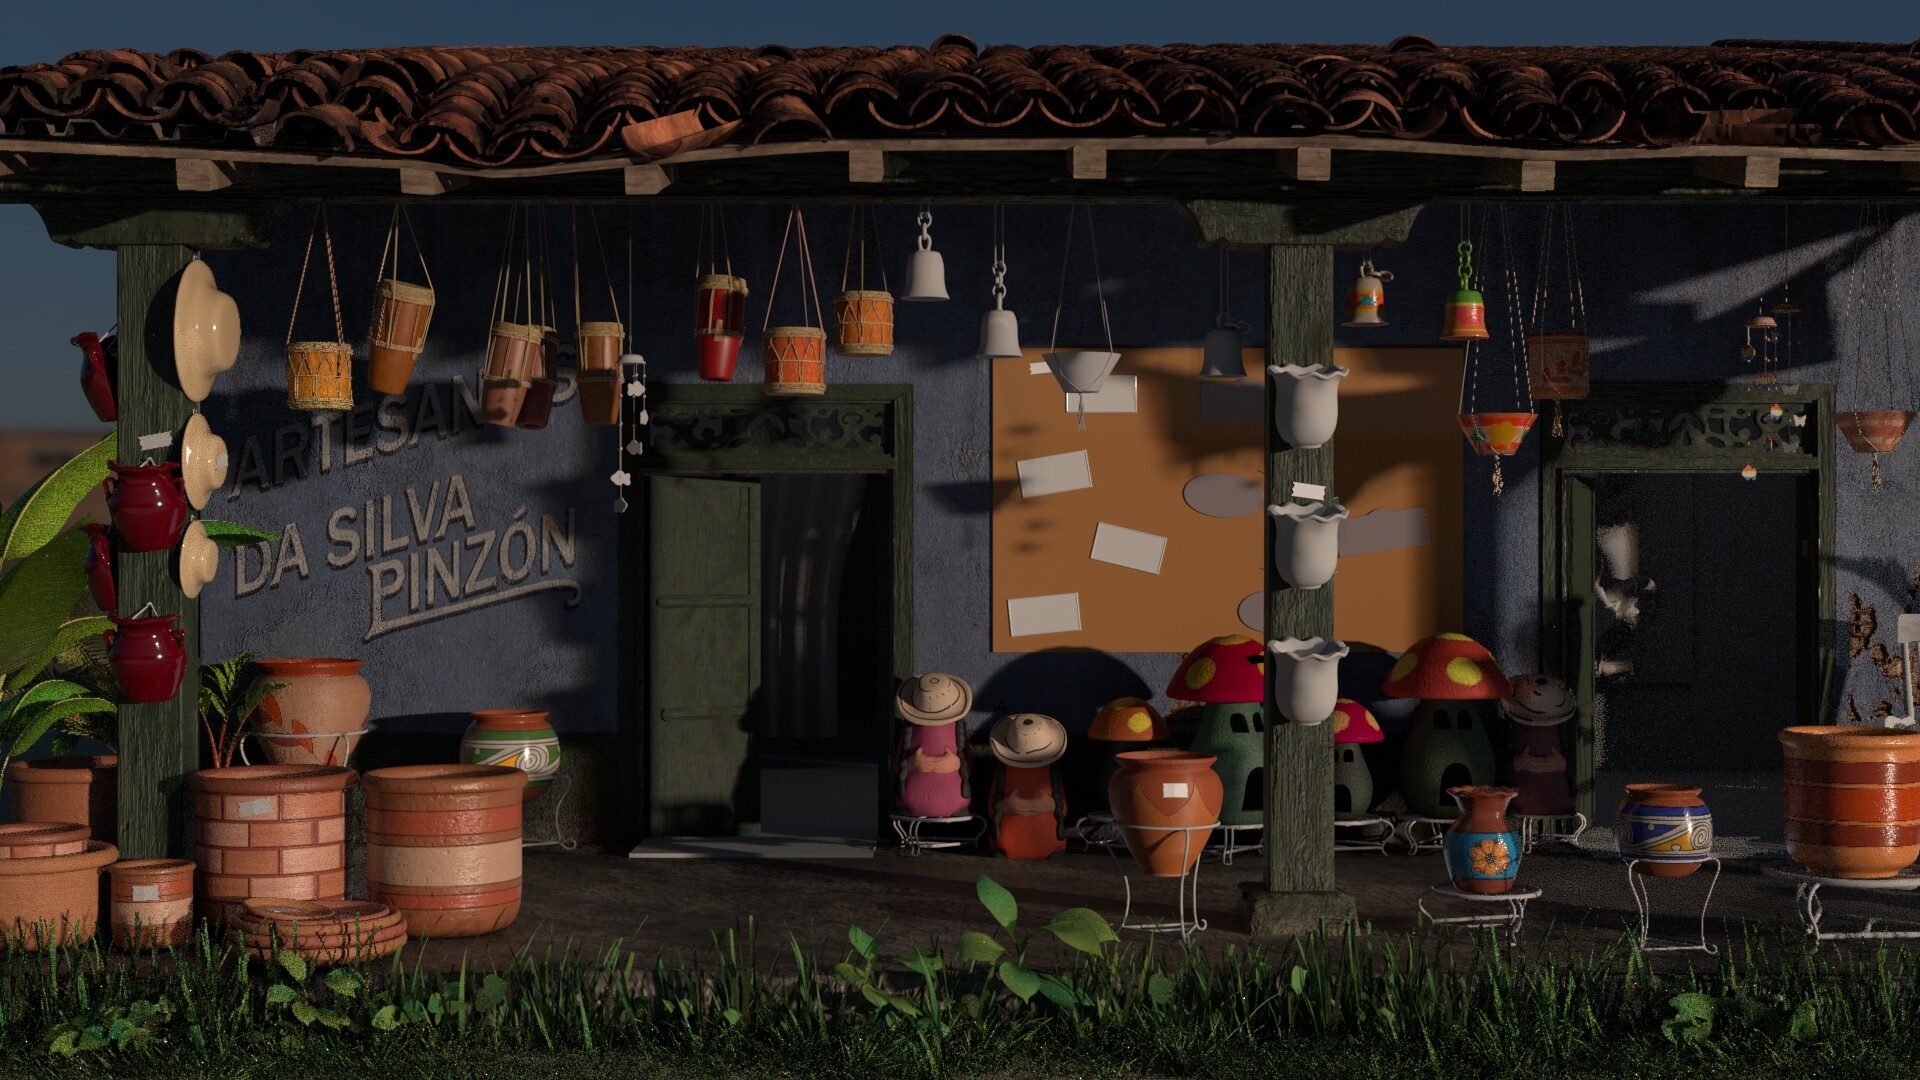
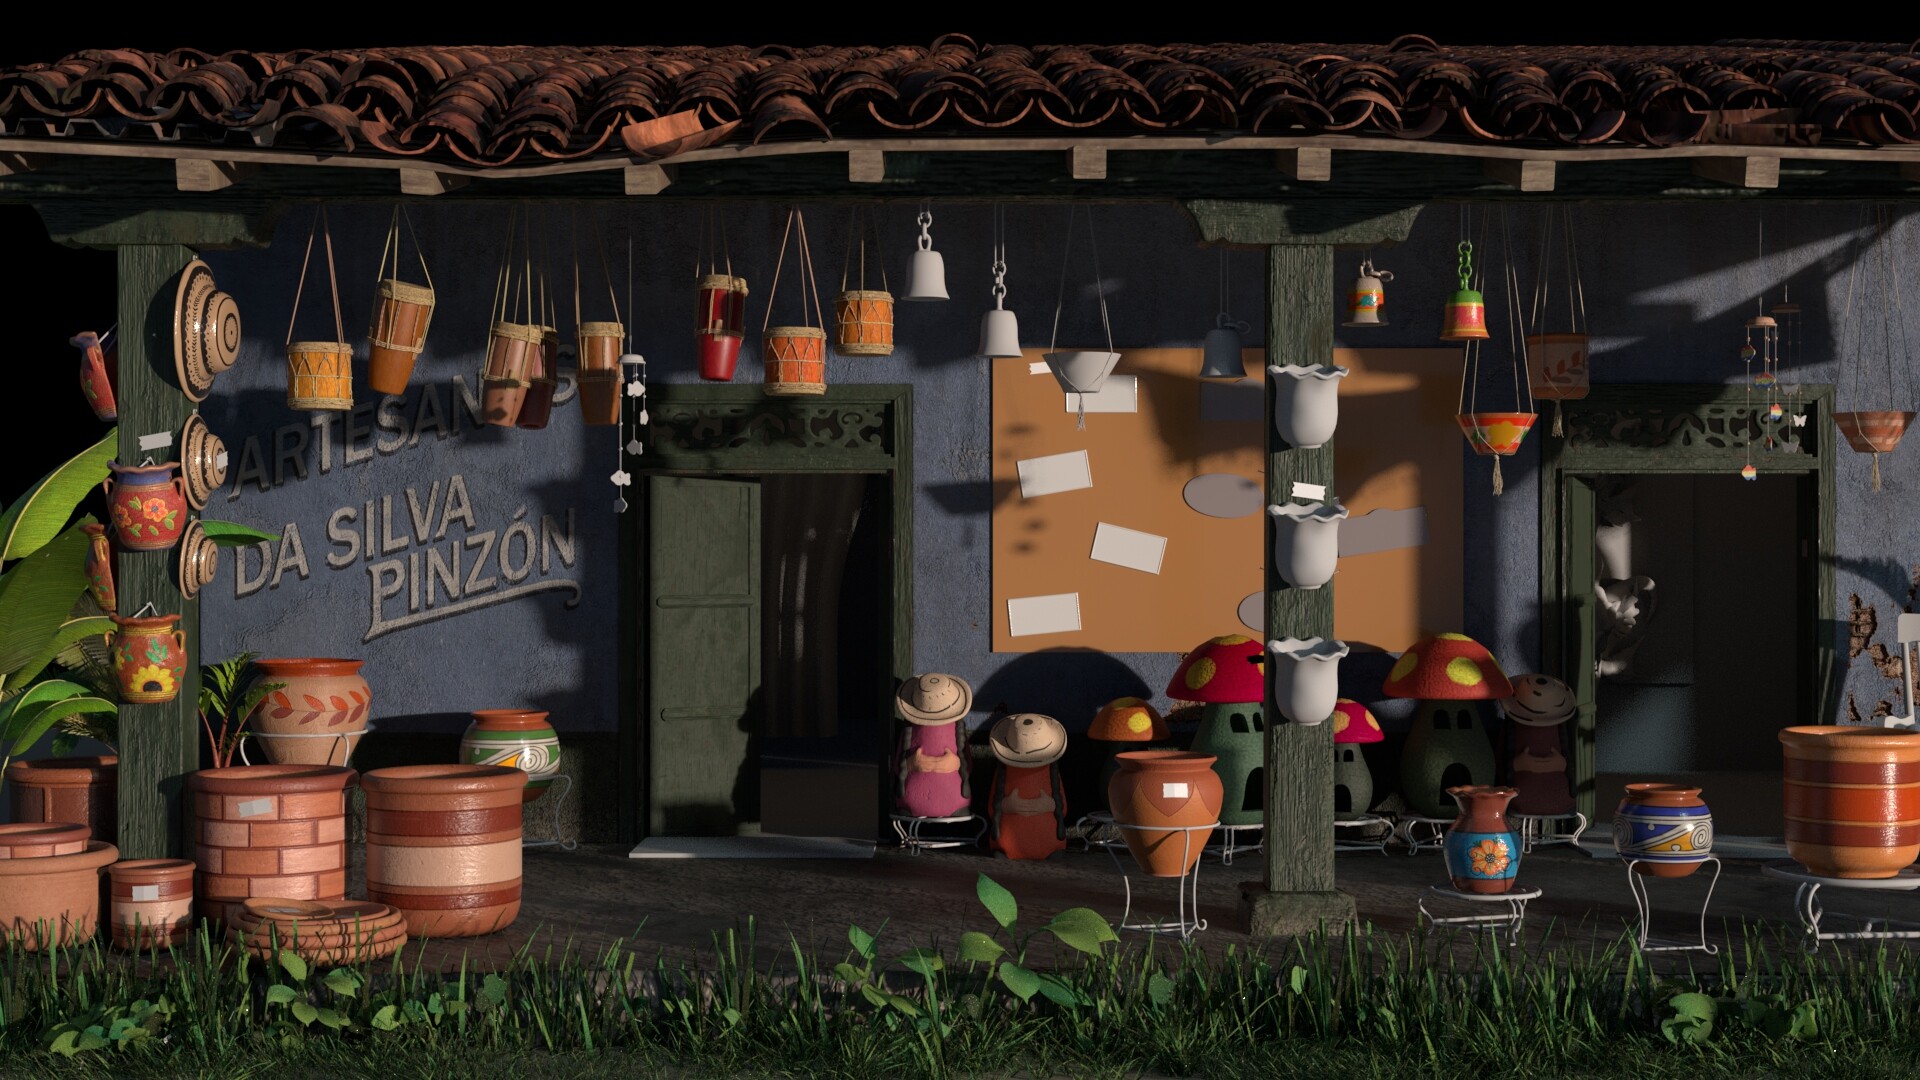
Final lighting:


Texturing and Look Development
Foliage
I tried using an aicolorjitter node for the foliage, but it was looking too different and off:

I ended up using a ramp instead, and it looked better!

For the lookdev of the plants, I tried using a color ramp rather than the aicolorjitter and they look so much better. For the bigger plants, like the Banana Tree and small Palm Trees, I started the textures on Substance Painter. Since the plants are not a focus but are mainly to frame the shots, I stacked all the leaves that had the same polycount, and then used the color jitter node to add some variation:

 Banana tree with stacked UVs. Model from CG Trader.
 with color jitter
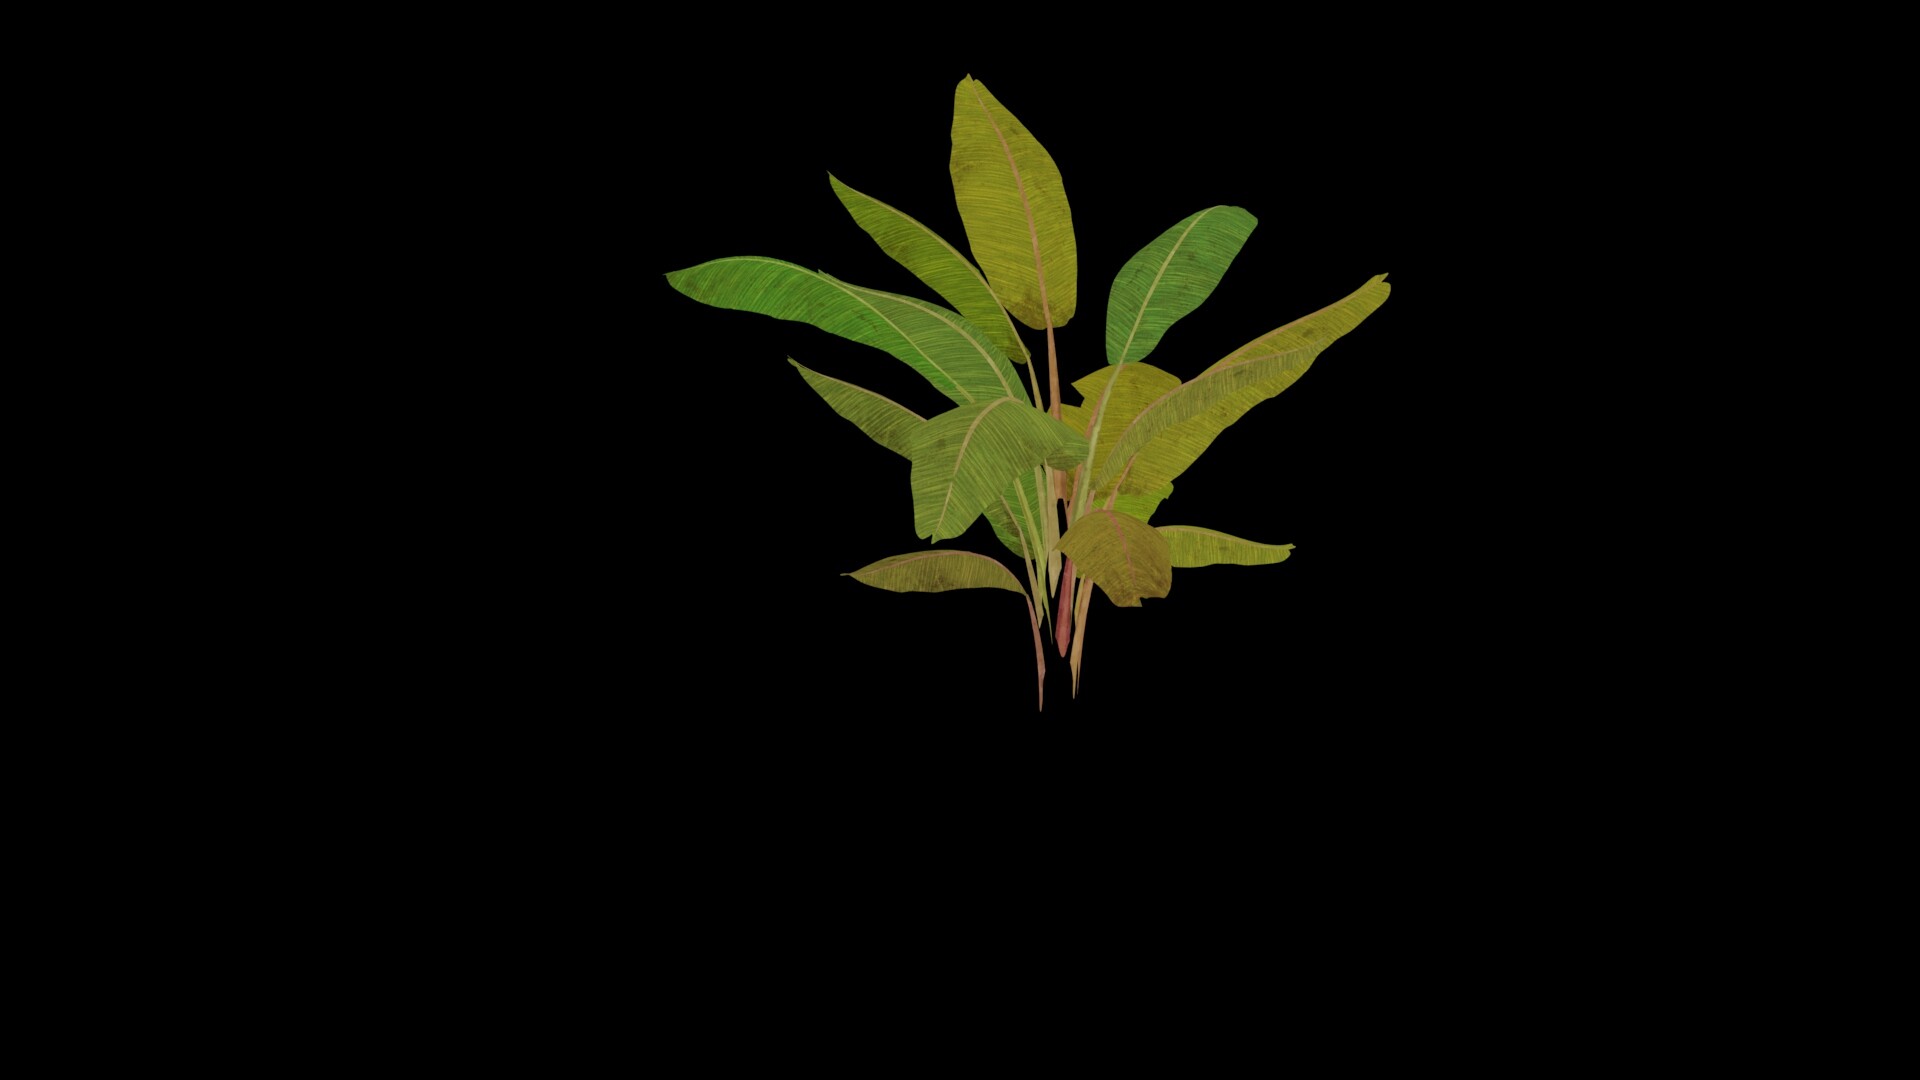
 without color jitter
Front Porch
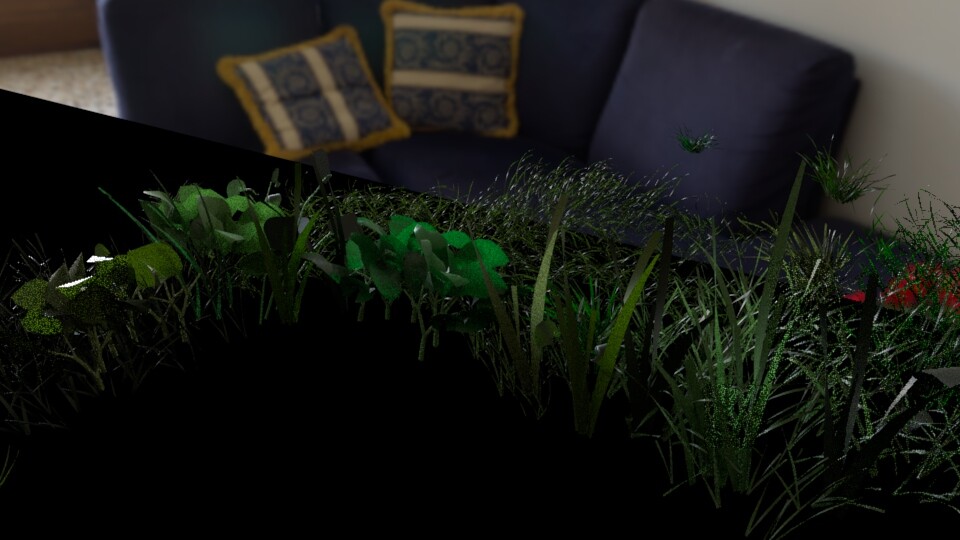
With feedback from last class, I modified the ceiling with a lattice deformer. It was looking too straight, so I followed my reference and deformed it a bit. I also covered the edge of the floor, by adding more grass:
Shot 02 updated architecture:
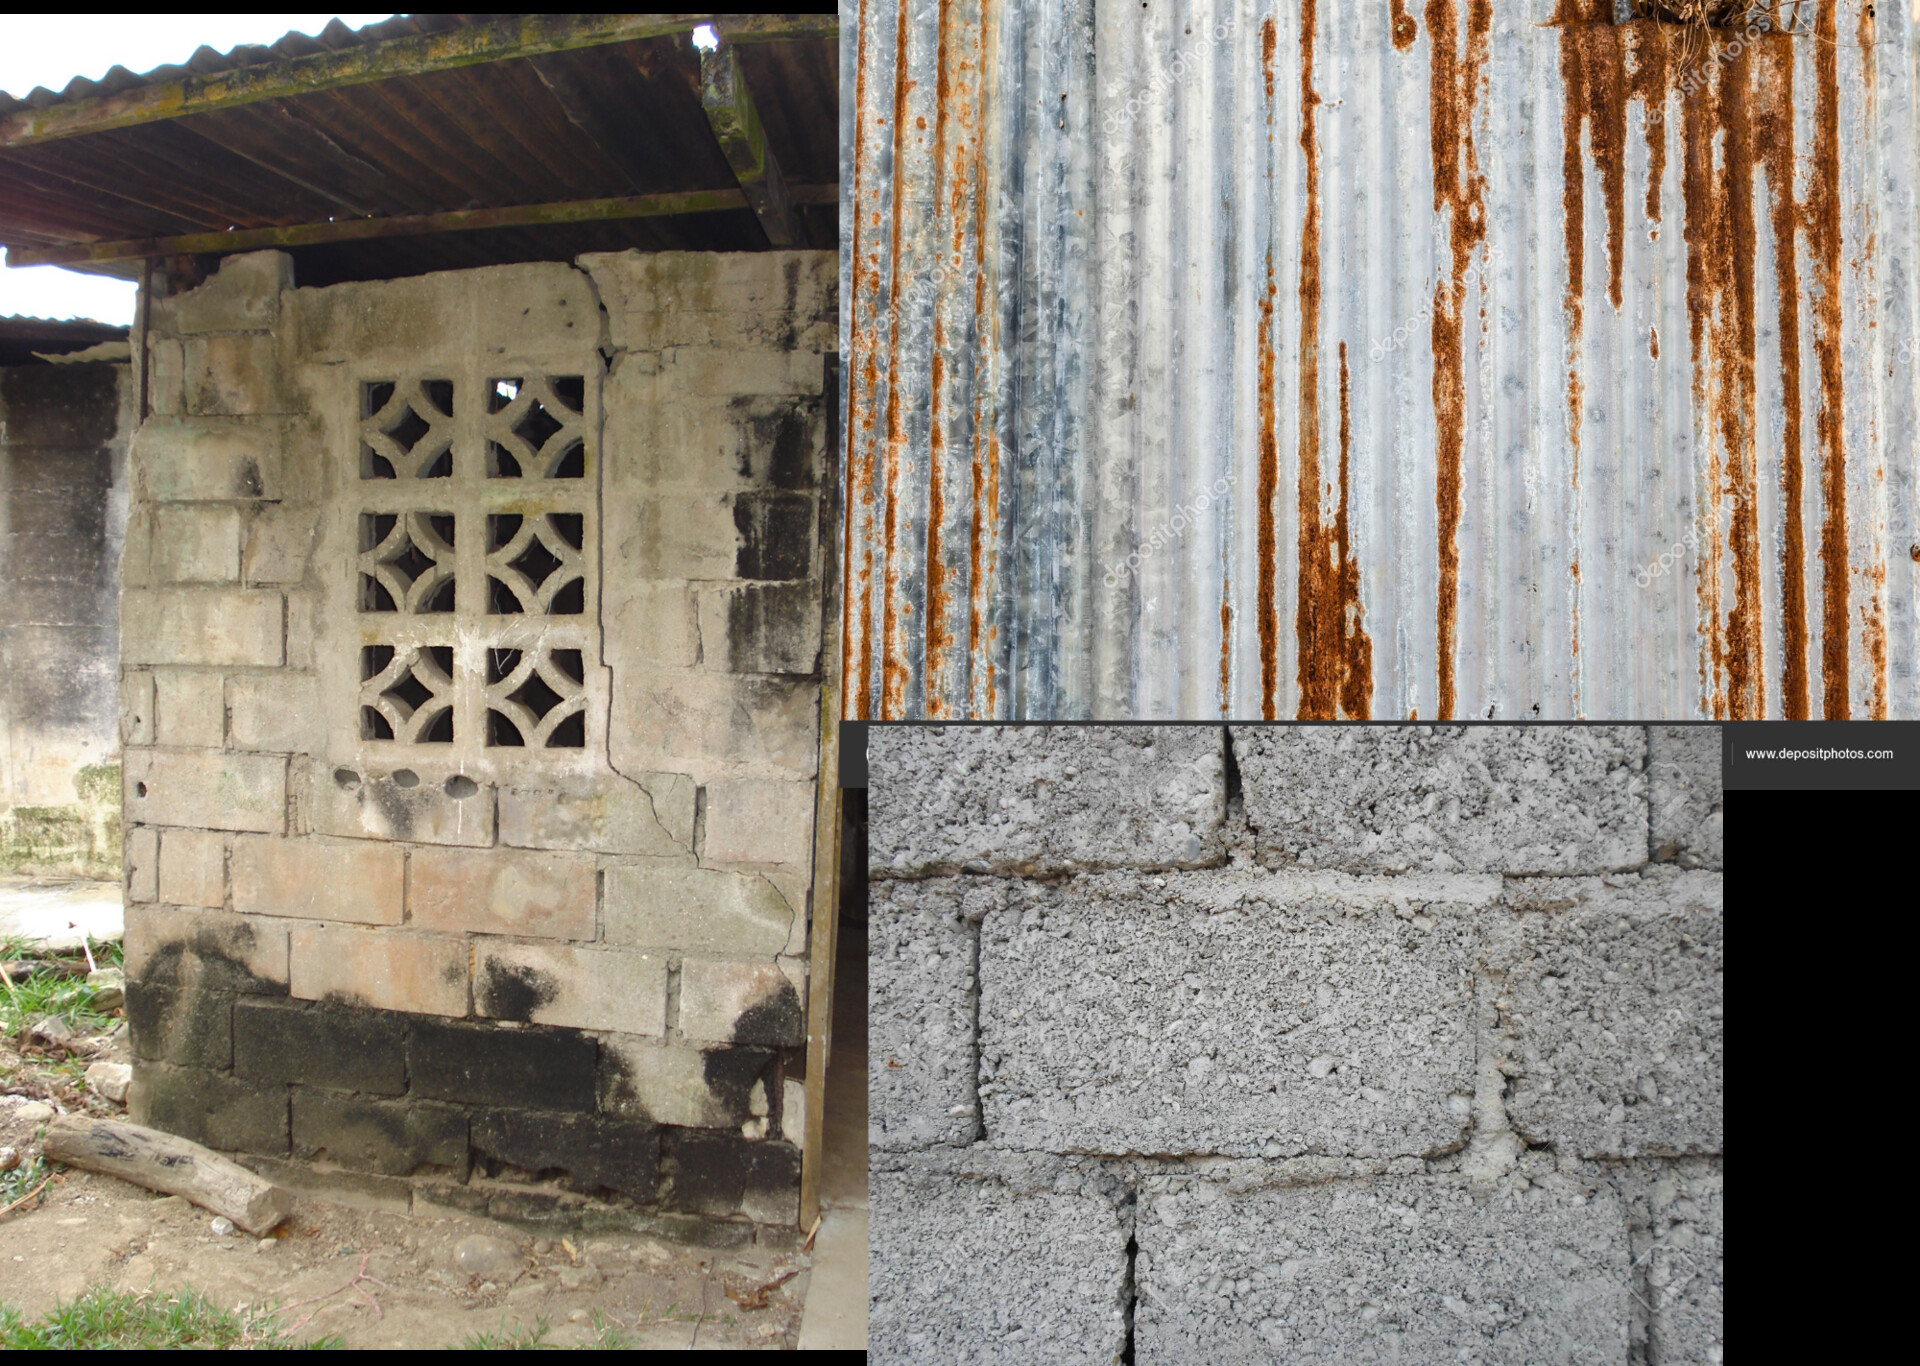
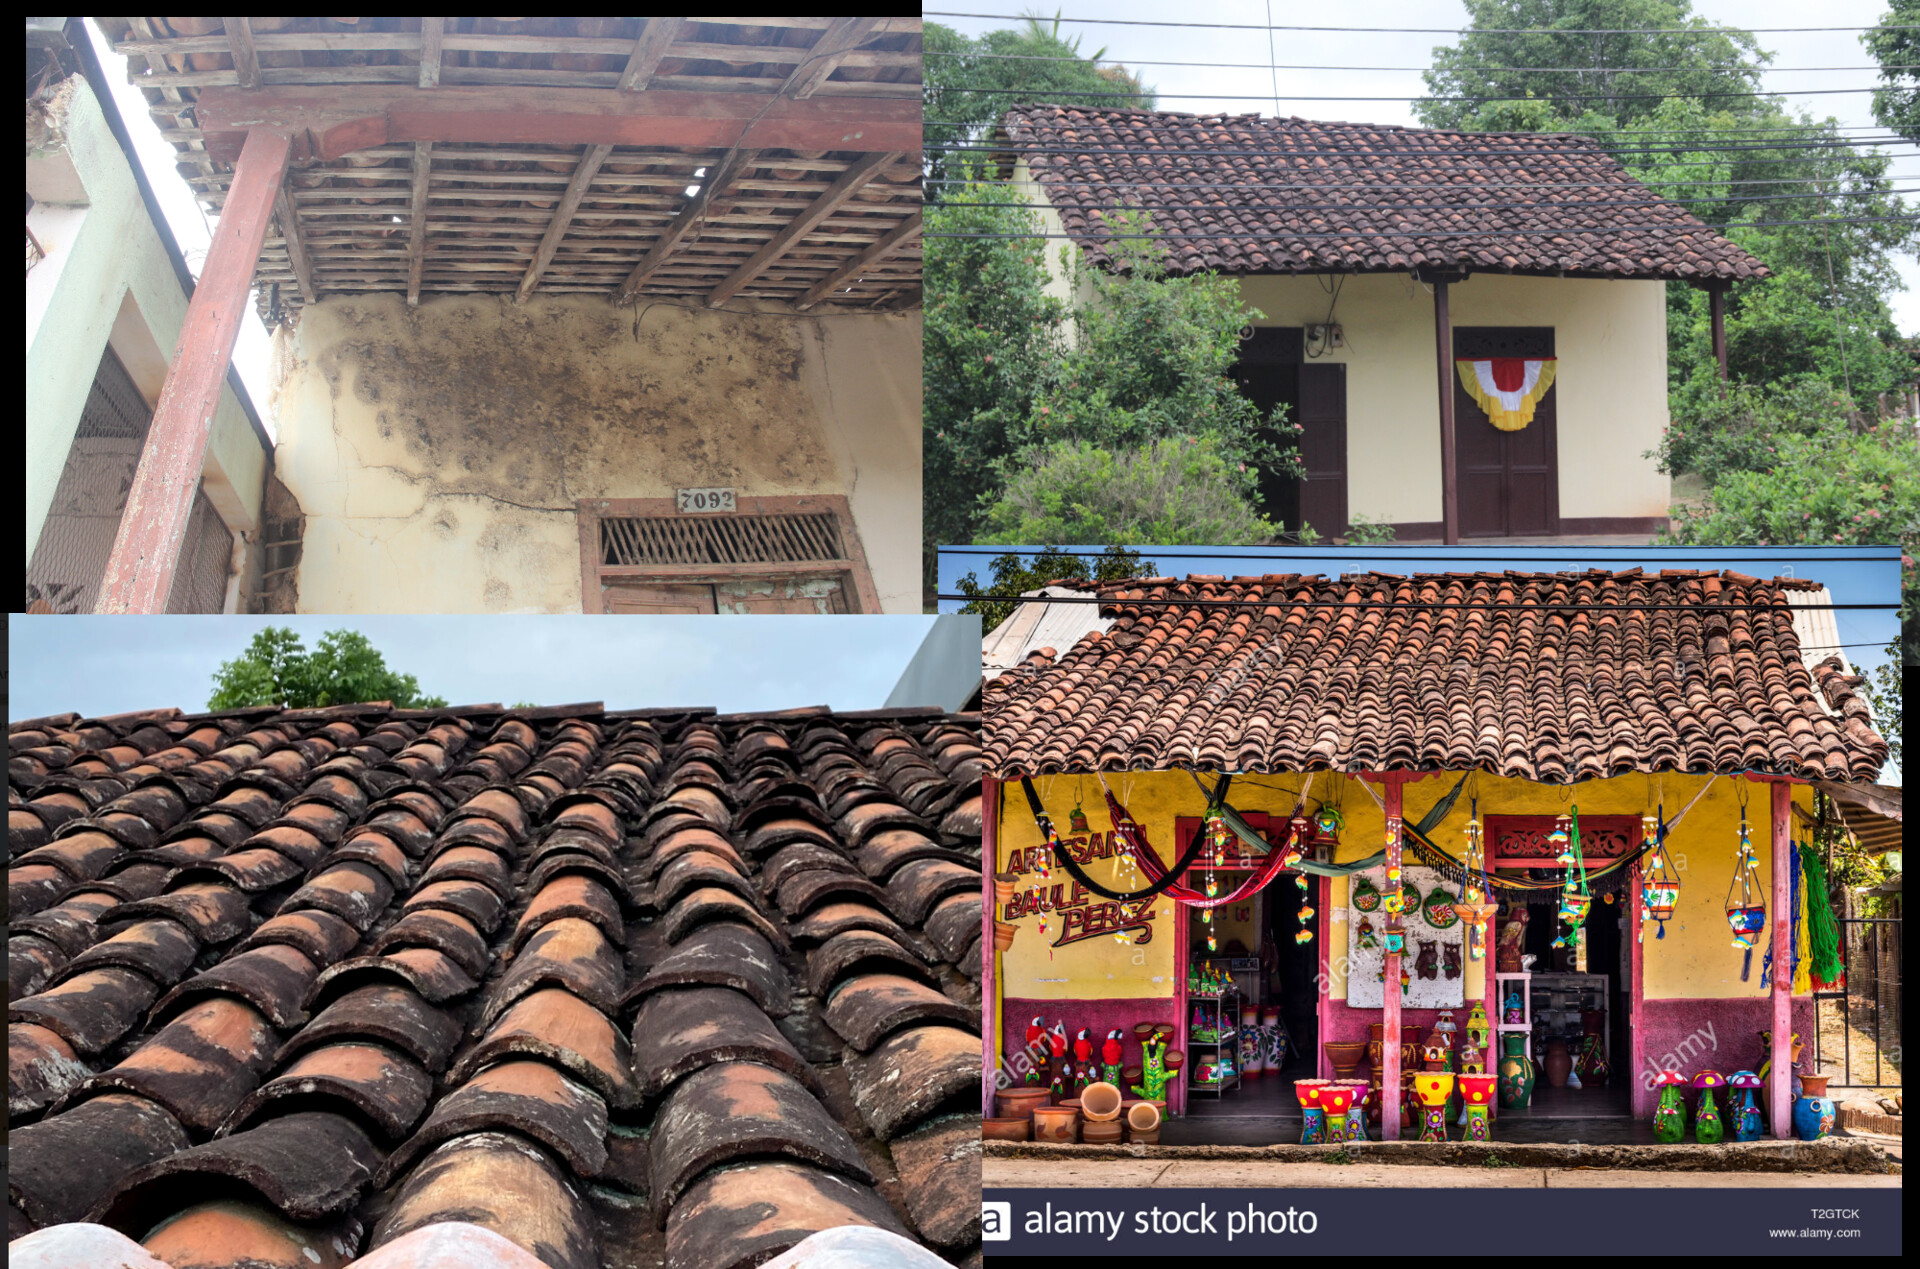 Structure References
Using the base material of Quincha from Substance Designer, I was able to build on top of that, more grunge, leaks, peeling, and dirt:

Assets/Props:
As I started texturing my vases, I made a smart material for painted vases:
 So my smart material consisted on: the first layer is my Substance Designer base material "Arcilla"/baked clay or glazed clay, second layer is a base paint, and the next layers are the different paints with a brushed stroke bump and roughness.
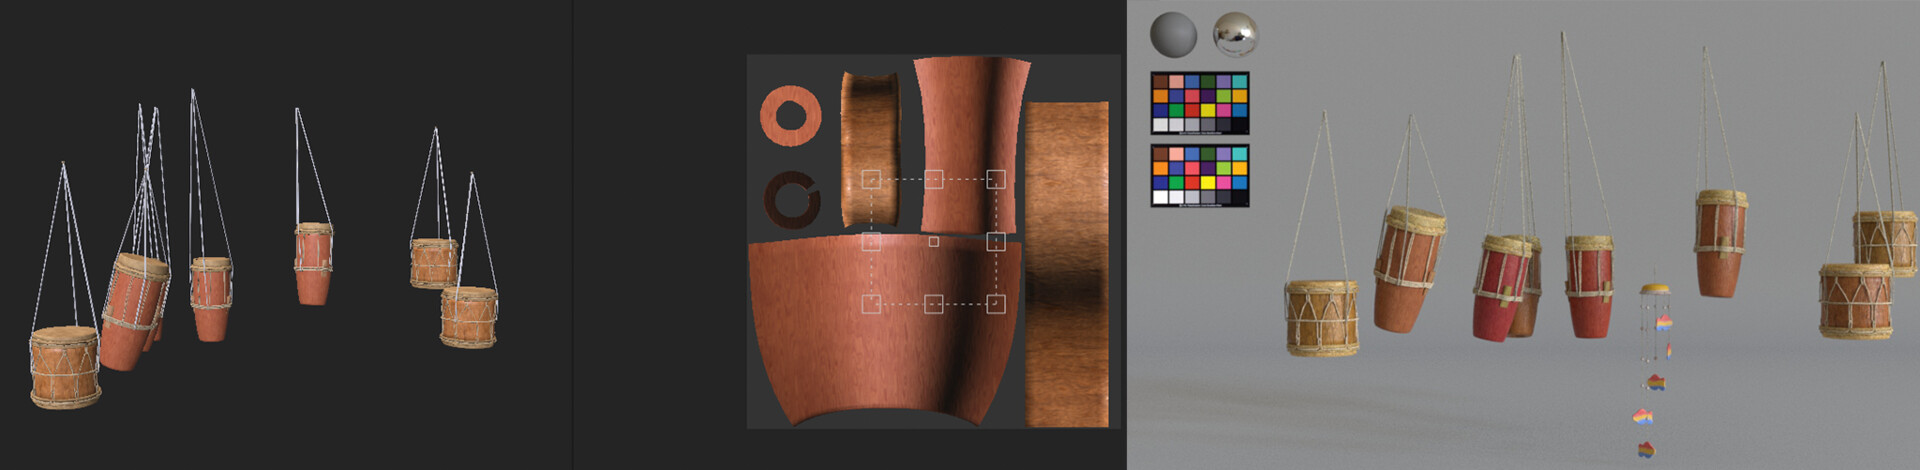 Another tip: I used the aicolorjitter to help me add variation to certain things. For example: the drums have the same UVs/maps, so I just added variation on the hypershade. Left image is the texture maps and right image is after adding the color jitter in Maya.
 Final lookdev of most of my assets
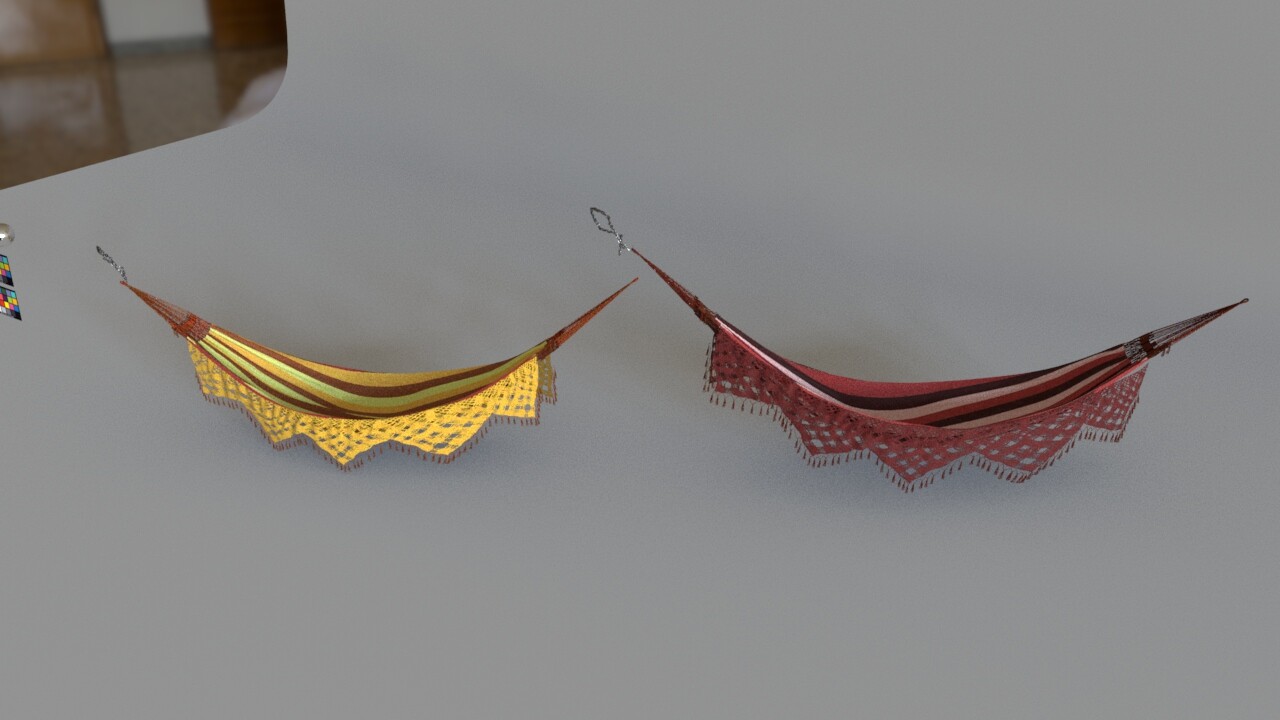
 Tape process
Favorite assets
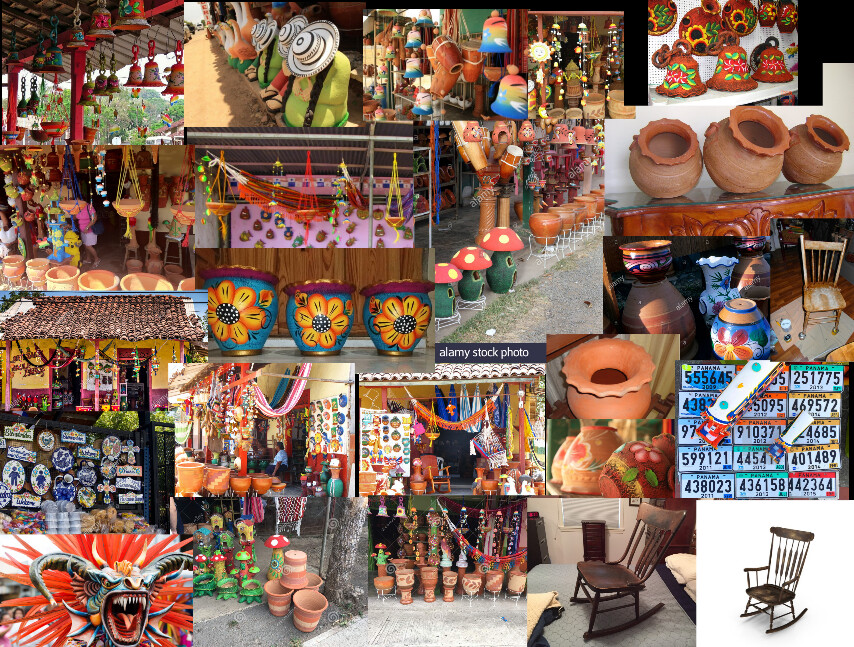 References
Ground
I textured the ground using an aiLayeredShader. I wanted to make the sand overlap with the street a little bit, and have some soil bits on the sand, so the aiLayeredShader gives me the ability to layer 2+ shaders using masks:

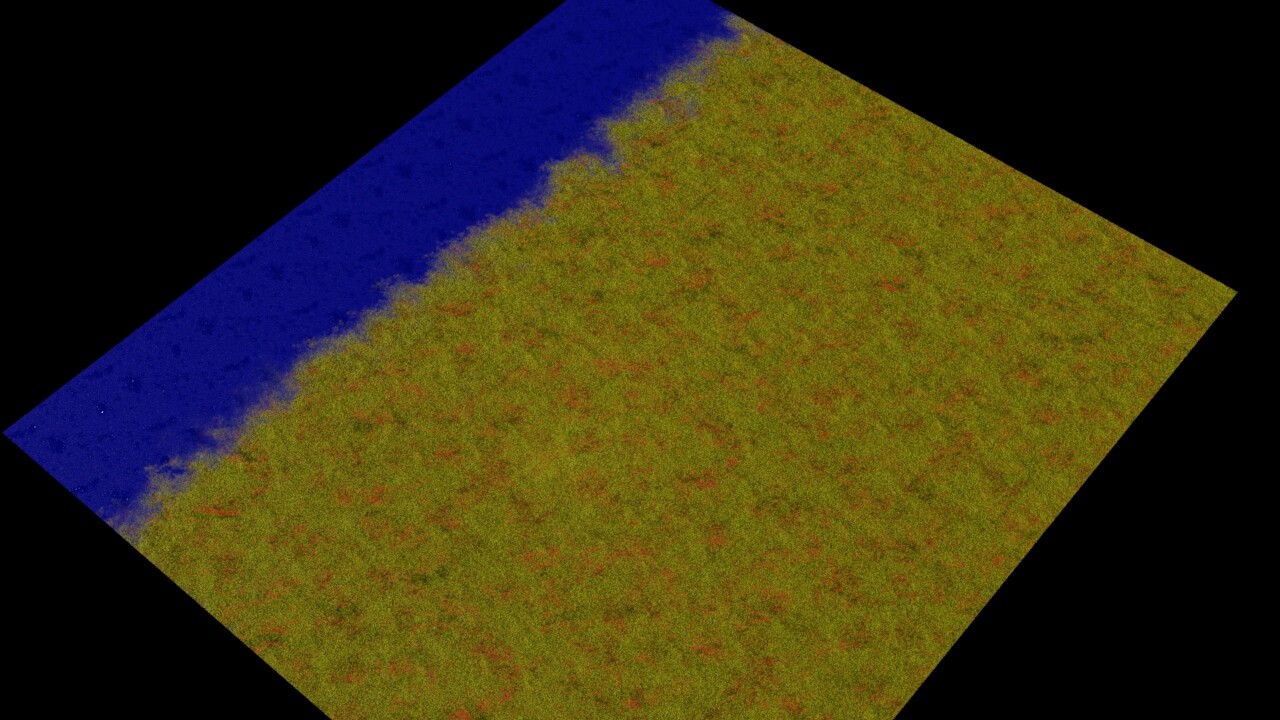 Colors represent the different shaders (just for visualization purposes): blue the street, yellow the sand, and red the soil.
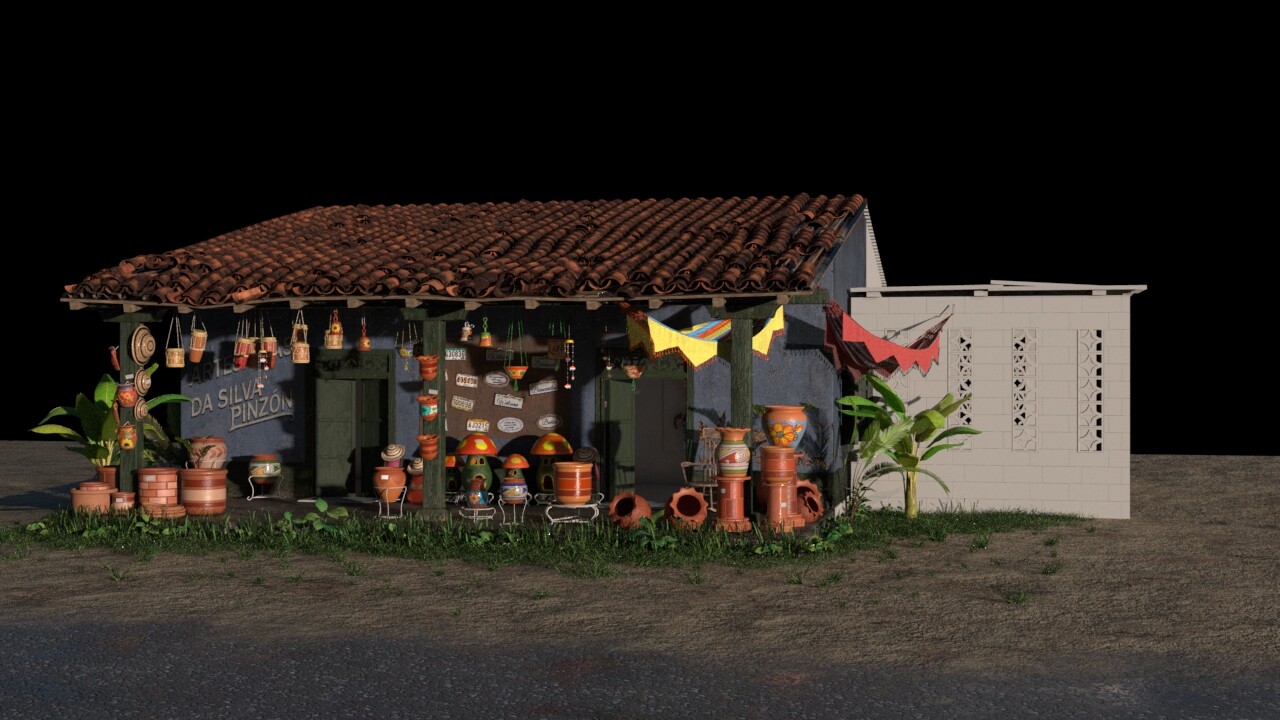 Testing the ground shader
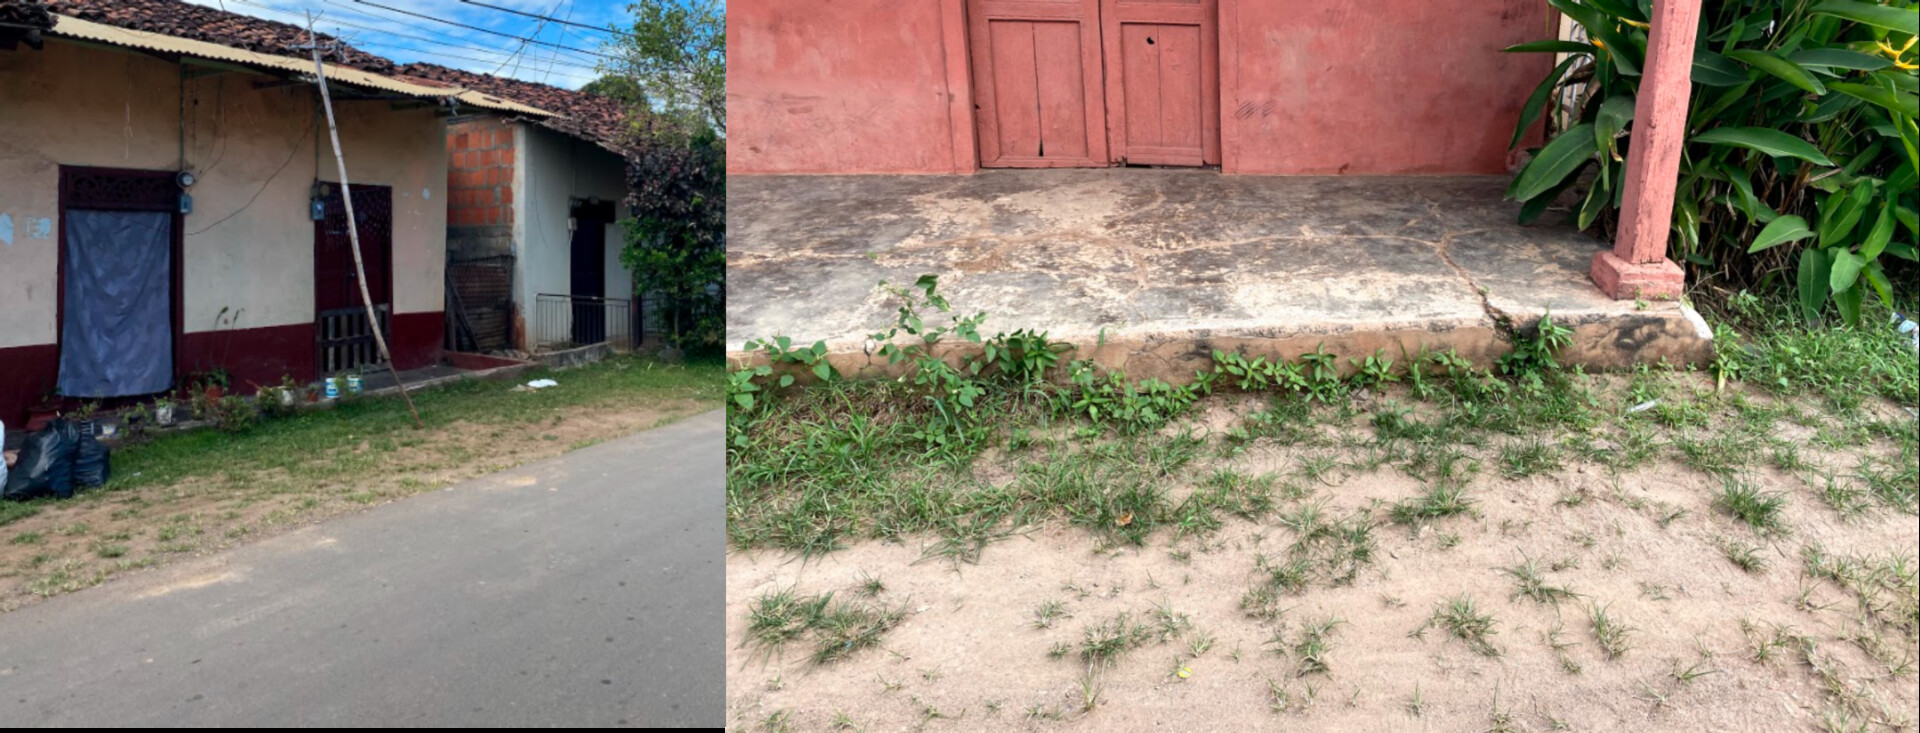 Ground References
My focus of this next progress was to make sure I get ride of any visible unshaded areas. I worked on finishing any visible walls, back walls, inside floor, and workstation items. I used a wood texture to fake that there are things inside the workstation. I assigned a procedural shader to the wall inside the house, and duplicated the already textured geo from the outside wall and roof to fix that back area, since it's only seen on the first camera. I worked on the workstation structure area as well. I only textured one wall and one side, so I can duplicate it and just worry about the parts that will be seen:

 Workstation References