I received a lot of feedback from the mentors, especially from the CG Lead Billy, and realized my workflow was messed up a little bit again. Recap of things I learned:
- To work with "half precision" enabled in Render Settings: Specify whether 16 bit floating point (binary16) is used (as opposed to full 32 bit precision). This provides a sufficient degree of precision in many cases while keeping data usage down.
- To use mesh lights, no shader lights: I have been using cylinders with AiStandard Surface, adding emission. If I need geo lights, it's better to use mesh lights, not emission. According to the Arnold documentation, "Note that a Mesh Light may work better in a situation where you need an object to emit light that casts realistic ray-traced shadows."
- I can work with exposure rather than intensity: I've been moving up intensity to like 10000, while I can get the same result if I leave the intensity in 1 and exposure in 10.
- The look of blown out headlights, we do that in comp, not in 3D. Same with the lens flare.
- To work with mattes for all the lights.
- I don't have to use the same values for all the rows of lights. By using different values, I can create different shades of rows.
- WORK WITH THE ATTRIBUTE SPREAD SHEET!!!
- If your shader is not 100% correct/accurate, your lighting will look wrong.
Other things that need to get fixed in regards to my shot:
- headlights
- the rig!!!
- car paint shader
- References -
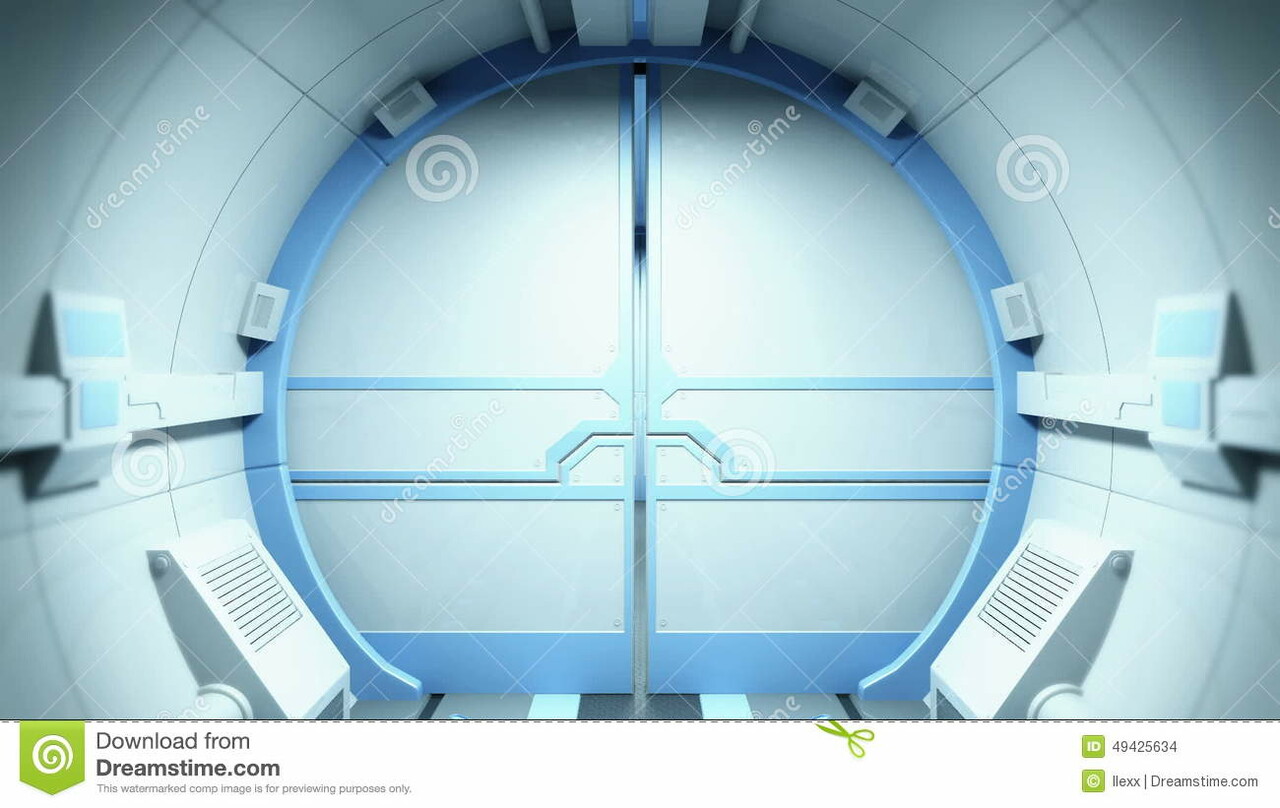
We were asked the question of "where is this tunnel located?". That's when I realized I had to give context to where is this tunnel located. My group gave me the idea of adding a door at the end of the tunnel. I aimed for a door with a shape like this one:
- New Asset -
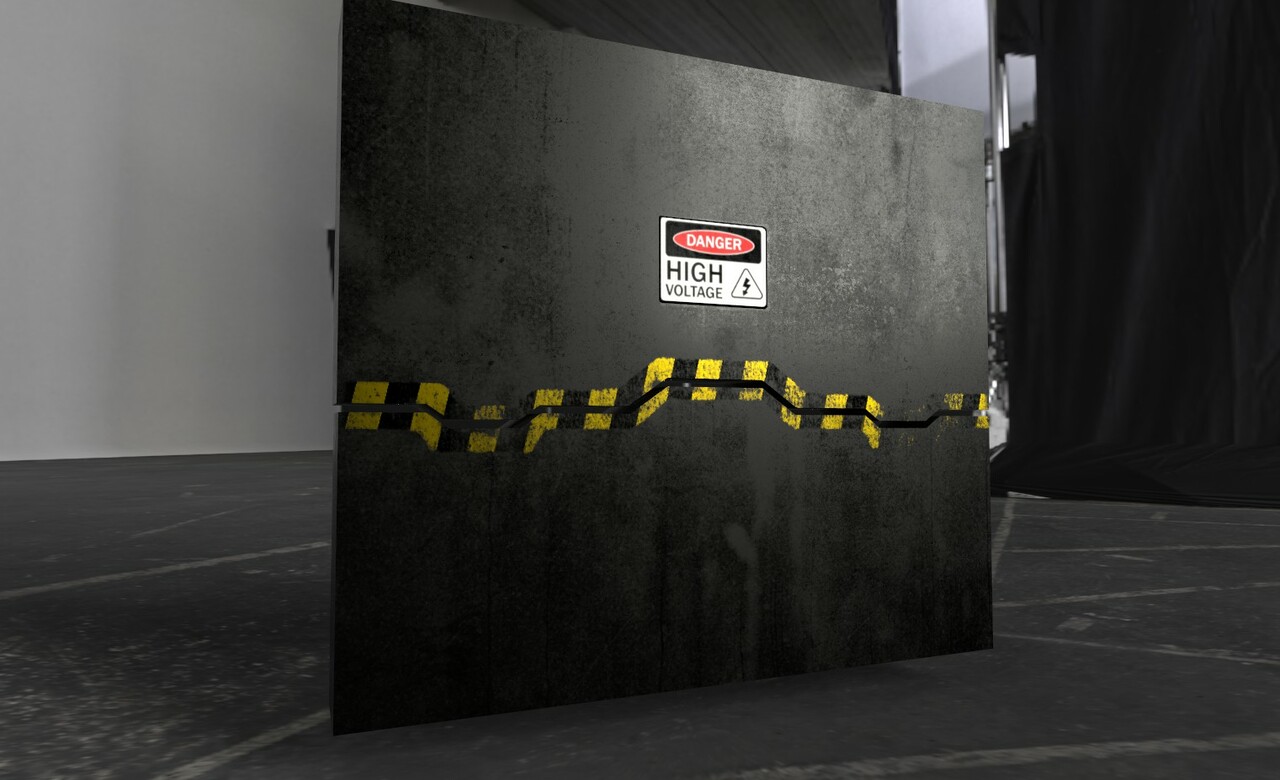
The door was textured in Substance Painter:
- Test Renders Without Comp -
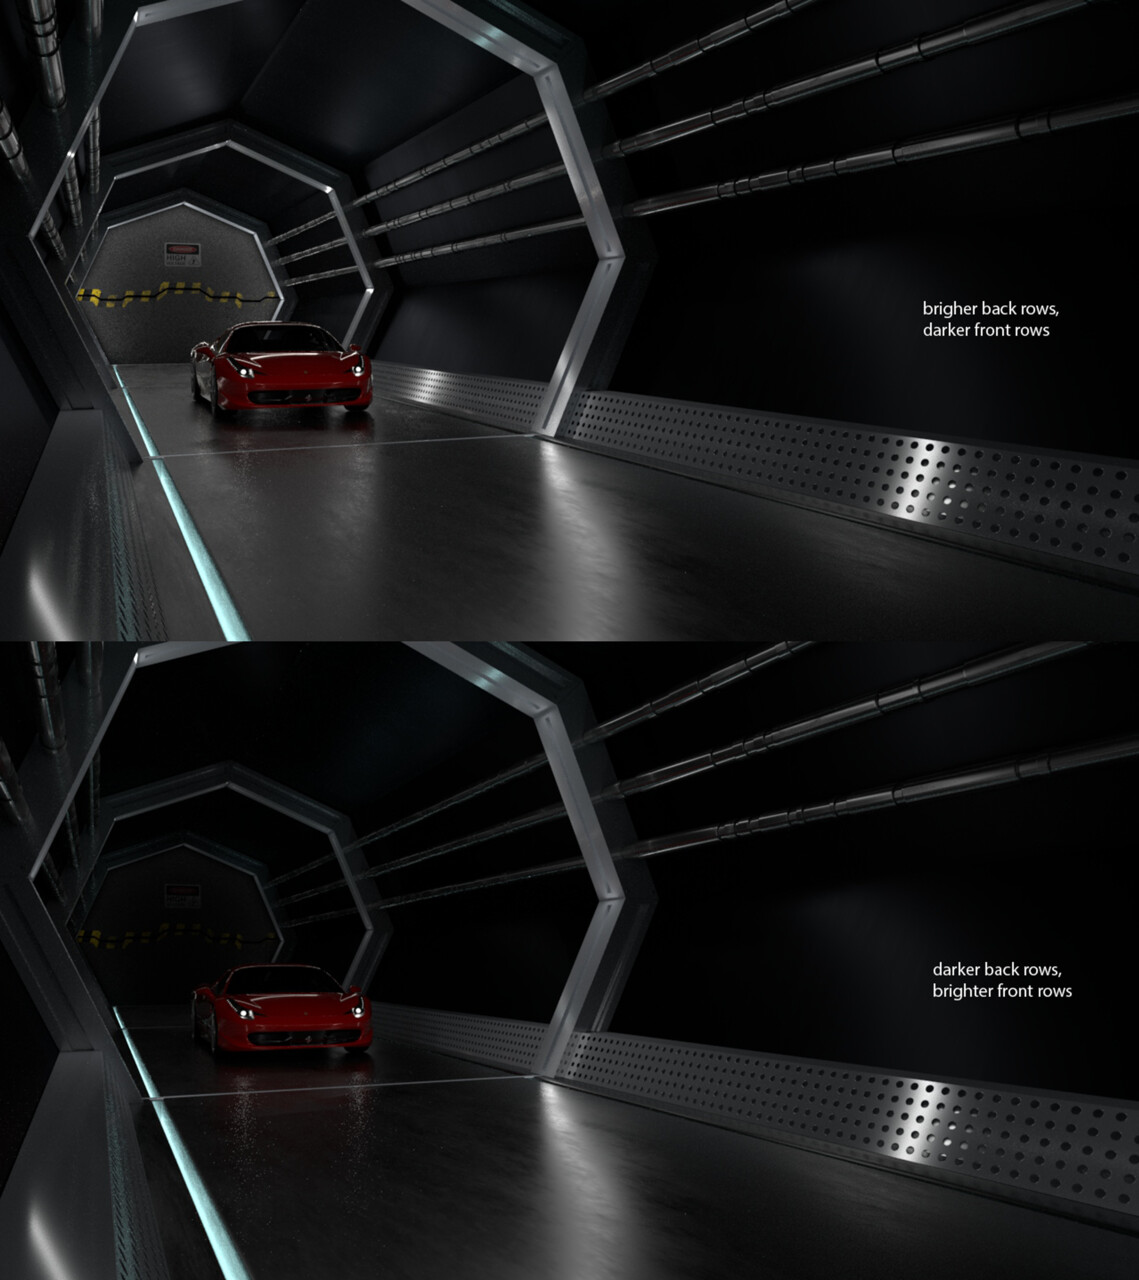
Here's a test render of how the scene looks like with the new asset: the door. Also, I turned OFF the emission for the light cylinders, since now it going to be done in comp.
I've been playing with the different exposures on the rows. I'm working with 12 and 14.
So far, an average render time per frame has been 20 min, but I still need to get rid of some noise artifacts like fireflies and specular.
- Lights Animation -
This is my newest test for the Lights animation!!
password: TheMill
I forgot to add the light cylinders inside the holes of the rows, but they will be there on the next renders, with a light texture, and no emission. I need to fix the last frames, because it fades too much, but the next step is to separate the render layers and do the comp.
- Test Renders with Comp -
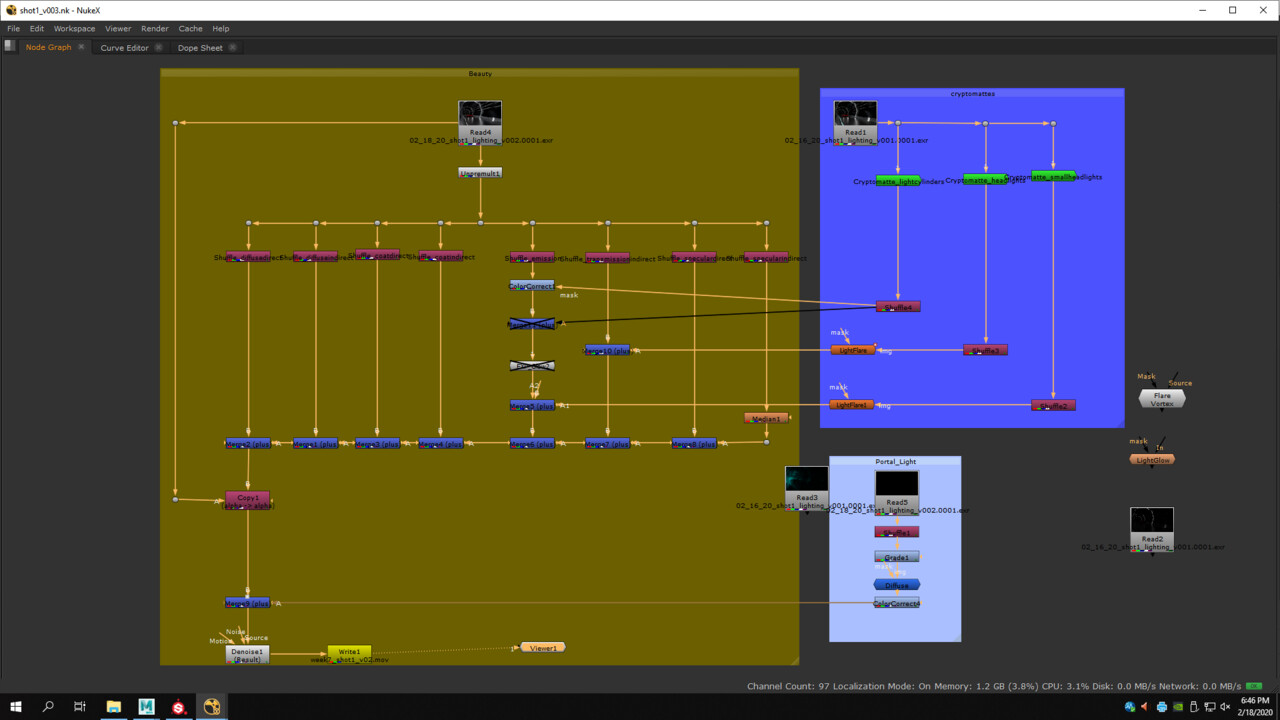
I started the compositing for shot 1: separated some AOV's and put the portal light, as well as a first attempt to add lens flare and glow on the lights.
I've been looking at some Ferrari 458 Italia lens flare references, and I can see they have like a 6-star flare:
Here are some screenshots of the video:
I have to re render the render layer for the portal light, since I didn't realize the reflections chrome material of the tunnel had to match the actual shader ones.
This is how my first comp attempt looks like, with lens flare and exponential glow on the lights on the tunnel:
Password: TheMill
- Doubts -
I have a few questions I would like to ask the mentors:
- How do we match the red car paint, if shot 0 and 1 are in a cool setting, and shot 2 and 3 are warmer?
- I would like to know if my understanding of lens flare is correct: What I understand is that we are able to see the lens flare from far away, then at some point its really bright for like a second, and then it decreases? I am not sure of the observation, but understanding it will help me accomplish the comp better.


